Statcounter

Showing posts with label 2015 Completions. Show all posts

Monday, March 8, 2021

Delicate Flowers Stocking by Pat Mazu - Updated 3/8/21

March 8, 2021--This is the third stocking finished using a technique I've recently written about.  It's a process that has many steps and takes time, but is worth the effort to proudly say I've finished it myself and saved quite a bit of money to boot.  Of course, it's not perfect, but it's for my personal use only, so enjoy it I will.


Stocking Delicate Flowers Finished Front


Stocking Delicate Flowers Finished Back (Note year of 2015)


Stocking Delicate Flowers Cording Name

Stocking Delicate Flowers Cording Details


July 13, 2015--Have completed the stitching on this piece and am ready to finish it into a stocking.   The side view picture shows the depth and nap of the threads.

Think I'll make the cording out of the two greens and add white.  Love working on projects that take no time to complete.  It's just what I needed.

Completed Stitching


Side View
July 11, 2015--Finished the cuff on this beautiful stocking.  Changed the color of the Kreinik cross stitches from gold to a pale green.  Hope it'll work.  Here's a photo of my progress so far.


Stocking Delicate Flowers Through Cuff

Stocking Delicate Flowers Through Cuff Closeup

July 6, 2015--My local ANG chapter, Delaware's Seashore Chapter, is stitching Pat Mazu's Delicate Flower Stocking from the 2003-2004 Chapter Project Book.  I've got everything together and ready for the class today.  The threads chosen are from my stash and even though not the traditional holiday colors, I think they'll be lovely (I love all greens with a touch of blue in them).

Delicate Flowers Stocking Project Photo

Thread Selections


This is the first post in over a month--was fishing with DH in Canada and thoroughly enjoyed it.  I love being on the water and DH makes fishing so easy for me--he baits my hook and takes the fish off the hook.  All I have to do is reel it in, and that's where all the fun is.  The lakes were so beautiful.

Fishing at Lost Lake Wilderness Lodge, Ontario, Canada

Monday, April 30, 2018

Imperial Rubies Heart - Updated 4/30/18

April 30, 2018--Finished!  Again, this is "do it yourself" finishing and continues to be a learning process.  Love the hearts designed by Gay Ann Rogers.   The cording around the heart was made using my kumihimo disk.


Imperial Rubies Heart Finished Front
Imperial Rubies Heart Finished Back


December 21, 2015-- Was so eager to complete this beautiful heart that I sat down and worked all the beading yesterday.   The side views show the dimensions and beauty of the beadwork.

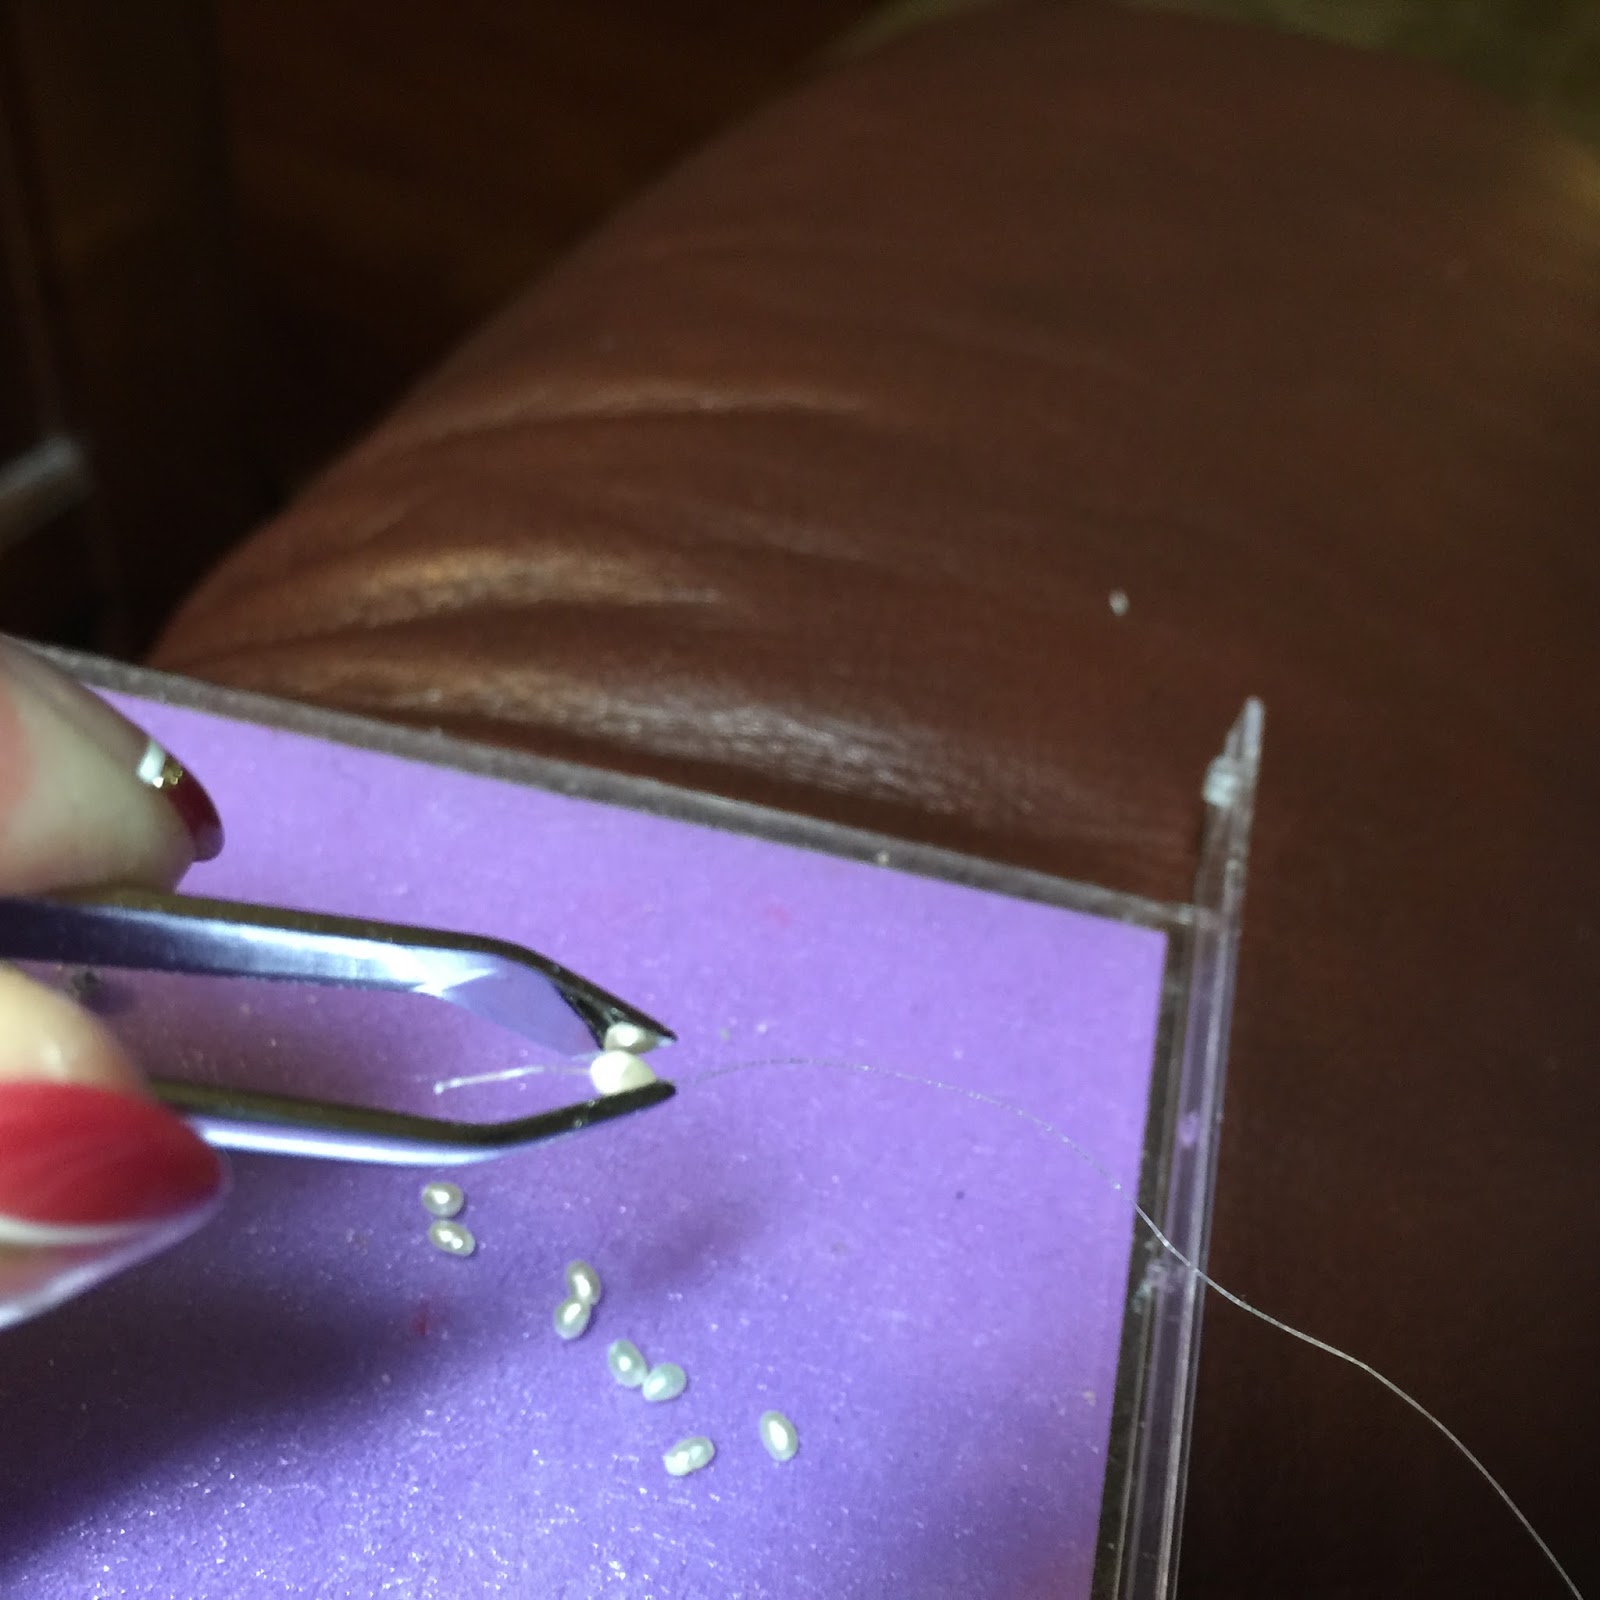
Almost couldn't finish--discovered I didn't have a needle small enough to fit through the tiny pearl beads, and there were 22 of them on the two necklaces.  Fortunately I remembered purchasing a new type of beading thread from Louise's Needlework shop in Ohio while there for a class last April.  It's a very fine, strong braid and stiff enough to manually thread through the itty, bitty, teeny, tiny pearls. They are so small that I couldn't hold them with my fingers--had to use a pair of tweezers.   Of course, I had to continuously thread up and unthread the needle to pick up the crystal beads.  Took a bit longer than anticipated, but now that it's done, I'm very pleased.

Imperial Rubies Heart Completed

Left Side View

Right Side View

Beading Thread - Braided and Strong
Manually inserting Thread into Pearl Bead (no needle)

December 20, 2015--All the stitching has been done and ready for beading.

Progress through 12-20-15

November 24, 2015--This is my work so far on this lovely heart.  Almost finished with the needlepointing.  The beading will add the beautiful dimensions.   See the In Process Tab above for a project photograph.

Stitching through 11/24/2015


October 17, 2015--For the very first time, I participated in Gay Ann Rogers' sale of her royal hearts and was able to purchase the Imperial Rubies Heart.   Looking forward to getting the kit in the mail--these hearts are so beautiful.


Tuesday, March 13, 2018

Gardener's Alphabet - The Letter N - Nasturtium - 03/13/18


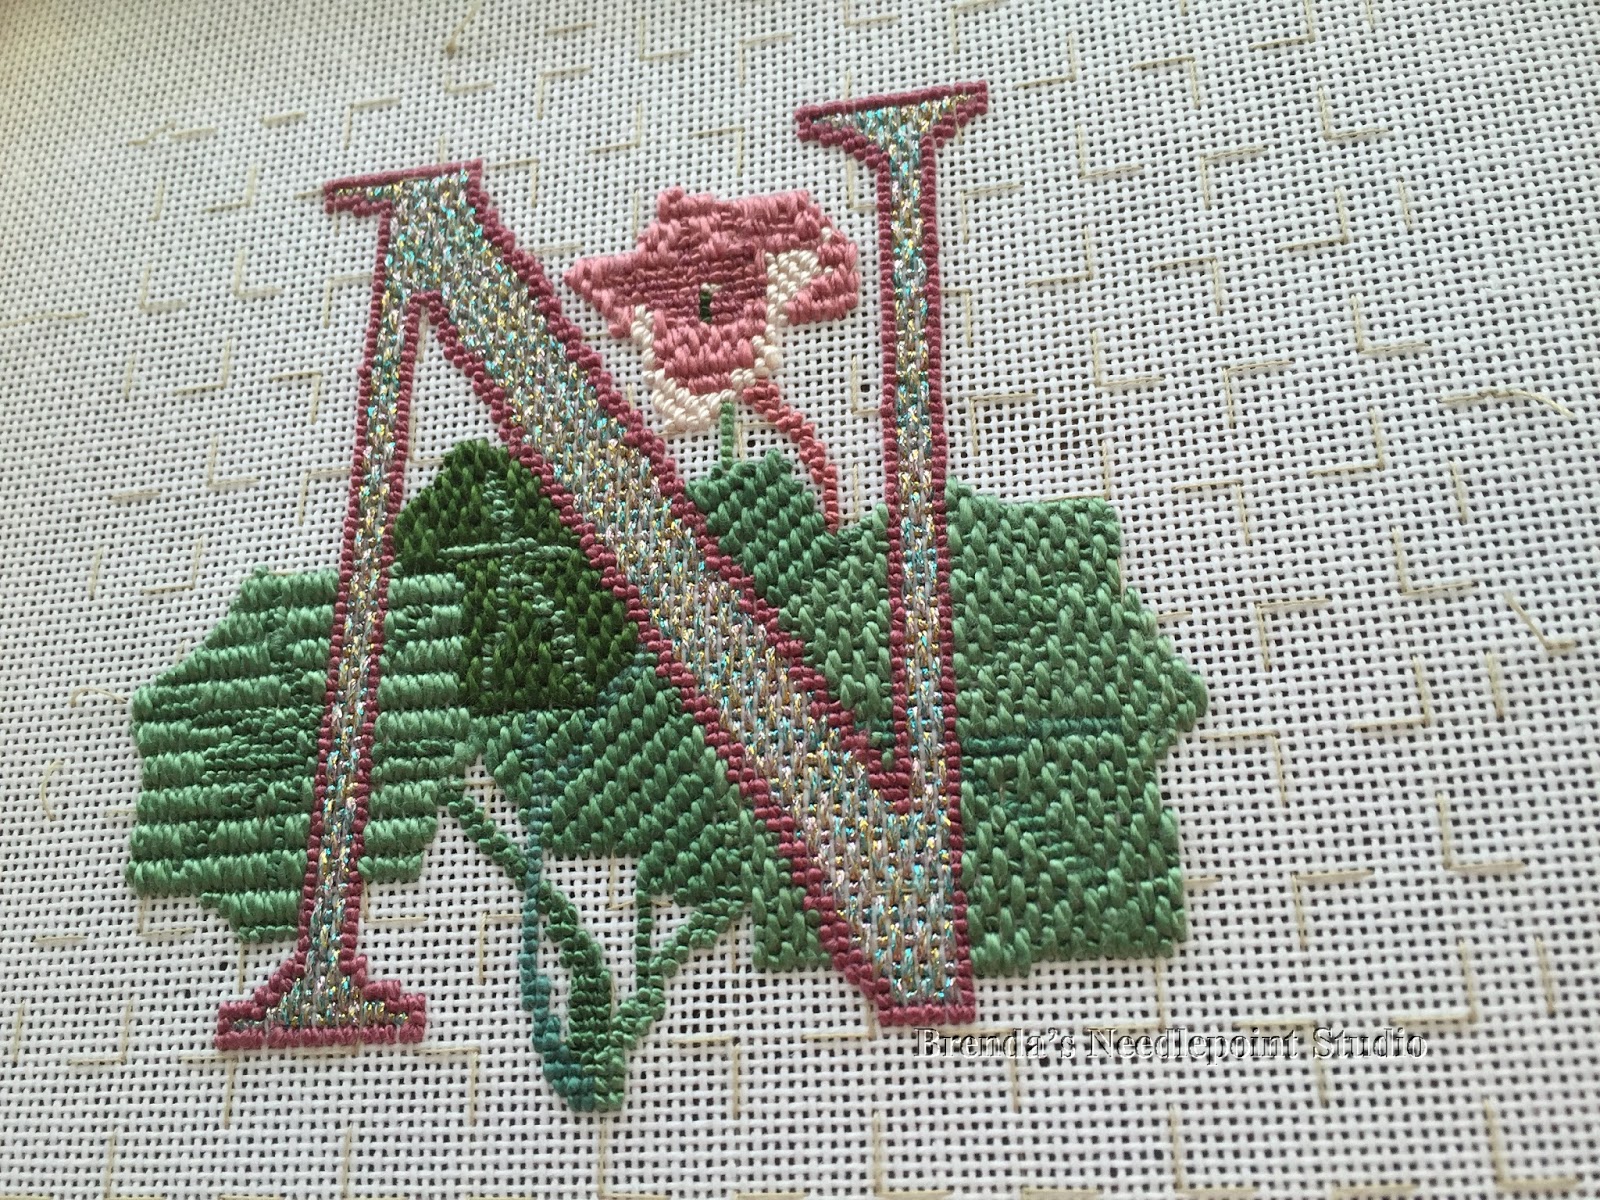
March 13, 2018--Found a ready made frame for this letter.   Not sure what I'm going to do with it, so maybe a friend with a name beginning with N will want it.  It's very pretty in person.

Gardener's Alphabet Letter N

October 10, 2015--Sometime in mid-August, Liz Morrow sent out an email searching for pilot stitchers for her Gardener's Alphabet project (counted stitch, not painted) described below.  I've admired Liz's work with bargello and jumped at the opportunity to do this.  Here's the end result* and more information follows.


Gardener's Alphabet Letter N


Gardener's Alphabet Letter N Side View
Liz wrote:
  • The Garden Alphabet was designed by Jim Williams as a rug. The designs were first published in Needlepoint News, Jan/Feb 1982 issue. At that time, it was worked on 10-count canvas with Paternayan wool in Tent stitches.  Mr. Williams has graciously allowed the designs to be reworked for 18-count canvas, color coded to DMC floss.  The designs may be worked entirely in Basketweave or Continental. If desired, decorative stitches may be used, particularly for the background and letters. The background could also be left unstitched, especially if a colored canvas is used. A light coverage stitch on a colored canvas is also an attractive option. 
Liz sent me the letter N to stitch, using the canvas, colors, threads and stitches of my choice.  I have to admit that I have very little experience in choosing my own stitches, but tried to keep the different areas uniform in size while giving contrast.  I did something very unusual though (at least for me it’s unusual)—all the stitches are vertical on 24 count congress cloth—there aren’t any diagonal or horizontal stitches on the piece.  The color choices were based on the Kreinik thread used for the letter.  I love this color called Confetti Pink and it works with the flower and leaves.   Also, for the background, the basting stitches, worked over 5 threads in blocks of ten, were left in place.  I thought it gave a nice trellis-like look to it.

If I had more time (this needed to be done by the end of September), I would have redone this project, using threads with more contrast for the flower and a darker thread for the veins of the two center leaves.  Also, because the spaces within the flower were so small, would have chosen different stitches.   Oh well, for the most part it worked and Liz is going to use it.

* Liz has approved this early blog about the project and hopes to have the full alphabet up on her web site by the end of October.  Can't wait to see what the other stitchers have done.


Sunday, January 3, 2016

Shingles Ornament Updated 1/3/16

January 3, 2016--Just now added cording to this piece, making it into a really lovely ornament.

Shingles Ornament Completed
November 3, 2015--Earlier this year Gay Ann Rogers, a well known needlework designer, developed a serious case of shingles which kept her down for many months.  She wrote about her experience, encouraging everyone to get the shingles shot and share stories about shingles which she later published on her web site (link below).   For each story sent to Gay Ann, the sender received free instructions for the Shingles Ornament she designed (my story is number 52).  I have completed the stitching of this beautiful ornament and will have it finished similar to the style shown on her web site.

Note:  Gay Ann reports she has closed this offer and the Shingles Ornament is no longer available.  But no fear, she has many, many other beautiful designs offered for sale in the Spring and Fall.


Shingles Ornament


Monday, December 7, 2015

Star Crossed Ornament Updated 12/7/15

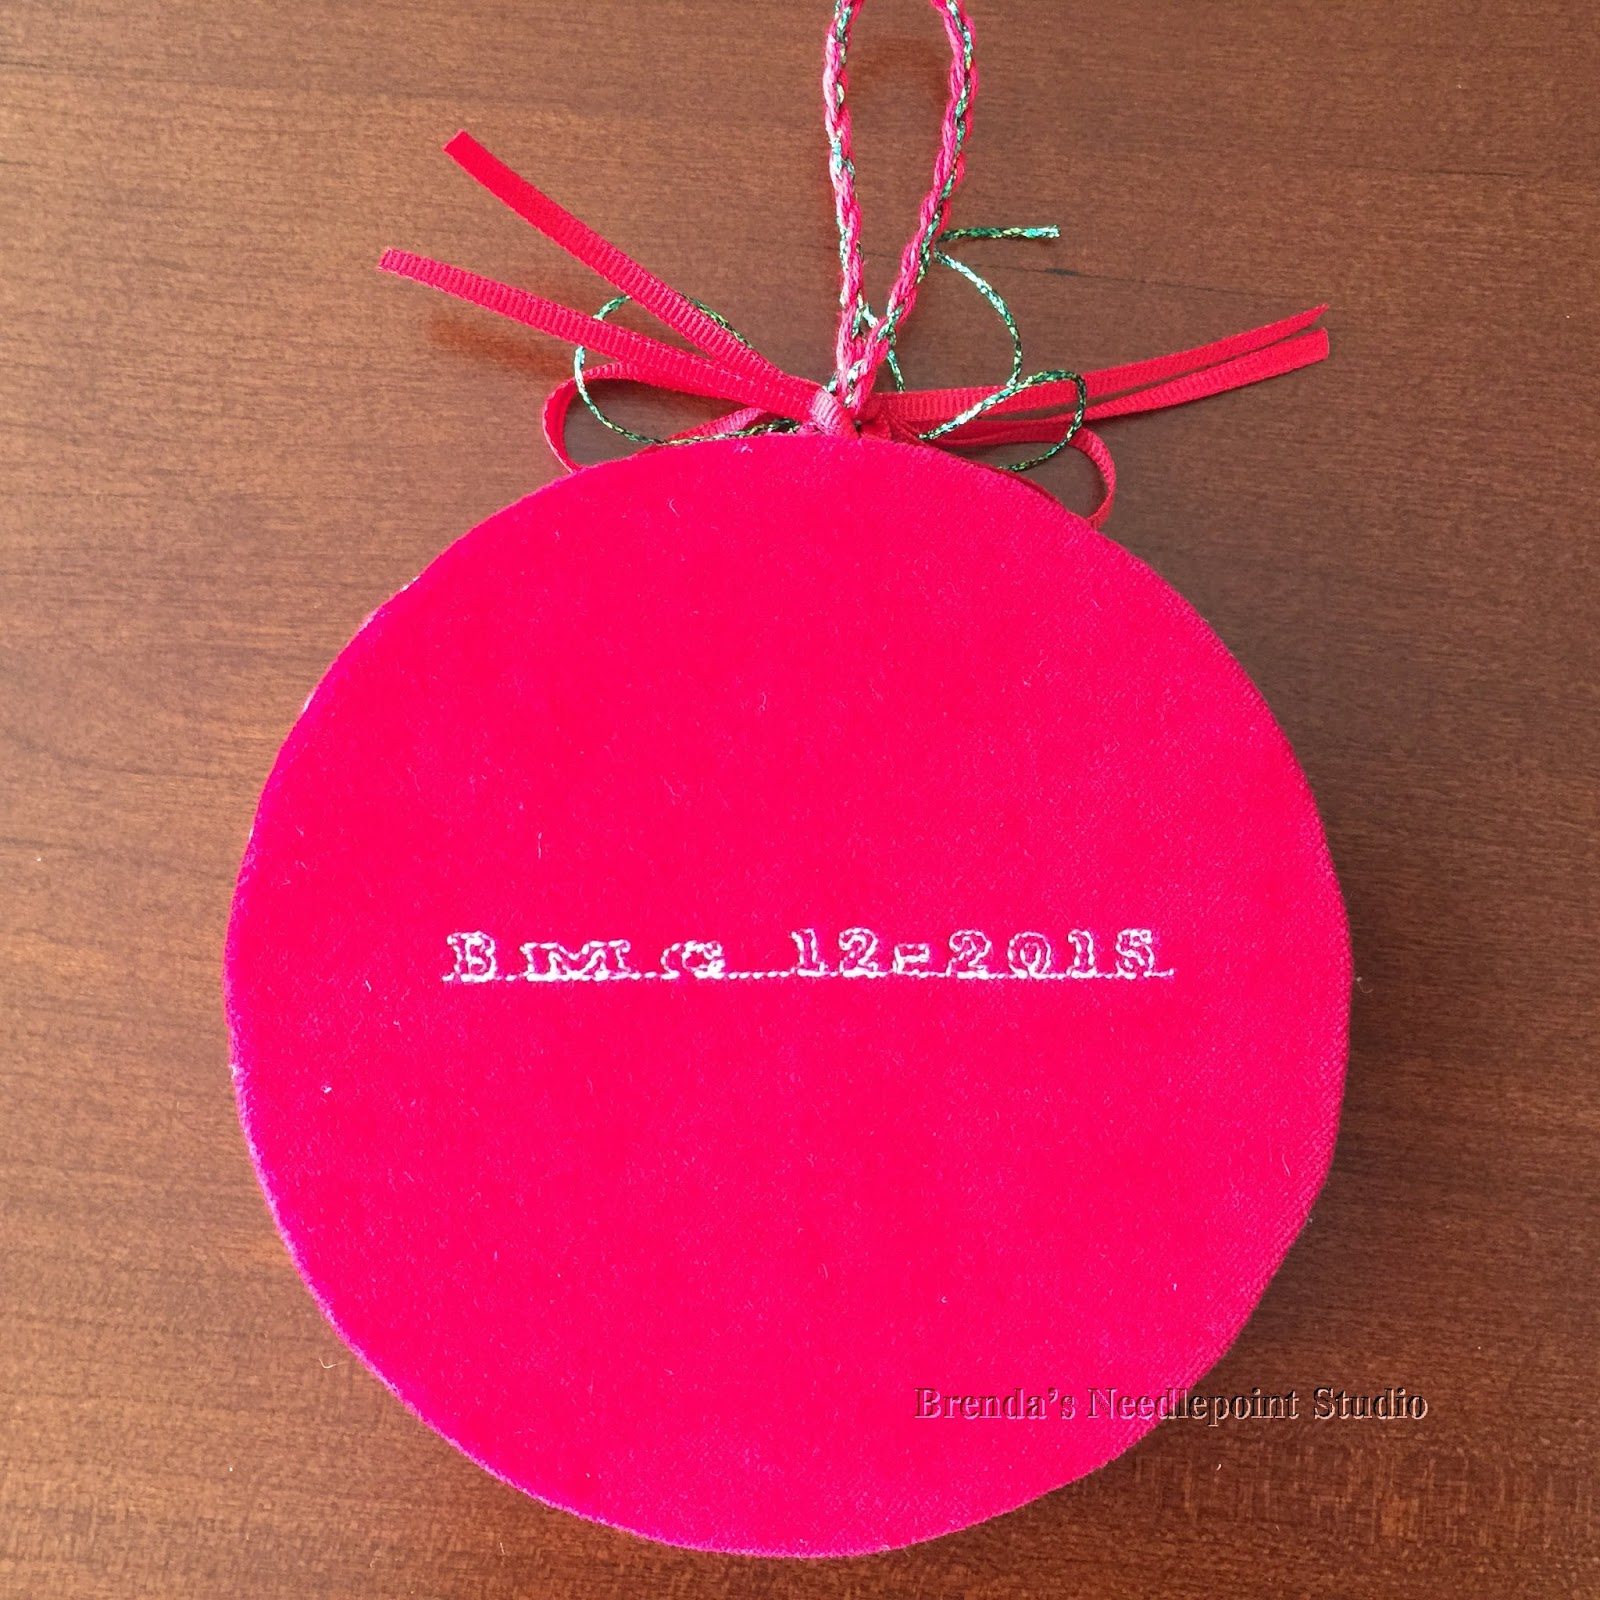
December 7, 2015--Finished these "stars" into two ornaments.  Love how they came out and they are quiet large--5.5" in diameter.  One of these ornaments will be part of my ANG Delaware's Seashore Chapter's Holiday Lunch and Ornament Exchange which is taking place today.  Hope the recipient likes it.   Tried something a little different for my signature on the back's red velvet fabric.  Just initials with the date (done on my Bernina sewing machine).  Like how it came out.

Star Crossed Ornaments Finished


Star Crossed Ornament Back
August 31, 2015--Completed all the stitching on the five arms and outlined the star with red Kreinik thread.  I like how the Kreinik seems to hide irregularities in stitch compensation along the diagonal lines.  The green basting thread will assist me in finishing the star as a round ornament.  Instead of adding stitches to the star's background, I'll back the canvas with a shiny white fabric since the canvas itself has opalescent threads running through it (can't see it in the pictures).  I'm very pleased at how well it came out.

Completed

Fifth Arm Complete

August 26, 2015--Moving along nicely--fourth arm completed.  Stitching two of these ornaments at the same time, so it's taking time to do each section.  The compensation stitches aren't easy to do along the diagonal lines of the star and I'm constantly aware of the chance to "over stitch" a pattern.

The project photo (first picture below) shows this as a round ornament with no background stitching.  I'm thinking of doing a light coverage darning pattern using a very shimmery thin thread in the background.  Hmmm....will have to play with that idea.

Fourth Arm Completed
August 18, 2015--Third arm of the star is completed.  Compensating the stitches along the angle of each arm is a challenge and I may have to outline each arm to cover up discrepancies and other irregularities (LOL).

Third Arm Completed
August 12, 2015--Second arm of this delightful ornament is stitched.  Looking forward to seeing how the colors will look when the third arm is done.

Second Arm Completed
August 7, 2015--The basting and first arm of the star is stitched.  There was lots of basting, but it was necessary to properly line up the inside and outside points of the star.  Also makes a nice guide for compensating.  Susan Jones, however, has written very detailed instructions on where to place the basting stitches and how to compensate the complicated stitches in each star arm, so very little has to be decided upon.  Easy, peasy :-).

Basting

First Arm of the Star Stitched

August 4, 2015--Started stitching Susan Jones Star Crossed ornament.  This project is from the July/August issue of Needlepoint Now magazine and the challenge of variations and compensation stitches is right up my ally.  Below is a project photo.  In process pictures will be posted as each arm of the star is stitched.

Star Crossed Ornament Project Photo

Thursday, October 22, 2015

Silver Bell Santa Updated 10/22/15

October 22, 2015--Finally finished stitching this delightful santa.  There's lots of dimension on this santa as can be seen in the second picture (but the beads aren't showing).  Will eventually have this santa and others made into ornaments.  How adorable they'll look on my tree.

Silver Bell Santa Completed


Silver Bell Santa Completed Side View

July 29, 2015--Along with the hat, all of santa's hair is stitched--beard, mustache, sideburns and eyebrows.  The last thing to do is the fur on the hat.  The beard is very shiny and had to take a side view so the beads would be visible.

He's a cutie.

All Hair Stitched

Side View of Beads in Beard
May 11, 2015--Signed up to take this class from the Shining Needle Society in December, 2014 and am just now able to work on it.   Only the face has been stitched, but it's nice to see santa "come alive".  Love these Janet Zickler Casey santas--they are fast to stitch and Janet's instructions are so easy to follow.
Face Completed

Tuesday, October 20, 2015

Beachcomber's Booty - Updated 3/16/16

March 16, 2016--Won 3rd Place Ribbon for Canvaswork at the Rehoboth Beach Museum 6th Annual Needlework Exhibit.

March 7, 2016--Placed this project into a 6.5" box top with an antique finish white paint.  Love it.

Beachcomber's Booty Box Top

October 20, 2015--Finished this beautiful project and will now shop for a box with an insert top.   Enjoyed seeing how easy the blackwork stitches were to execute.

Beachcomber's Booty Completed


October 7, 2015--My local ANG chapter, Delaware's Seashore Chapter, was fortunate to have Ann Strite-Kurz teach us a class called Beachcomber's Booty.  It's a beautiful sand dollar design (it's our chapter's logo).

Below is a picture of my project so far.  It's fun to work these beautiful stitches and I hope to have it done this month.

There's a story behind this.  Linda,  another chapter member, and I took a class from Ann at the 2012 Philadelphia ANG Seminar.  While there, Ann told us about her beach house in Rehoboth Beach, DE.  We asked Ann if she would be willing to teach a class when in Delaware and shared contact information.  Well, earlier this year she wrote to say she would be here in October and asked if we were still interested in having her teach a class.  We answered with a resounding yes, yes, yes!

Ann brought some examples of her pieces along with anything we wanted to purchase (saving us lots of shipping costs).  We drooled over her techniques and marveled at the results.

Thank you Ann for a wonderful learning experience and we'll have a beautiful project when done.

Beachcomber's Booty in Process at 10/7/15


Tuesday, June 2, 2015

Paper Clips Embellished 6/2/15

June 2, 2015--I love these dressed up paper clips and want to thank Funk & Weber Designs for their fun tutorial.

I did take the liberty, however, to make a few changes and/or additions as noted in the instructions below:


Supplies:  18 count Interlock canvas
                  Caron Watercolours (1 strand)
                  Paper Clips 2" long


1.  For each clip, cut the canvas - 44 threads wide by 16 threads high.


2.  Stitch 8 smyrna crosses beginning 6 threads up and over from the left (you will have 6 blank threads on the top, bottom, left and right sides of the smyrna crosses.


3.  Fold each canvas edge at the third thread on all sides.  The pictures below show how the fold is made (front and back) and the pin "marks the spot".


The picture below shows all four sides folded to the back leaving 3 threads in the front and 3 threads folded back

Front Side

Back Side

Step 4.  Satin stitch over 2 threads (leaving far edge thread unstitched on all sides) around the smyrna crosses, being sure to cover the long sides of the paper clip.  Pictures below show front and back of the covered paper clip.  Be sure to leave the rounded edge on the short side of the paper clip unattached as shown.


I now want to play with dressing up the edges, possibly add a raised stem stitch, etc.