Statcounter

Showing posts with label Source Online Class Shining Needle Society. Show all posts

Monday, August 16, 2021

Cashmere Santa - 8/16/21

 August 16, 2021--Another santa cutie designed by Janet Zickler Casey and offered through the Shining Needle Society, called Cashmere Santa, is done.  In keeping with my goal of stitching one old and one new santa each year, I have now met my 2021 quota.  Cashmere Santa was the newest design while North Wind Santa, stitched earlier this year, was a 2003 offering.  

The stitch for the beard on this santa, called Cashmere Cable, was a bit of a challenge, requiring consistent attention to the stitch placement.  I'm now wondering what was Janet's inspiration for this stitch since I'm unable to find it anywhere (at least not in the resources I have).

The second photo below shows the shine and dimension of the threads and beads used.  I love the little mint candy embellishment that came with the kit.


Cashmere Santa Completed


Cashmere Santa Completed Side View


Monday, February 11, 2019

Star Spangled Santa - Updated 2/11/19

February 11, 2019--Fini!  Isn't he adorable?  Love all the shine.  The beard, however, stitched using 2 different threads that were included in the kit, looks very different than JZC's project photo.  Her threads look "flat" while in my photo, the 3 sections (with red stars) stitched using Kreinik 9032 is very, very shiny compared to the 4 sections (with blue stars) stitched with RG/Neon Rays NP02.  I'll ask other class participants if they see the same thing.  At least the white beads "tone down" the effect.

I also stitched the red and blue stars a bit smaller using the diagram below--over 6 threads for the horizontal and vertical stitches, over 5 threads for the diagonal ones.

All in all, another fun santa offered by Shining Needle Society.  I suspect the next one will be Holly Jolly Santa.


January 21, 2019--This Star Spangled Santa is stitched through Lesson 2 from Janet Zickler Casey.   Ready for Lesson 3 which will probably cover the hair, eyebrows and beard.

Star Spangled Santa Through Lesson 2


January 16, 2019--Signed up to stitch the new Star Spangled Santa designed by Janet Zickler Casey and offered through the Shining Needle Society (SNS).  Just finished the first lesson which covered the nose, face and eyes.  Another cutie for sure.  Looking forward to working on the hat discussed in lesson 2.

Star Spangled Santa through Lesson 1


Thursday, June 28, 2018

King's Tulip II - 6/28/18

June 28, 2018--In 2010, I purchased this beautiful project by Margaret Kinsey offered through the Shining Needle Society.  I finished stitching the upper portion of the tulip as well as the side petals, padded the tulip's interior, as pictured below, and decided to go no further.  After re-reading the instructions, I can see why.  I'm at the point where the cutting of purls is in order and this is all new to me.  However, after reading about the beautiful goldwork projects done by D1D2 on her blog, I have learned a lot and feel confident that I can tackle this head on (famous last words).  I plan on doing the cutting and stitching of the gold purl pieces during the day, sitting at the table in my craft/sewing room where I have plenty of light.

Wish me luck.

King's Tulip II to Date


To see the project photo, please click on "In Process Projects" under Pages on the right.

Wednesday, January 10, 2018

Pine Cone Santa - Updated 1/10/18

January 10, 2018--Another Janet Zickler-Casey Santa done!  This is the 5th kit ordered through the Shining Needle Society and I love doing them.  So much so that I have all the past ones in my "planned to stitch" pile.  They are too cute.

There's lots of texture to this little guy--sequined pine cone on the cap, little button nose, fluffy moustache and beaded beard.  Lots of stitching variety.
Pine Cone Santa Completed


Pine Cone Santa Side View


December 29, 2017--Recently signed up to take the Shining Needle Society's annual Janet Zickler-Casey santa class.  This year's is called Pine Cone Santa.  Two lessons have been posted to date on the project's private Yahoo Group List and I've yet to begin.  Will do so once the holidays are over--lots of fun traveling with visits to friends and family.

Wishing everyone a very Happy and Prosperous New Year for 2018.


Sunday, November 26, 2017

Frankie - Updated 11/26/17

November 26, 2017--My sister sent me this picture of Frankie in its new frame.  Love the texture of the frame and filet.  She says it looks perfect in her living room.  Me---so happy she likes it.


Frankie Framed

Frankie Frame and Filet Closeup

September 11, 2016--Frankie is DONE!  And I love it.  And I wish I could keep it.

This is a gift for my sister which will be given to her when visiting next month in her new Florida home.  Can't wait to see how it will look on her walls.

Frankie Completed
August 20, 2016--Working on Lesson 7 consisting of the background stitches.  There are three parts to this lesson:  Bokhara Couching Pattern for the narrow horizontal and vertical bands, Burden Stitch for the wide vertical bands and lastly the outer border area.  The first of the three parts is done and here's a picture.

Frankie through Lesson 7.33
August 12, 2016--Lesson 6 is completed.  This lesson covered the Walnetos with Jessicas and Eight Point Stars.  Love those stars--they are quick to stitch and the results are beautiful.  The color difference in the stars is due to the fact that in one, the gold is stitched first, while in the other it is stitched last.

The last lesson covers the background or filling stitches, and the braided border.  There's a lot to do here, but now this is a good TV watching project.

Frankie through Lesson 6
August 9, 2016--Lesson 5 covering the Double Fans Doubled and Chilly Hollow stitches is done.  Only four more "diamonds" to fill in, then all that's left are the background stitches.  Rounding the bend to the finish.

Frankie Through Lesson 5
July 24, 2016--Back from traveling in New England and Canada and have finished Lesson 4.   This lesson covered stitches for the Diagonal Padded Waffle and Mini Double Fans (these remind me of pinwheels).  The colors are blending nicely.

Frankie Through Lesson 4
July 11, 2016--Lesson 3 is now complete.  This lesson included the filling for the Diamond Jessicas (which I had already stitched before wrapping up Lesson 2), the Amadeus Stitch on the upper and lower bands and the Wheat Sheafs along the outer edges.  Now on to the really fun stuff--those highly engineered Jean Hilton stitches.

Frankie Through Lesson 3
July 5, 2016--Happily stitching along and have finished Lessons 1 and 2, and half of Lesson 3 (out of a total of 7 lessons).

The instructions call for stitching each of the Diamond Jessicas (DJs) before doing the Waffle Stitches and Circular Jessicas that fit inside the DJs.  I changed this by stitching the Waffle Stitches and Circular Jessicas BEFORE stitching the Diamond Jessicas.  This made it a lot easier for me to properly execute the last stitches that go behind the first section.  So here's my progress todate:

Through Lesson 1 - Plaited Stitch Columns

Through Lessons 2 and Half of 3 - Diamond Jessicas
Filled with Waffle Stitches and Circular Jessicas
June 29, 2016--Three years ago I signed up to stitch Frankie, a project by Michael Boren and Carole Lake of StitchPlay Designs (project photo below).  It was being offered through Shining Needle Society and I was very excited to find it available as an online class.  I had planned to stitch this as a gift for my sister whose home has a bit of Art Nouveau, Art Deco and Frank Lloyd Wright styling. When I visited her that year in 2013, she even helped me to choose threads to go with her decor.

Move forward to 2016 and I've finally begun working on this piece.  The instruction manual along with all the online class materials have a 1.5" width and are quite heavy.  Just reading the pre-work portion of the instructions took some time to wade through.  Well all that's behind me now and below is a picture of the pre-work completed.  It looks a little wonky, so imagine vertical bars with stitching to cover all the traveling threads and bar tacks.

There's a reason for starting this project now--I'm visiting my sister in October to see her new home in Florida (she moved from Dallas, TX) and would like to have this project finished by the end of the visit so I can leave it with her for framing.  I plan on getting at least 75% of it done before I leave.  It's a 19 hour train ride from Delaware to Florida, so should be able to get more stitching done while traveling.

This is a beautiful project and am looking forward to putting color on the canvas.

Frankie Pre-Work Completed
Frankie by Michael Boren and Carole Lake of StitchPlay Designs Project Photo


Sunday, April 2, 2017

Nutcracker Santa - Updated 4/2/17

April 2, 2017--Lesson 4 and the nutcracker is done.  He's a cutie.  The instructions said to leave the space between the red shoulder epulets and hair blank, but I couldn't do that, so filled it in with an ecru colored thread T stitch--a very faint shading of color.

Nutcracker Santa Completed
February 25, 2017--Here's the Nutcracker Santa through Lesson 3.  Love all the shine.  Due to the working threads rubbing against his nose, I'll have to stitch over some of the worn areas.  Will do that at the very end.

Nucracker Santa Through Lesson 3

Nutcracker Through Lesson 3 Side View
February 21, 2017--Last Fall I signed up to take another Janet Zickler Casey online class through the Shining Needle Society (SNS) called Nutcracker Santa.  This is my fourth santa class taken through SNS and I love how clear and easy Janet's instructions are.  Below is a picture of my progress through Lesson 2 (out of 4 lessons).  You've got to love the nose.  It's satin stitches over a shortened cotton swab (like a Q-Tip).

Nutcracker Santa through Lesson 2

Monday, October 17, 2016

Downton Abbey Lady Mary Geometric - 10/17/2016

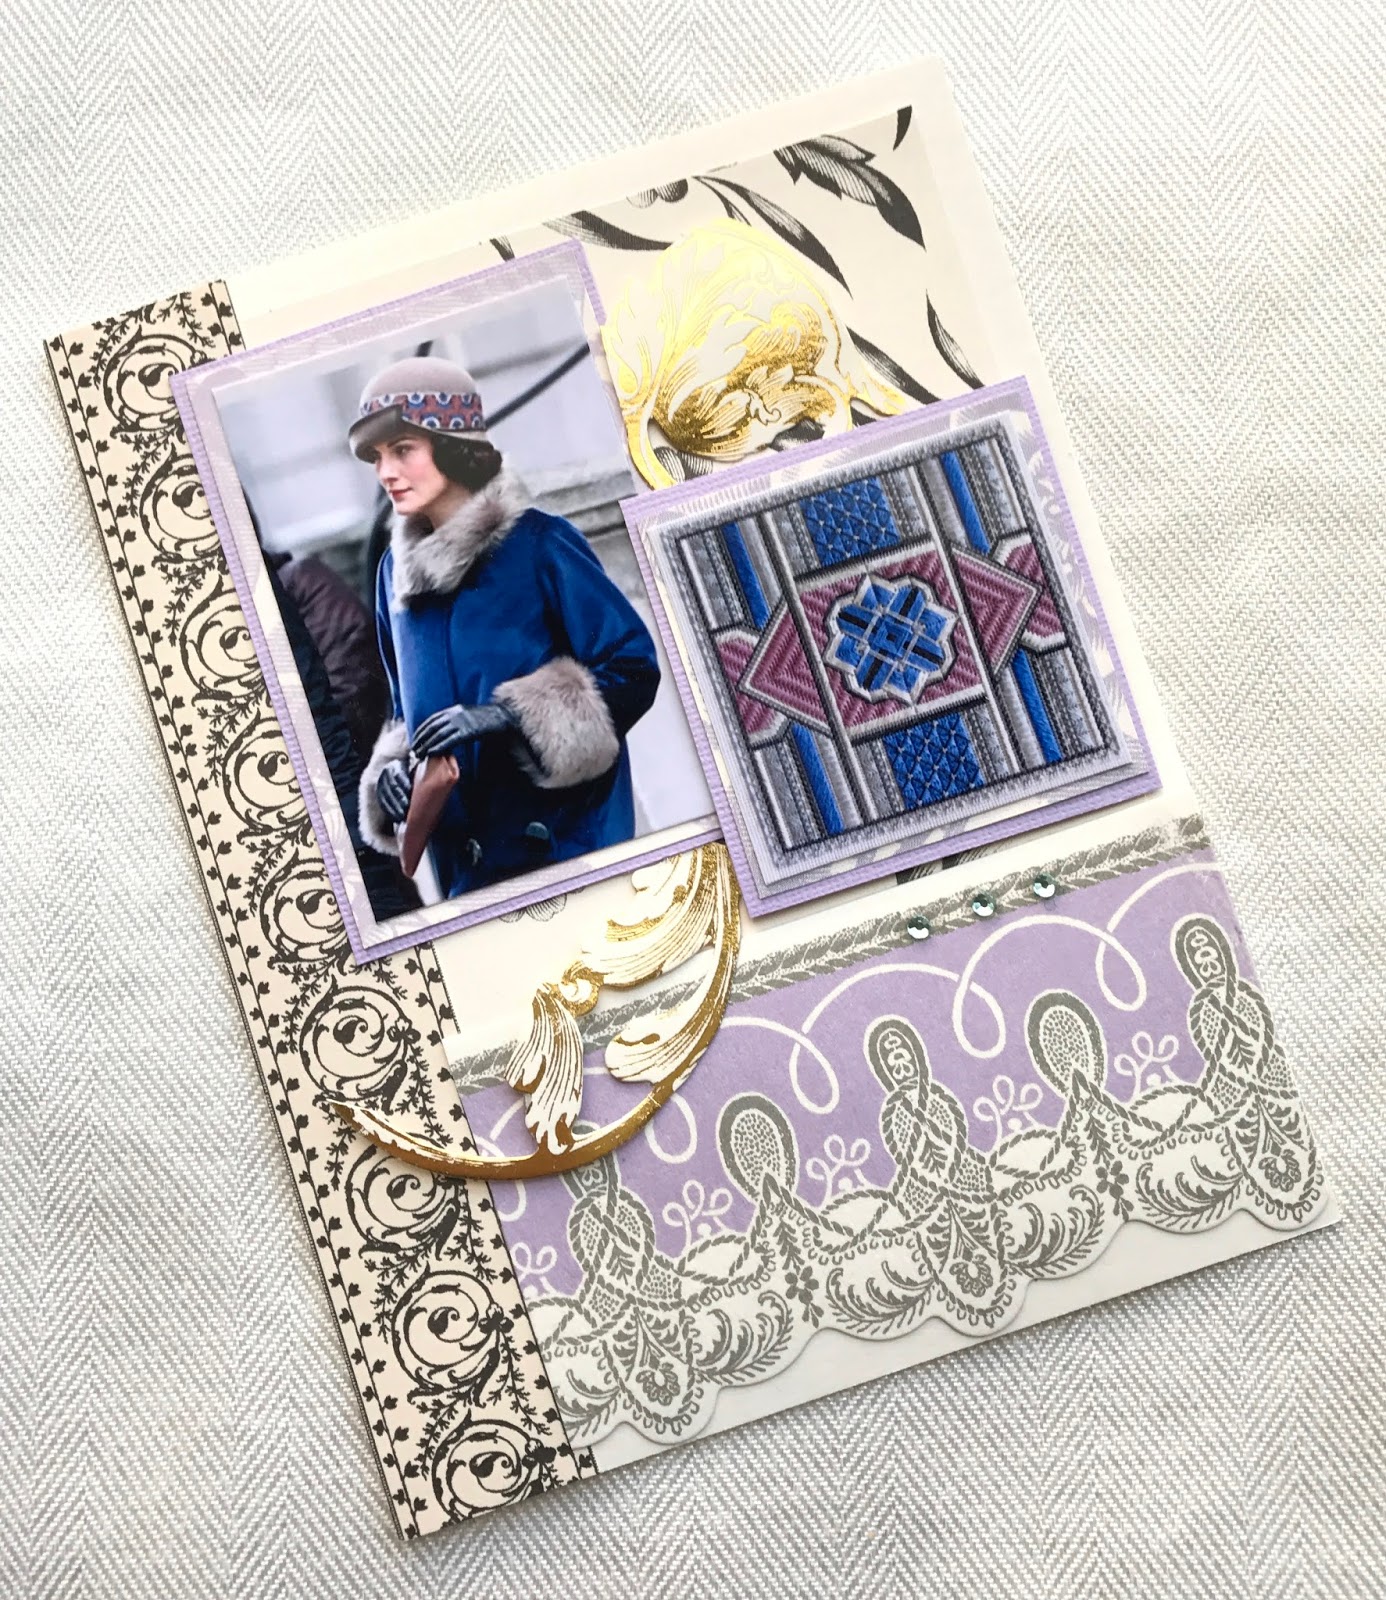
October 17, 2016--The Lady Mary geometric, third of the Downton Abbey designs by Gay Ann Rogers, is now complete.  I've also attached a photo of a card designed by Annette Navarro and sold through Gay Ann Rogers on her website.    Now off to the framer.

Downton Abbey Lady Mary Geometric Completed

Lady Mary Card
October 4, 2016--I am now stitching the last of the three Downton Abbey Geometric designs by Gay Ann Rogers.  More information can be found here.  This one is called Lady Mary and the colors are sumptuous.  The other two , Countess of Grantham and Lady Edith, are done and can be seen by clicking on their project names.  So far, most of the outlining is finished and the upcoming filling stitches will add depth and dimension.  Next posting will be of completed piece.  A view of the project photo can be found by clicking on the In Process Projects under the Page heading on the right.

Downton Abbey Lady Mary as of 10-05-2016


Tuesday, February 9, 2016

Christmas Tree Santa - 2/9/16

February 9, 2016--Completed the stitching of this adorable santa and it, along with some others, will be sent off for professional finishing into ornaments.  Love the beard.

Christmas Tree Santa Completed

January 11, 2016--Signed up to take an online class through Shining Needle Society called Christmas Tree Santa Ornament which is being taught by the designer herself, Janet Zickler Casey.  I love these santa ornaments and plan on working three different ones at the same time (I'll write about each one separately).  The face is stitched and now I'm ready to do the fun stuff--hat, beard and mustache.


Christmas Tree Santa Face Stitched

Thursday, October 22, 2015

Silver Bell Santa Updated 10/22/15

October 22, 2015--Finally finished stitching this delightful santa.  There's lots of dimension on this santa as can be seen in the second picture (but the beads aren't showing).  Will eventually have this santa and others made into ornaments.  How adorable they'll look on my tree.

Silver Bell Santa Completed


Silver Bell Santa Completed Side View

July 29, 2015--Along with the hat, all of santa's hair is stitched--beard, mustache, sideburns and eyebrows.  The last thing to do is the fur on the hat.  The beard is very shiny and had to take a side view so the beads would be visible.

He's a cutie.

All Hair Stitched

Side View of Beads in Beard
May 11, 2015--Signed up to take this class from the Shining Needle Society in December, 2014 and am just now able to work on it.   Only the face has been stitched, but it's nice to see santa "come alive".  Love these Janet Zickler Casey santas--they are fast to stitch and Janet's instructions are so easy to follow.
Face Completed

Wednesday, August 19, 2015

Pumpkin Coasters in Reversible Cross Stitch Updated 8/19/15

August 19, 2015--Stitched the border on the second set of coasters--a gingham pattern in black.  Love how well the technique is working.  The below pictures show front and back of two coasters.  Next step--stitching the cute pumpkins.


Second Pattern Front

Second Pattern Back

August 9, 2015--Signed up to take Catherine Jordan's online class through the Shining Needle Society (SNS) called Reversible Cross Stitch Pumpkin Coasters (project photo below).  There are four coasters to stitch with floss, in two different patterns, on Zweigart Biella 28 count fabric.

Yesterday I began to stitch the outline of one of the designs and discovered early on that I had to increase the magnification of my glasses.  Doing so made a tremendous difference in the quality of my stitches.  The technique learned is a challenge, requiring full attention to each stitch.  Catherine's instructions, however, are wonderful and she even included a password to access a special online, very, very helpful, video to see how the stitches were done.

I also had to zigzag the edges to keep the fabric from unraveling.  Why zigzag using red thread?  It's what was on my sewing machine and I was too lazy (lol) to change the thread.

The whole idea of the technique I'm learning is for the cross stitches to look the same on the front and back.  I've somewhat succeeded with doing this, but hiding beginning and ending threads is still a bit of a challenge for me.  The idea is to NOT have the tails showing under the cross stitches on either side.   Getting there.

First Pattern Front

First Pattern Front Closeup

First Pattern Back

Second Pattern Back Closeup (note:  logo makes the bottom stitches look incomplete)

Catherine Jordan's Reversible Cross Stitch Pumpkin Coasters Project Photo


Monday, December 8, 2014

Stitches for Effect Classes - Baskets Galore, Christmas Stitches I, Under Construction Updated 12/7/14

December 7, 2014--Just completed the third and final set of Stitches for Effect Classes.  This one was called Christmas Stitches I.

I have taken a total of 16 of these Stitches for Effect classes and have thoroughly enjoyed each and every one, learning how to correctly do the various stitches, many of which I still have yet to use in a project.  The additional instructions on how and when to use the stitches was invaluable as was the utilization of a wide variety of threads to stitch the examples.

It is unknown if Suzanne Howren will continue to make these classes available through the Shining Needle Society, but I hope she will.

Below is an example of a stitch that can be used for beards and hair which was fun to do.

Class Christmas Stitches I Example


July 29, 2014--Finished the second of three Stitches for Effects Classes called Under Construction. Enjoyed stitching the samples except for one.  It's called Random Cashmere and the instructions stated to randomly place blocks of cashmere stitches within the sample stitching area.  My problem is with the word "random".  I had to first draw the stitch placements on graph paper before transferring the design onto canvas.  The result is a mishmash of blocks, and it most certainly is random.  Below is a picture of the results (ran out of thread, but you can see how I did).

Random Cashmere
June 3, 2014--Finished one of Beth Robertson and Suzanne Howren's stitch classes called Baskets Galore (taken through the Shining Needle Society).  This series will definitely come in handy.  I especially loved the stitch below called Battlement Couching.   Two classes to complete and I'll be ready for another series.  Can't get enough.

Class Baskets of Galore Battlement Couching
January 17, 2014--Beth Robertson and Suzanne Howren have done it again.  Their new batch of Stitches for Effect classes are now available at Shining Needle Society (SNS) and I've signed up for all three shown below.  The online lessons begin March 15 and run through May 15, 2014.


Baskets Galore

Christmas Stitches I

Under Construction

Saturday, March 15, 2014

Asian Journey

March 15, 2014--Recently signed up to take Judy Souliotis' online class through Shining Needle Society called Asian Journey.  Class will run April 15 through July 31, 2014.  It's a beautiful piece on congress cloth and I chose the blue colorway.  Am not sure if I will stitch the sedans throughout the piece or chose the alternate design (both shown below).
Asian Journey Project Photo

Asian Journal Alternate Project Photo