Statcounter

Showing posts with label Floral. Show all posts

Friday, March 11, 2022

Rose in Assisi Technique - 3/11/22

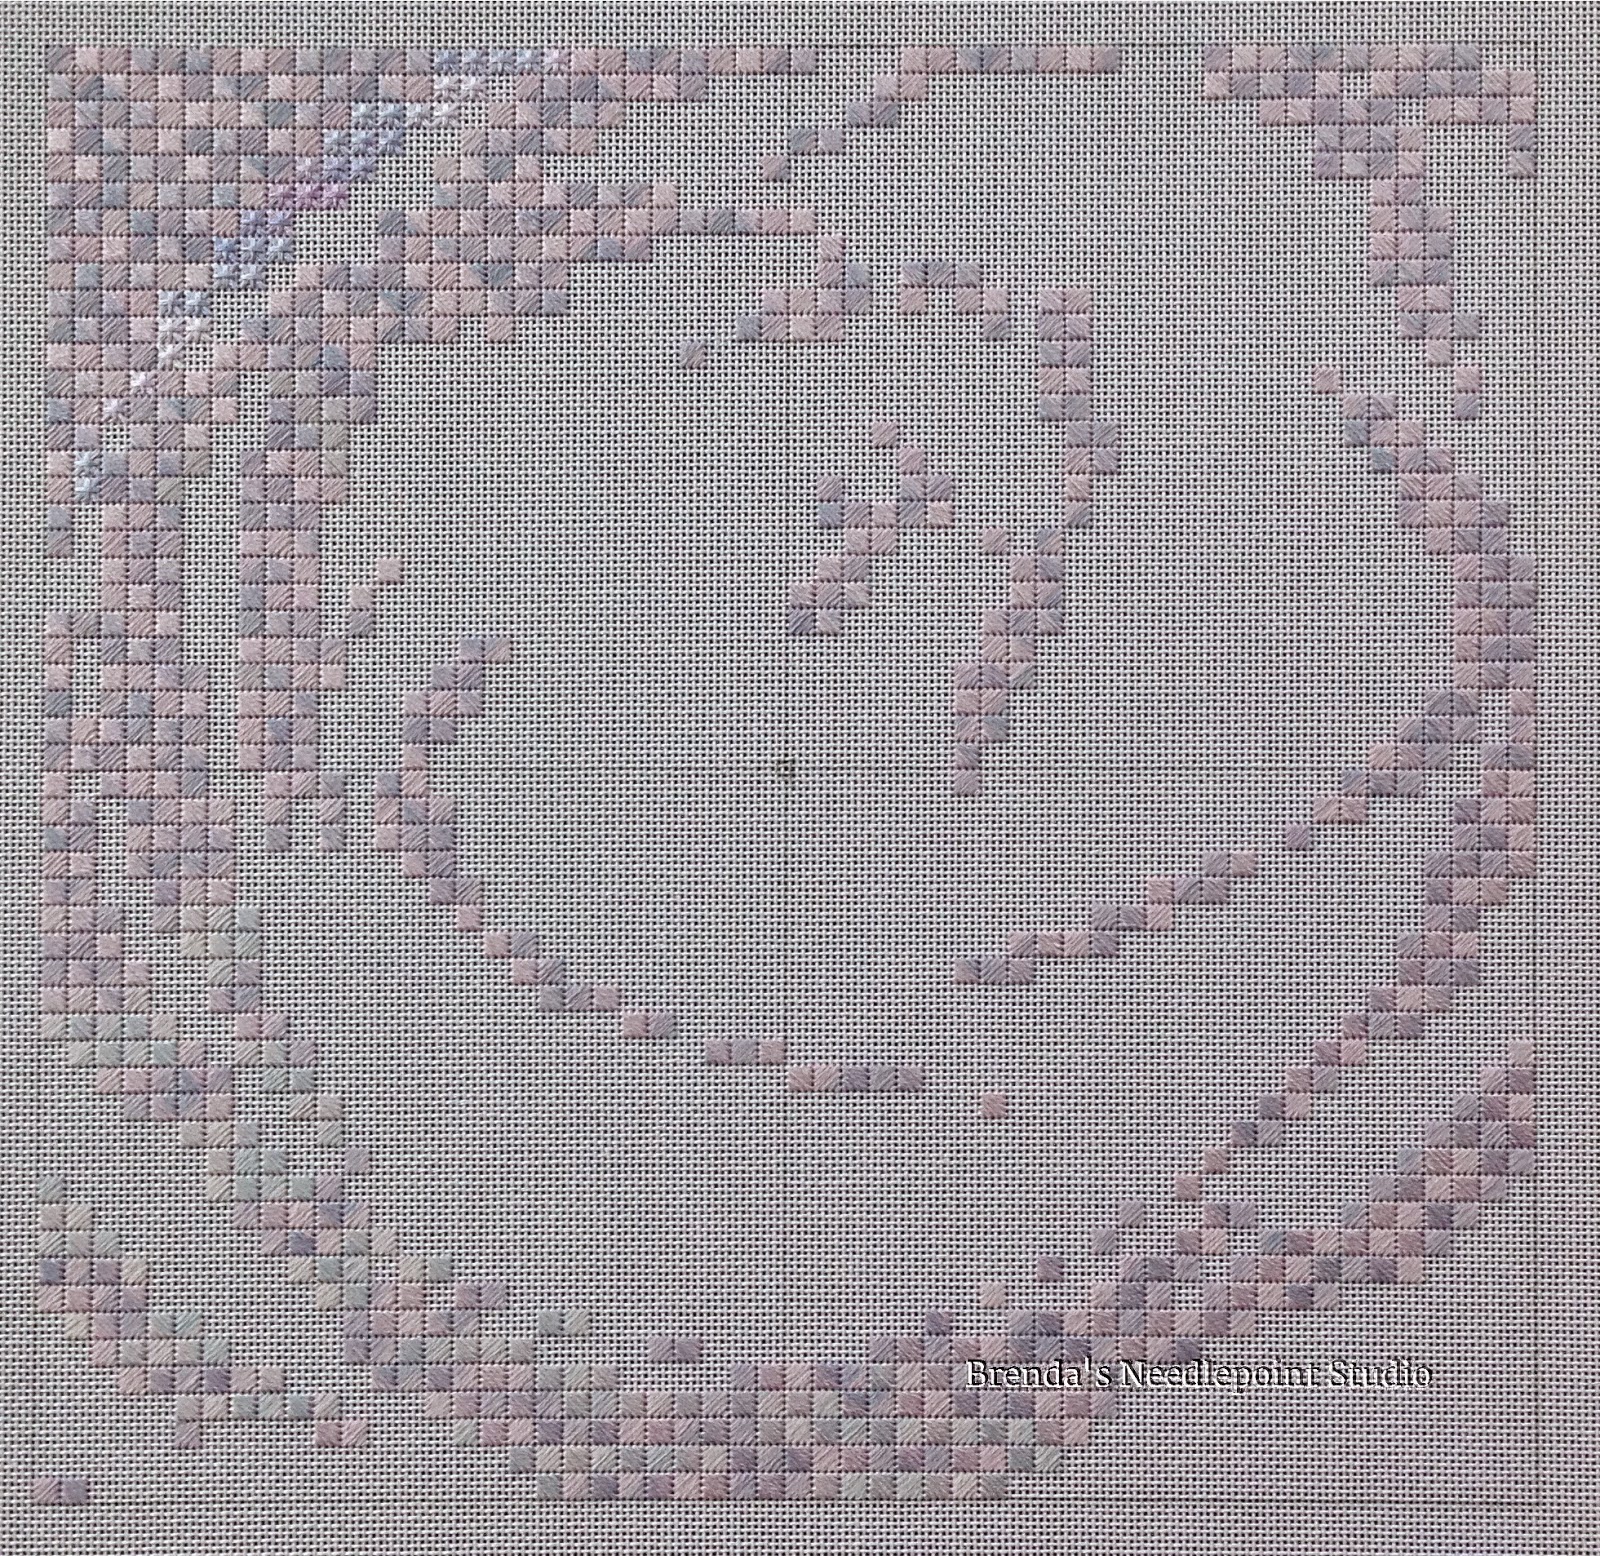
March 11, 2022--The March meeting program of Delaware's Seashore Chapter of ANG consisted of learning the Assisi technique while cross stitching a rose.  This results in a negative effect where the background is stitched, and the central design is left blank.   Thank you, Bobbie R., for introducing us to this style of stitching and I look forward to working up more designs using this technique.  

This project was stitched on 28 count Jobelin linen with two strands of DMC over 2 threads of fabric, effectively making it 14 count linen.  I think the result is quite dramatic.


Rose Assisi Technique on an Embroidery Hoop (stitching in the "well" to make it easier to end threads on the back of this small project)


Rose Assisi Technique Framed (please ignore a small reflection of light on the bottom)


Tuesday, November 16, 2021

Bargello Rose - Updated 11/16/21

November 16, 2021--Just picked up this project from Michael's Arts & Crafts in Rehoboth Beach, DE and love it.  The mats coordinate perfectly with the rose and stem while the frame picks up a bit of copper in the border stitches.    

Bargello Rose Framed


Bargello Rose - Updated 7/14/21ly 14, 2021--The stitching on this beautiful rose is finished and the project is ready for framing.  Learned a number of new things and am proud to have gotten through some of the more difficult segments.  Love the border stitch and it has a surprise of shiny color along the upper and lower edges which doesn't show in the photo.  We students had the option of using Chinese characters in the "chop" block or our initials and date.  I opted for the latter.  Now for an oriental styled frame and mat.  Stay tuned.

Bargello Rose Completed


July 5, 2021--Happy Independence Day Holiday.

Had some time yesterday to begin working on a new project offered by ANG's CyberPointer Chapter called Bargello Rose designed by Wendy Moore.  The lessons are offered over five days during the chapter's online July meeting and are wonderful supplements to the instruction manual received with the kit (canvas and threads).   It's a huge piece--the canvas measures 18" x 11" and when framed, will be quite large.  

Finally got it through my thick skull on how to work the direction of bargello stitches--if you're going up the canvas, the stitches are done in a downward direction (from top to bottom).  If you're going down the canvas, the stitches are worked in an upward direction (from bottom to top).  Then, of course, I need to remember to make a tacking stitch to change direction.  

Here is the rose worked through most of Lesson 2.

Bargello Rose Lesson 2 Partial - Closeup


Bargello Rose Lesson 2 Partial


2 comments:

  1. VERY NICE, i NEED TO START MINE.

    ReplyDelete
  2. I love the canvas your using and the bargello so far is beautiful ! Can't wait to see more !

    ReplyDelete

Thursday, June 28, 2018

King's Tulip II - 6/28/18

June 28, 2018--In 2010, I purchased this beautiful project by Margaret Kinsey offered through the Shining Needle Society.  I finished stitching the upper portion of the tulip as well as the side petals, padded the tulip's interior, as pictured below, and decided to go no further.  After re-reading the instructions, I can see why.  I'm at the point where the cutting of purls is in order and this is all new to me.  However, after reading about the beautiful goldwork projects done by D1D2 on her blog, I have learned a lot and feel confident that I can tackle this head on (famous last words).  I plan on doing the cutting and stitching of the gold purl pieces during the day, sitting at the table in my craft/sewing room where I have plenty of light.

Wish me luck.

King's Tulip II to Date


To see the project photo, please click on "In Process Projects" under Pages on the right.

Friday, March 9, 2018

Shades of Christmas Poinsettia Ornament - Updated 3/9/18

March 9, 2018--Took a moment to finish this into a Christmas ornament.  The instructions couldn't have been easier--stitch 2 pieces of linen together on 3 sides using a running stitch, make the cord for hanging, stuff a piece of batting between the two pieces of fabric, then finish stitching (catching the cord).  All that's left is to remove some threads around the ornament--finished.

Ornament Poinsettia Shades of Christmas Front


Ornament Poinsettia Shades of Christmas Back

May 10, 2017--This pretty little poinsettia is complete and all that needs to be done is turn it into an ornament.  I really like the variations in the thread colors, but think the size used--Caron Wildflowers (perle 8 to 12 equivalent), is too thin and doesn't cover the linen as well as I would have liked.  Maybe once it is pressed the thread will "flatten" out and cover more.

Ornament Shades of Christmas Poinsettia Completed
May 4, 2017--I am nearly finished "cross stitching" a beautiful Christmas poinsettia called Shades of Christmas led by Bobbie R. of Delaware's Seashore Chapter, ANG.  I am learning a little about cross stitching (this being my second chapter project) and like how pretty the projects are along with the challenge of counting stitches and thread color changes (I think the crosses are all going in the same direction).  Once the green leaves are stitched, I plan on making this into a very simple ornament with fringed edges.

This is a free chart designed by Crossing Montana for Eterna Silk.  However, I'm using Caron Wildflowers for the threads.  Love the variegations.

Ornament Shades of Christmas Poinsettia

Thursday, February 2, 2017

American Beauty Rose - Updated 2/2/17

February 2, 2017--Made this beautiful rose into a piped knife-edge pillow.  I like the way it looks more like a rose now that the padding rounds out the center.   And the fabric color adds a nice "frame".  All in all, very happy with the results.  My Bernina sewing machine has programming for simple numbers and letters, so I added the following to the back since it's a gift for my mother.

Happy 90th Birthday Mom

Marie-Rose Irene Cote

With Love From

Yours Truly

February 15, 2017

I added her name so the staff at the nursing home where she resides will know it's hers if it happens to "walk".


American Beauty Rose Finished Front

American Beauty Rose Finished Bac

January 8, 2017--Done, and in plenty of time to make this rose into a pillow to give my mother on her 90th birthday next month.  It's an unusual piece--you need to stand far back to actually see a rose.  Once it is piped with a dark purple fabric, the rose should be easier to view.

American Beauty Rose Competed on Stretcher Bars

American Beauty Rose Completed
December 15, 2016--Wow, it's been over 2 years since I last worked on this project.  And work on it I must now do!  This is going to be a gift for my mother's 90th birthday in February and I have a lot yet to stitch.  I have a small suspicion that it won't get done in time.  If that happens, I'll show her the project and explain it'll be a beautiful pillow when done--and promise she'll get it ASAP.   In the meantime, however, I'll stitch on it furiously and see if I can make the finish happen in time.

American Beauty Rose as of 12/14/16
November 30, 2014--Status to date.  Thought I would do as Liz Morrow has done with her rose (she's stitching hers in neutral tones) and complete a full quadrant.  Still am unable to see the rose yet.  Will now go back to working on one color/stitch at a time.


American Beauty Rose Upper Left Quadrant
American Beauty Rose Upper Left Quadrant Completed
10/13/14--This project has 8 different stitches done in 8 different colors.  The picture below shows the first color and stitch done, and a little of the 2nd one started (the canvas color is Lavendula/Lilac).

Not doing a lot of stitching these days--have been traveling and more trips are planned.

Stitch and Color One
8/11/14--While at the 2012 ANG Seminar in San Antonio, TX, I purchased instructions for DebBee's Designs American Beauty Rose with the intent of stitching this project for my mother's 90th birthday, using her favorite colors in the violet/lilac range.  Well, she'll be 90 in a little over 2 years and I figure I better get this started sooner, rather than later.

Since I'm not really good at making color substitutions--in this case from reds (listed in the directions) to violets, I wrote Debbie Rowley of DebBee's Designs for help.  Wow, she really was very helpful.  Debbie went to her LNS, The Stitcher's Garden in Conway, AR and worked with Lynda Bass Gaiser, first gathering the red colorway, then finding the perfect violet/lilac threads.  Debbie sent me the first picture below and asked if the colors they chose would work.  I immediately responded with YES! and ordered her suggestions from Lynda.  The second picture is a closeup of the violet threads that came in the mail yesterday.   Cannot wait to begin stitching.  Soon.......
Thread Comparisons--Reds to Violets

Violet Colorway


DebBee's Designs American Beauty Project Photo

Sunday, September 4, 2016

Rose Swirls - Updated 9/4/16

September 4, 2016--I am so pleased to report that this project, Rose Swirls, won a second place ribbon in Category 3 for Independent Projects (Non-Professional) at the 2016 American Needlepoint Guild (ANG) Seminar Exhibit in New Orleans, LA.   I feel this venue is the pinnacle of exhibits with the most stringent judging, and winning ANY ribbon is something to be extremely proud of.

All in all, very happy.

Second Place Ribbon Won at ANG 2016 Seminar
March 18, 2015--Won 2nd Place Ribbon in the Canvaswork-Multi category at Woodlawn's 52 Annual Needlework Exhibition in Alexandria, VA.

November 18, 2014--From January through April of this year, 2014, I participated in an ANG pilot stitch program and am finally able to write about this beautiful project.  It's called Rose Swirls and is designed by Carol Algie Higginbotham.  This is the first time I've done anything as a pilot stitcher online and thoroughly enjoyed the process.  Of course, Carol's written instructions and photographs were wonderful and I had very few comments to make to assist Carol in preparing her final classroom instructions.

BTW, this is now an ANG Correspondence Course and can be found at this link.


Rose Swirls Completed
I only made two changes to Carol's instructions.  The first involves the outlining.  Her instructions called for a stem stitch outline which I changed to couching.  I've not had good luck doing stem stitches--the lines are more zig zag in fashion instead of straight or curved.  So I purchased perle 5 in the same colors as the floss being outlined and couched the perle with one strand of matching floss.  It worked great for me.   The picture below shows the raised, couched outline.

Rose Swirls Raised Couched Outline
The second change was to add a trellis darning pattern to the background.  Her instructions didn't call for anything in the background, but I wanted to place the project in a square frame, so needed to do something with all that blank space.  I really like how it came out.

I learned a number of new things doing this project--ribbon embroidery being one of them.   I loved the petite ribbon roses and also used ribbon to make some of the french knots.  Of course, the feather stitches were done in a random fashion which I'm not a big fan of, but they too came out well.  Many of the white pulled work stitches inside the circle were new to me and again, had a lot of fun working them.

The last picture shows how this piece is framed.

Rose Swirls Framed


Tuesday, May 31, 2016

Orange Grove - Updated 6/8/16

June 8, 2016--Found the perfect frame, and this lovely piece now sits on the night stand in my guest bedroom.

Orange Grove Finished
May 31, 2016--Have just returned from two weeks out West (brief itinerary below), and while traveling around by car, was able to complete the stitching on this delightful little project.

However, please don't look at the stitching too closely.  Some of the roads were quite rough and bumpy. and trying to get an even tension while laying two threads proved to be a challenge.   Also was distracted by the beautiful scenery along the way.

The places we visited:

Badlands National Park, SD
Mt. Rushmore, SD
Devil's Tower, WY
Yellowstone National Park, WY
Grand Tetons, WY
Grand Canyon North Rim, AZ
Snow Canyon, UT
Zion National Park, UT
Death Valley, CA
Las Vegas, NV

Orange Grove Completed

May 14, 2016--Orange Grove, otherwise called Introduction to Paradise, is a pretty little project by Lois Caron and taught to our ANG chapter in March 2014 by one of our members, Pat vd A.

My husband and I are traveling for the next few weeks and I wanted to work on something I could easily hold while riding in a car.  This piece is perfect.  I started working on it to be sure it wasn't too complicated and believe I can complete it while on the road--it's that easy.  So here's a picture of what's been done to date and hopefully the next picture will be of a completed project.

Orange Grove as of 5/13/16

Orange Grove Project Photo

Wednesday, April 22, 2015

Winter Table by Melissa Shirley 4/22/15

April 22, 2015--Have just returned from a two-day class for a beautiful painted canvas called Winter Table, designed by Melissa Shirley (project photo below) and taught by Laura Taylor.  It was held at Louise's Needlework owned by Jill Mashburn Elia in Powell, Ohio.  

We had a bonus third day with Laura who helped us with stitches and embellishments for our own canvases.  Learned even more (including ribbon work) by watching and listening to what she said to each student.   I'm a very happy camper indeed!

Winter Table by Melissa Shirley Designs Painted Canvas Project Photo
Laura Taylor, Instructor, and Jill Mashburn Elia, Owner of Louise's Needlework


What fun we had learning to embellish this piece with a wide variety of stitches and threads in ways I would never have dreamed of.  Laura Taylor gave us instructions on how to do each section with lots of examples and in such a way as to keep our attention (with much humor too).  This was the first time I've taken a class from Laura and look forward to the next opportunity to do so again.  

Jill, the delightful owner of Louise's Needlework, was a most gracious host--and so very organized. She, along with Emily and Karen who work with her at the shop, had everything ready for us when we arrived. The canvas was taped and tacked to large stretcher bars, all the threads and beads (with matching beading thread) were placed in labeled bags and held together on a ring.  Extras such as paints, paint brush, felt, tracing paper, needles, eyelash thread, and twill tape were in a separate bag and labeled. Other necessities such as glue, paper towels, plates and toothpicks were on each table. Then we were given a large clear, zippered project keeper with handles to place everything in when we were ready to leave.   Jill also lent us floor stands, lighting and lots of plugs, as needed.  

And when we were hungry, delicious lunches were brought in for all 3 days, along with snacks, beverages, etc.  There were bagels and coffee in the morning too.  We wanted for nothing!

And finally, I had a most wonderful time with my classmates who not only came from the local area, but from places far and wide.  Some of us stayed at the Nationwide Hotel & Conference Center where Jill negotiated a special rate for class participants and arranged for van transport to and from her shop each day.  The two room suite was first class and I so much appreciated not having to worry about transportation.

On this piece called Winter Table, I learned lots of new techniques, such as stitching the chrysanthemums with TG Eyelash and beading the centers in such a way as to give a 3D effect.  The paper white petals are padded then beaded--wow, really pretty.  The small white flowers are made with, or all things, Wrights Twill Tape.  We also learned how to shade the leaves with paint instead of using thread.   The pine cone is given dimension using a "lazy daisy" twist.   This is a large project (for me) and I plan on taking my time with each section.

This is a canvas I fell in love with when it first came out.  It so looks like my husband's sun room where he grows paper whites, christmas cactus, etc. and where we see cardinals out the window.  Our female cardinals have more red on their crown and wings than the one painted on the canvas, so I'll add some color to the pretty bird.  Also, our christmas cactus has red blooms, so again, will make a color change.

Female Cardinal
I'll post again as more progress is made on the various sections.


Monday, June 30, 2014

For Grace Updated 10/13/14

October 13, 2014--For Grace has been framed and is hanging in my friend's kitchen.  The frame and matting are perfect.


June 30, 2014--Have completed this project and delivered it to my friend and neighbor.  She loves it and it looks wonderful with her wall color and decor.  I'm so glad.

For Grace Completed

For Grace Border Closeup
June 25, 2014--Wasn't happy with the Frosty Rays color I chose to use in Block 3--it took on a greenish tone in bright light and since this is to be a gift, it has to be perfect (which means--no green).  So did some frogging last night and replaced the Frosty Rays with Impressions.  Am much happier since it is balanced by the Impressions used in Block 1.   Now on to the border flowers and leaves to finish.


For Grace Block 3 Revised

For Grace Through Block 3 Revised
June 8, 2014--The fourth quadrant called Wild Rose Block is finished and am now ready to work on the borders.  Will be done soon.  This has been an absolute pleasure to stitch.

For Grace Block 4 Closeup

For Grace through Block 4

April 18, 2014--The third quadrant called Lily Block is done.  Need to work on other things for now, so probably won't finish this in April as hoped.  It'll call to me in June.

For Grace Block 3 Closeup

For Grace Through Block 3
April 6, 2014--The second quadrant called Dogwood Block is done.   I'm going to try to finish this piece this month.

For Grace Block 2 Closeup

For Grace through Block 2


April 2, 2014--Finished the first quadrant called the Tulip Block.  It's so pretty and Pam Gardner's instructions are very clear.  Each block has a list of threads used and since I wasn't using Pam's color choices and alternates, I nearly missed the far right column which lists the number of strands to be used for each color and the length to cut.  So glad I caught that and it's very helpful to know how much thread to use for each section.  Thanks Pam for adding this to the Thread Usage List.

For Grace 1st Quadrant called Tulip Block

For Grace Through 1st Quadrant


February 24, 2014--While in Pennsylvania last weekend visiting Longwood Gardens, I took the opportunity to shop at Fireside Stitchery in Frazer to purchase the threads needed for this project.  With the help of Tony, we pulled the threads recommended for the blue-purple colorway, then he left me on my own to choose colors to match my friend's paint and fabric samples.  Had a wonderful time and the best part is that the shop had all the thread brands I wanted.  In fact, there isn't much they don't have.   The picture below shows the colors chosen and how well they match the paint and fabric samples.

For Grace Project Threads


December 13, 2013--Have enrolled in ANG's Cyberworkshop by Pam Gardner called "For Grace".  The online class runs from March 1, 2014 through July 1, 2014.  When completed, this will be given as a gift to my dear friend and neighbor for her to hang in her kitchen,  but she will need to frame it herself. She is aware of this project and I have her fabric and paint samples to use for thread matching.  I can't wait to begin.  Please click on the above tab called In Process Projects to see a picture of the designer's finished piece.