Statcounter

Showing posts with label 2022 Completions. Show all posts

Tuesday, September 19, 2023

Game is On Checkerboard - Updated 9/19/23

September 19, 2023--Won an Honorable Mention Ribbon in the Canvaswork/Needlepoint category at Rehoboth Beach Museum's 11th Annual Needlework Exhibition in Rehoboth Beach, DE.  So pleased.

February 5, 2023--My local framer, Michael's Arts and Crafts in Rehoboth Beach, DE, had a devil of a time putting together the frame that was part of the "Game is On" checkerboard kit.  It's an adorable frame with grooves for holding checkers, but the frame itself wasn't squarely cut or mitered evenly, so it looks a bit wonky and uneven.  She showed me some of the problem areas, but personally, I don't think it's that bad, so after two tries, I took it home.  

The frame and checkers that came as part of the kit were unfinished.  In my earlier blog about this project (see the postings below), I wrote about having to spray paint the frame and paint the checkers with a brush.   The frame was very easy to spray paint and any unevenness doesn't show since the color is "clear".  Painting the checkers was a bit more of a challenge since I've never done anything like this and had to handle each checker nine times to get the top, side and bottom painted twice, then placed one coat of shiny stuff on all twelve checkers.  Whew!  

So here's a picture of the results.  It's really very cute and sits on the bottom shelf of my living room coffee table.


Game is On Checkerboard Finished


January 24, 2022--Just completed stitching 6 rows of basketweave in black all around the checkerboard so the canvas will be totally covered under the glass inside the frame.  I also purchased a can of polyurethane to spray the frame, but this won't get done until the weather warms up (want to do this outdoors in fresh air).  I also need to purchase some paint for the checker pieces.  Lots of bits to take care of, but when done, this will be quite the conversation piece.
Game is On Checkerboard Completed

January 7, 2022--This project is stitched EXCEPT for additional rows needed so that the checkerboard will fill up the the frame that came as part of the kit.  I need about 6-7 rows in black basketweave around the project, so I'll do 6 rows then paint a couple of canvas threads in black in case the canvas does show.  

Game is On Completed Except for Black Border

December 22, 2021--The stitching is done through Area 8 of this interesting project.  I'm loving the stitches, threads, and even the unusual colors.  The next border sections, Areas 9, 10 and 11, should go quickly now that I'm over halfway done. 

I met with the manager of the framing department in Michaels Arts & Crafts who is willing to help me learn how to paint the frame for this piece, along with the checkers.   Once the project is completely stitched and the frame painted, she will then insert the checkerboard into the frame after she has put it together.   Fun.

Read below for more information about the source of this project.


Game is On Stitched Through Area 8


December 2, 2021--The checkerboard portion of this project is now completely stitched and I'm ready to work on the borders.  They look very interesting with a bit of a challenge.   


Game is On Checkerboard Portion Completed


November 20, 2021--I've begun working on a Pilot Stitch project for Susan Hoekstra of Foxview Needlepoint called Game Is On.  It's a beautiful checkerboard with amazing stitches using wonderful threads, some of which don't require a laying tool (yay!).  So far, I've stitched 36 of the 64 squares, so am a little over half done with the checkerboard portion.

Susan will be teaching this piece at ANG's 2022 Seminar in Tucson, AZ and a photo of the project can be seen on ANG's website (click here).  

The kit not only includes a line drawn canvas with delicious threads and excellent instructions, it also comes with a frame that has grooves to hold the checkers that are not in play.  Cool.  The hard part, though, is having to paint the frame and checker pieces.  Since I've never done anything like this, I'll have to ask someone at Michael's Arts & Crafts how to go about getting it done right (if I can find someone there who can help me).  Stay tuned on this bit.

Game is On Checkerboard Half Done


Sunday, November 6, 2022

Patriotic Ornament - Updated 11/6/22

November 6, 2022--Finished this fun project into an ornament in time to display on Veterans Day.   

See prior post below for more information about this project.


Ornament Patriotic Finished Front

Ornament Patriotic Finished Back

Just learned this will be a class taught by Ann Strite-Kurz at Denise's Needlework Shop in St. Michaels, MD sometime in the Spring of 2023.   If interested, call Denise for more information.


October 18, 2022--At the October 3rd meeting of Delaware's Seashore Chapter of ANG, one of our members, Ann Strite-Kurz (also a well-known designer and teacher) held a class on stitching her Patriotic Ornament. 

Working on this ornament was such a pleasure with lots of challenges and surprises.  Now all I need to do is finish it into an ornament.   The pencil markings on the edge of the circle will disappear as part of the seam allowance.

Patriotic Ornament Completed


Saturday, November 5, 2022

Heart My Patriotic - Updated 11/5/22

November 5, 2022--Finished this heart into an ornament using a 3 color, 6 ribbon Kumihimo braid as cording around the edge.   Note to self--be sure to maintain the cord twist when pulling it tightly around the corner of the heart.

See prior blog entries (posted below) for more information about the heart.


Heart My Patriotic Finished Front


Heart My Patriotic Finished Back


I tried something different in the finishing process--instead of using my glue gun to piece the front and back together, I used a new glue pictured below.  It enabled me to take the time needed to move the front and back pieces together in perfect alignment, then hold them with clips.  After less than an hour of drying, it was ready for the cording to be placed around the heart with my glue gun.

This was a game changer for me because my back is usually a smidge larger than the front (done on purpose so the cording sits a little forward on the ornament).  When I used a glue gun to put them together, I didn't have time to make adjustments because the glue would dry so fast, so something wouldn't be right on one side or the other.  This Tacky Glue gave me time to move things around a bit for a perfect balance all around before the front and back dried securely in place.


May 7, 2022--This patriotic heart worked up quickly, especially since the groundwork had already been done by Vicki T (silver outline and horizontal separation line).  The stitches were fun and as always with Nancy Cucci's designs, the beading makes it all pop.  

My Patriotic Heart Completed

April 29, 2022--In 2020, I purchased this project from the estate of an old friend and co-member of the Northern Virginia ANG Chapter.  She and I were seminar roomies for a couple of years, and I miss her dearly.   

This heart, designed by Nancy Cucci, is called My Patriotic Heart and is just the kind of piece I like to work on.  Nancy's instructions are very detailed and easy to follow.  Below is a photo of what my friend had stitched while taking this at an ANG seminar class years ago.  It'll be a pleasure to finish it for her.

My Patriotic Heart Partially Stitched by VT


Thursday, October 6, 2022

Dragonfly Mandala - Updated 10/6/22

October 6, 2022--Stitching on this challenging project is now complete, and the piece has been ironed as well as possible.  Now off to the framer (she has her work cut out for her in getting this evenly placed on a mounting board).  I'll have it mounted on top of black paper so the holes made by the pulled stitches will show nicely.

I learned a lot of new pulled thread stitches, e.g., Honeycomb Darning, Faggot Stitch, Double Cable and Pulled Upright Cross.  The paths taken for the lovely blackwork sections were very complex, so much so that I had to check off each stitch taken on the charts so as to not lose my way.

Please see the prior blog posts, below, for more information about this piece.

Dragonfly Mandala Completed

July 17, 2022--One of the classes I'm taking at ANG's Seminar in Tucson, AZ in August is a project called Dragonfly Mandala by Terri Bay (project photo can be found below).  Terry describes this as a blackwork, whitework, and pulled thread sampler.  I've taken other classes from Terri (most recently at the Hardanger University in Myrtle Beach, NC in 2019) and find her instructions to be complete and easy to follow.

For the class at seminar, students are asked to prework the outline, and we received our kits with enough time to get this done.  I did laugh though when I read the prework would take between 6 to 10 hours to complete.  Hah!  With all the miscounting I did which required constant ripping, ripping and more ripping, I probably put in three times the amount of time suggested.  It got so bad at times that I seriously considered calling ANG to tell them I wasn't going to take the class since I forgot how to count.  Of course, this is done on 28 count linen which isn't the easiest to see.  Well, I persevered and below are pictures of the results (one with and one without basting).  So, I'm all set to take this class and hopefully will enjoy it much more than the prework.  

Hope to see you in Tucson.


Dragonfly Mandala Prework (Basting Removed)

Dragonfly Mandala Prework (With Basting)

Dragonfly Mandala Designed by Terri Bay Project Photo


Friday, August 19, 2022

Ornament Diamond Drops - Updated 8/19/22

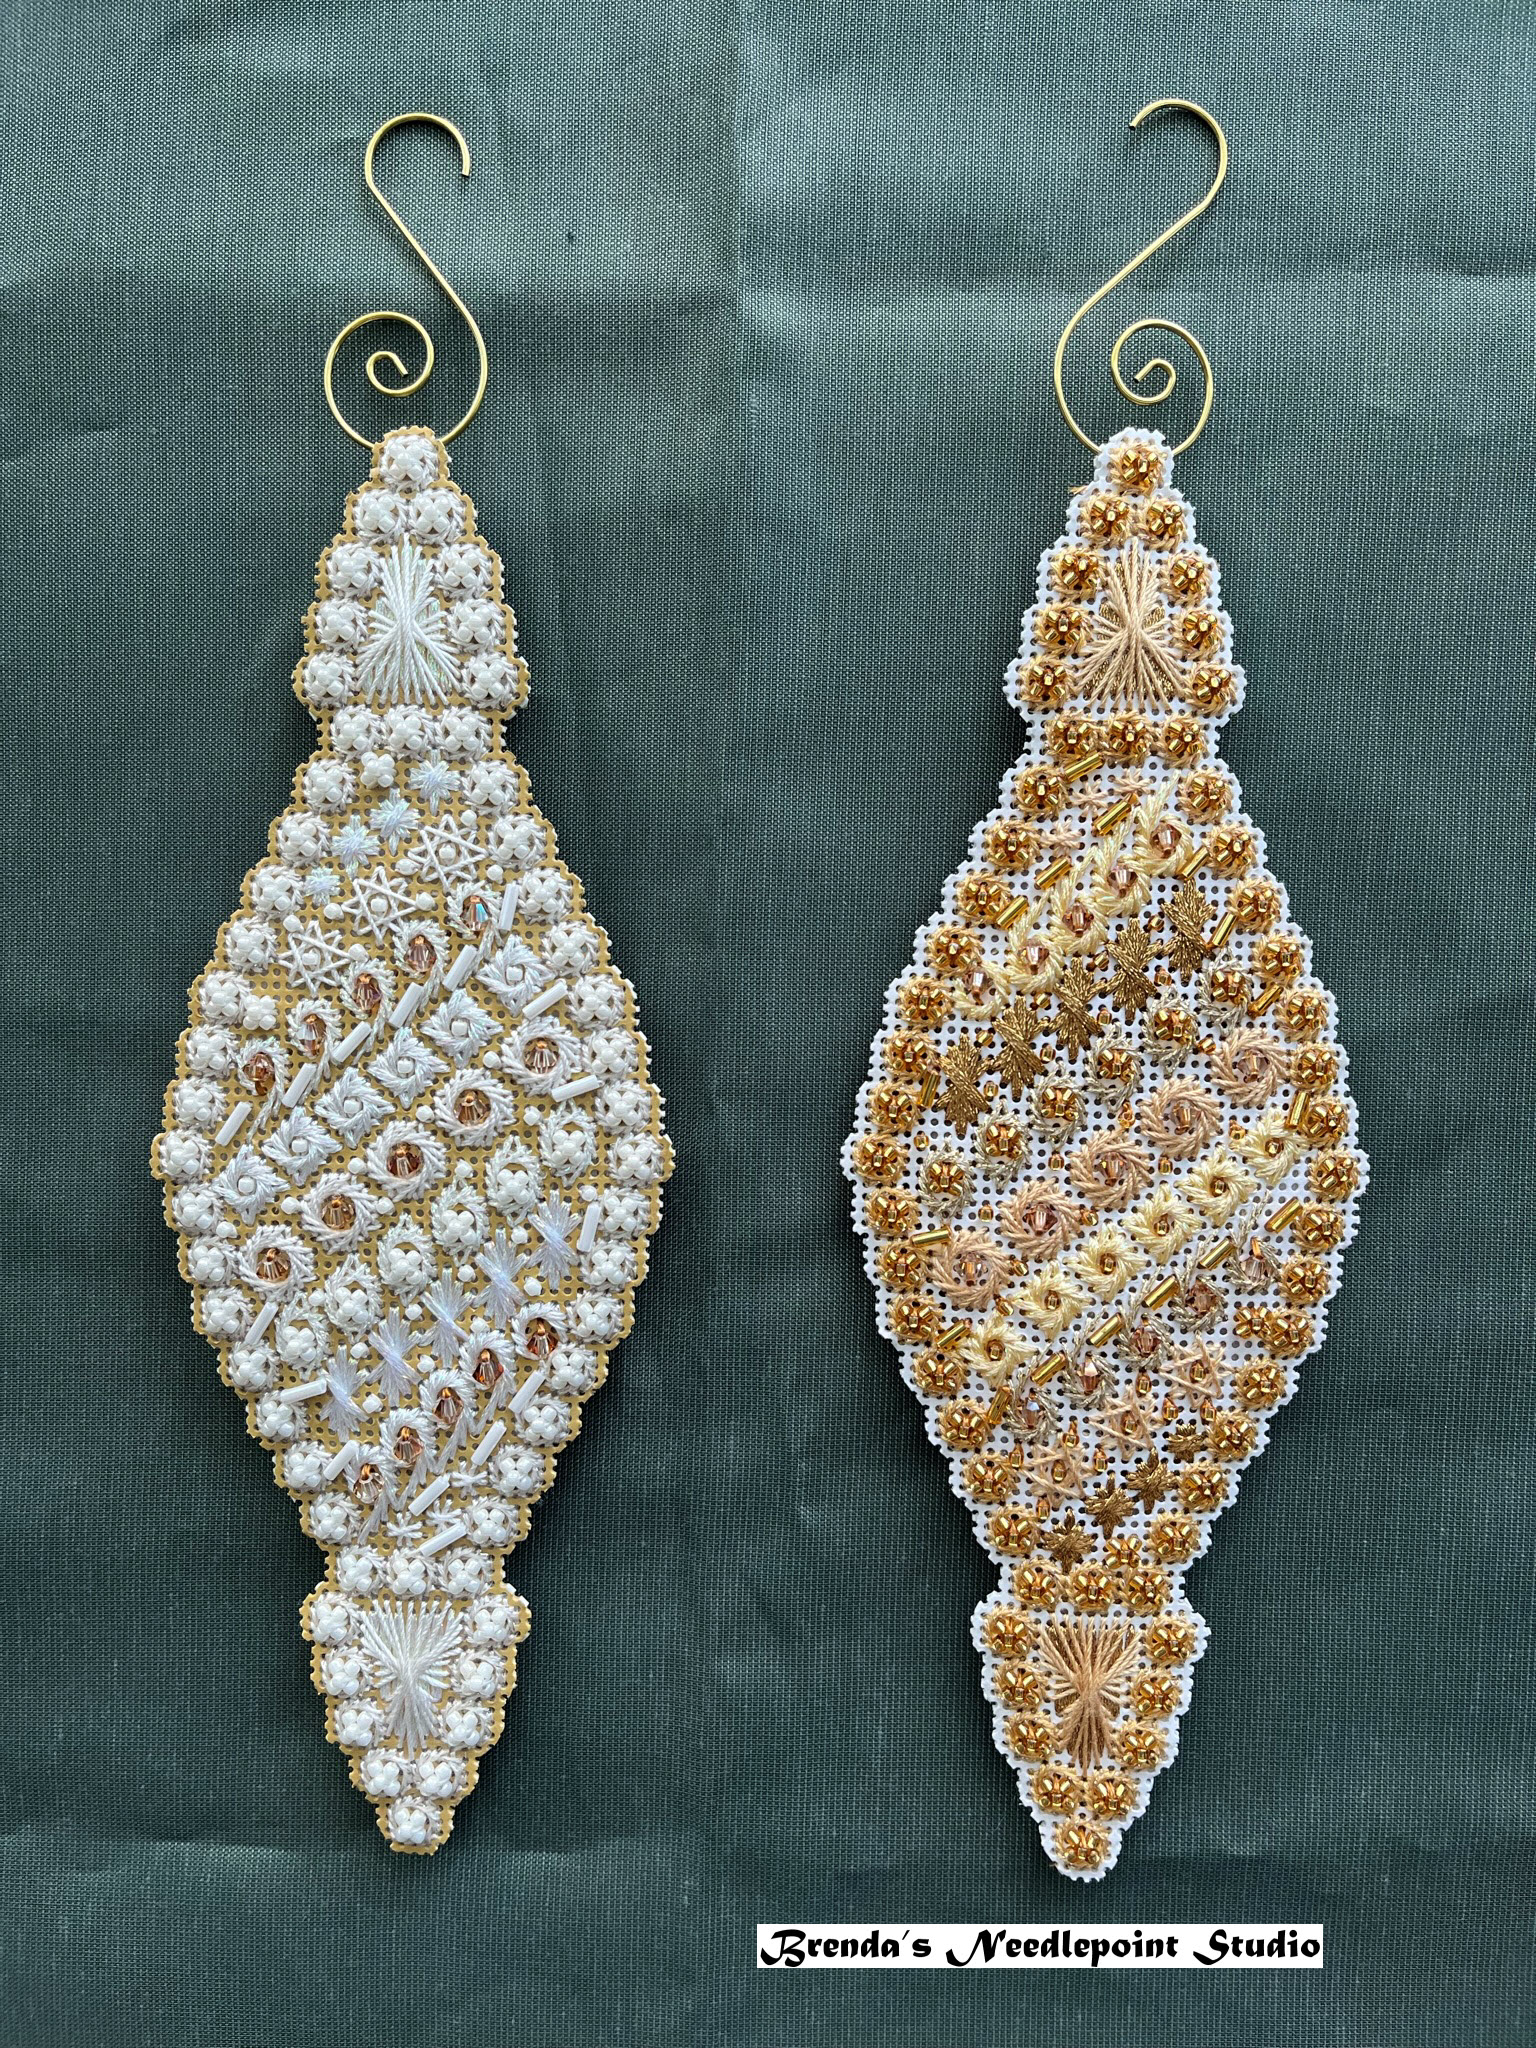
August 19, 2022--These four lovely pieces worked up on perforated paper have now been turned into two ornaments.  One ornament has the white thread on gold paper designs on each side, while the other has gold thread on white paper designs on each side.  

To make the ornaments, I trimmed each design one "hole" away from the stitches and inserted some poly batting between the two ornaments.  Then, using 6 lb. crystal clear fishing line, I sewed the two together with a running stitch.  It worked up very quickly and I love the results.

Ornament Diamond Drop Design One Finished


Ornament Diamond Drop Design Two Finished (Flip Side of Design One)


August 14, 2022--Now there are four and the stitching of these beautiful and glitzy ornaments is completed.  Next step--turn them into two double sided ornaments (white paper on one side, gold on the other--maybe). 

I asked the monthly Zoom* group I meet with as to how I should turn them into ornaments--use buttonhole stitch all around?  Linda M suggested I trim the paper close to the stitches, then sew two ornaments together with invisible thread using a running stitch.  I like that idea and will give it a go.

* The Zoom group is a breakout of the NJNA Chapter called KBZers because, for the most part, we are all working on Kurdy Biggs projects, including the SOTM for 2022.  


Ornament Diamond Drop One Gold Thread on White Paper Completed

Ornament Diamond Drop One and Two Gold Thread on White Paper
 Completed

May 9, 2022--Now there are three.  I've just stitched ornament number two, but this time with white thread on gold paper.  Here it is:

Ornament Diamond Drop Two with White Thread on Gold Paper Completed

Ornament Diamond Drop Two with White Thread on Gold Paper Completed Side View

Ornaments Diamond Drop One and Two with White Thread on Gold Perforated Paper

The left photo below is ornament number two stitched with gold thread on white perforated paper.  My next ornament will be number one stitched with gold thread on white perforated paper.


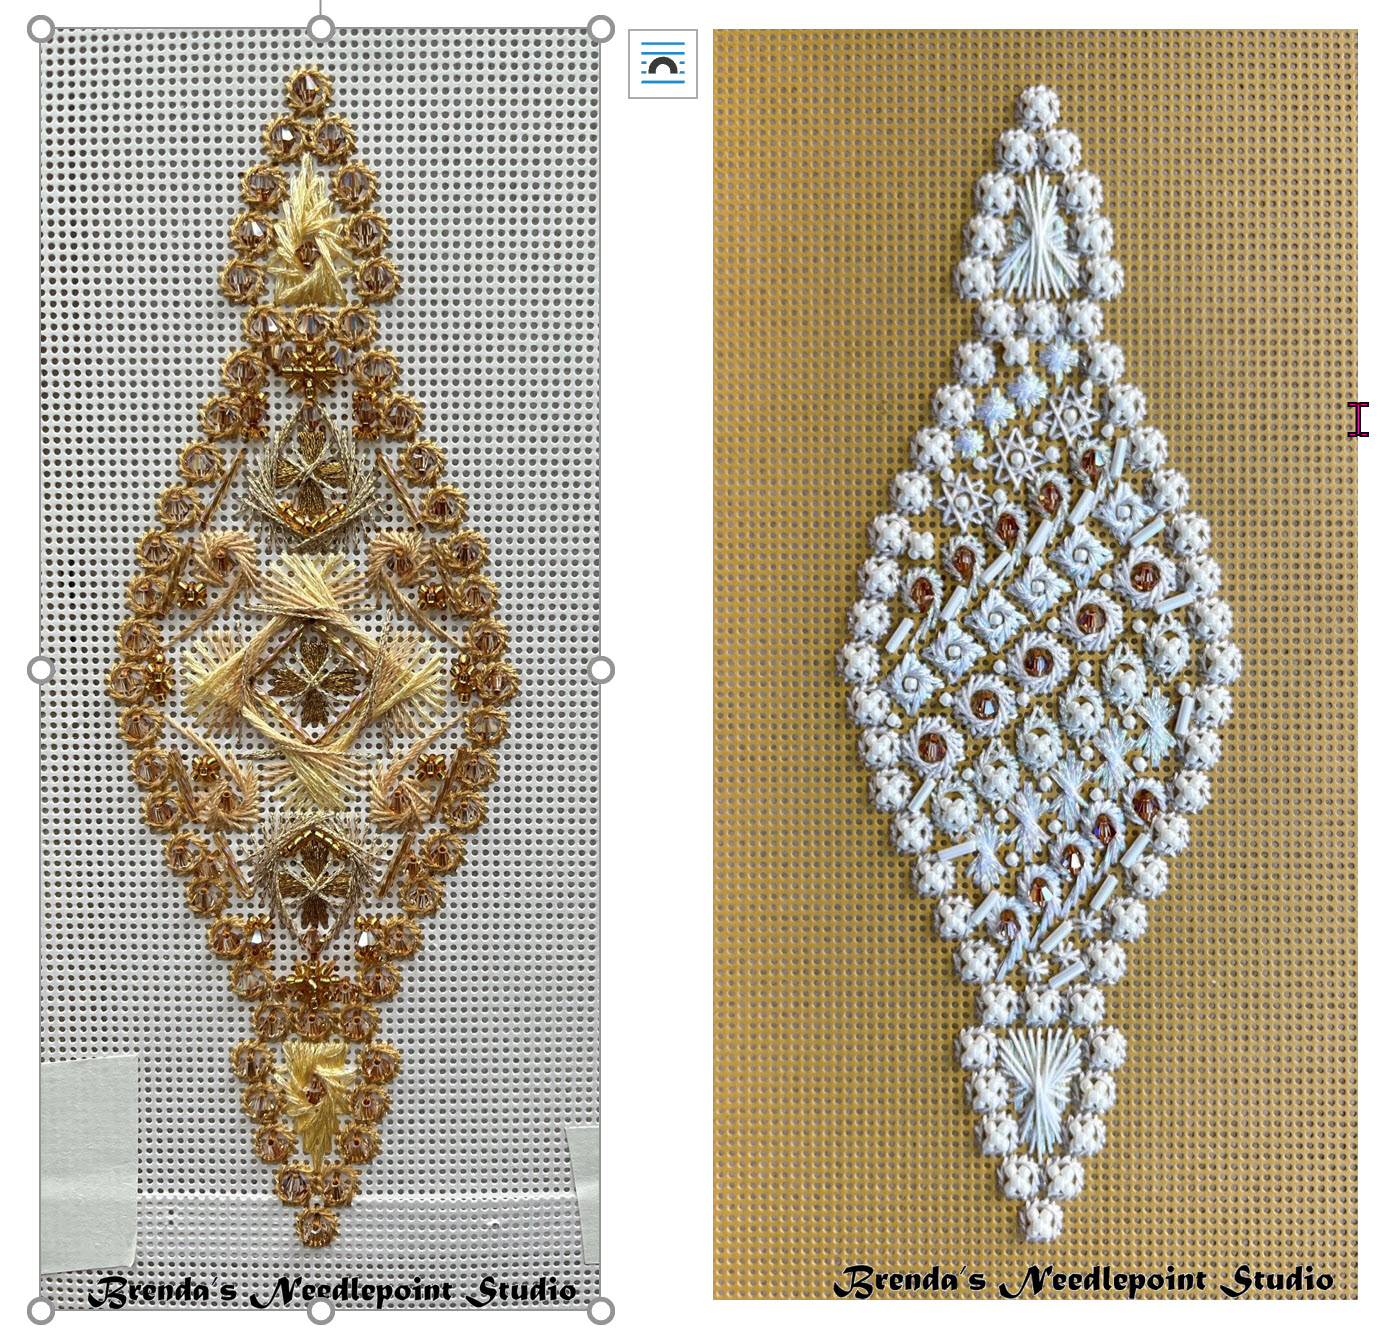
March 30, 2022--Now there are two.  I completed stitching the gold Diamond Drop Ornament on white perforated paper with gold threads and beads (the piecing of the paper is explained below on 3/24/22).  I'm very happy with how both look and plan on stitching another set but do the opposite--stitch Diamond Drop One with gold thread on white paper and Diamond Drop Two with white thread on gold paper.  They both have lots of sparkle with gold and white beads.  Here are some photos:


Diamond Drop Ornaments Two (gold on white) and One (white on gold) Completed


Diamond Drop Ornament Completed


Diamond Drop Ornament Two Side View


March 24, 2022-- This project has been fraught with issues--not getting the right size bugle beads, one of the gold threads is too light for the project, AND the white paper for ornament number 2 sent as part of the kit is 18 count, not 14 count as needed.  The second ornament I partially stitched (blogged about it below on 2/19/22) is on 18 count paper--too small for placement of the kitted beads and won't match the size of the first ornament.  I wrote Kurdy Biggs, the designer, about this and she told me she had to order 14 count white perforated paper since all she had was 18 count.  To date that paper hasn't come in.  Glad I ordered some from eBay and received it a few weeks ago.  I also ordered a darker gold thread RG Elegance 901 to replace the RG Elegance 900 included in the kit.  Kurdy tells us she could not find color 901, but I had no problem ordering it.  

So that's three worthless items paid for in the kit--wrong size perforated paper (needed 14 count white, not 18 count as sent), wrong size beads (needed 6 mm white bugle beads. not 12 mm as sent), wrong color thread (needed RG 901, not RG 900 as sent).

Then I made a monumentous error in stitching ornament 2 on the correct size 14 count paper.  I must have been asleep when I calculated how low to start stitching on the left side, wanting to have enough room for another ornament on the right side.   Below is a photo of how much I stitched before I realized what I had done--duh!

Ornament Diamond Drop 2 Problem--Too Low

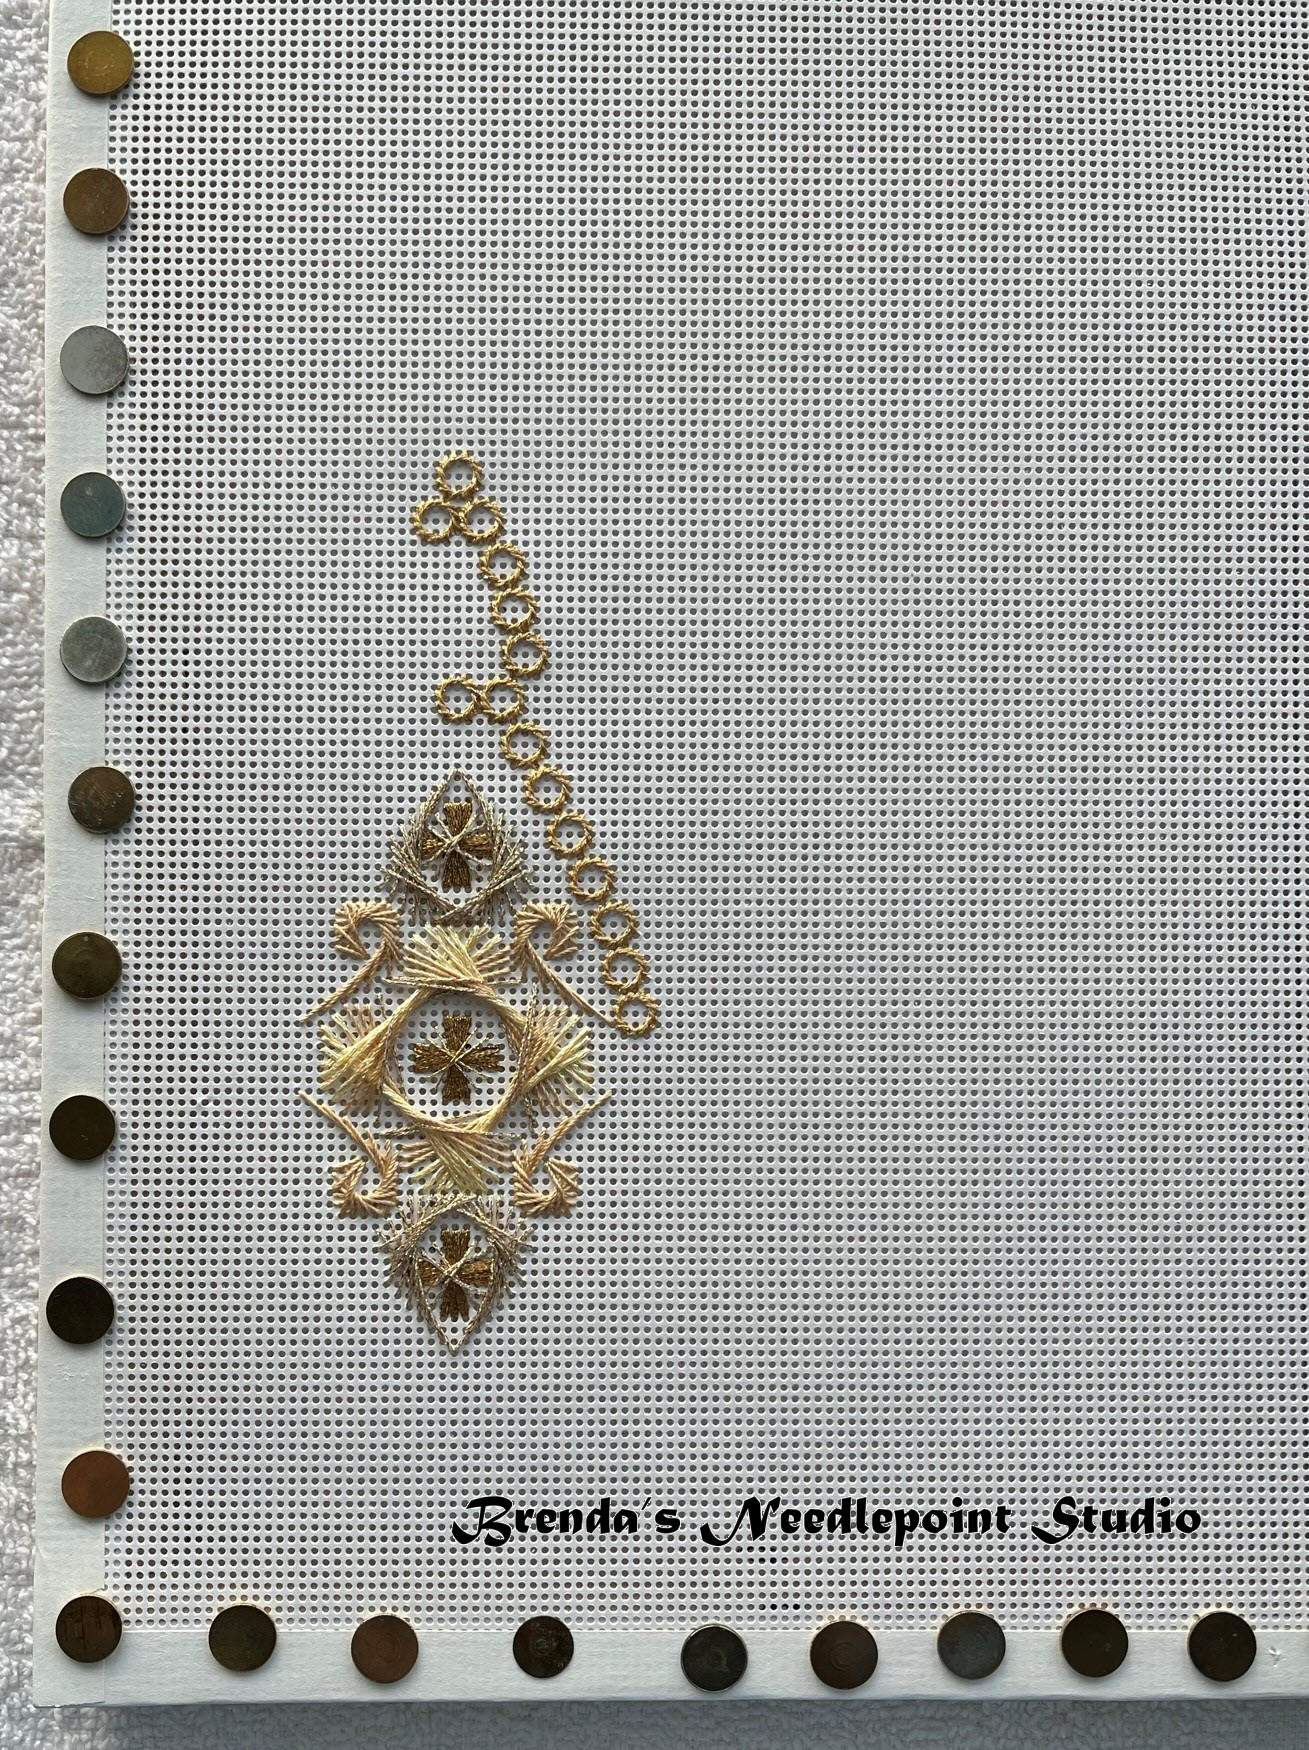
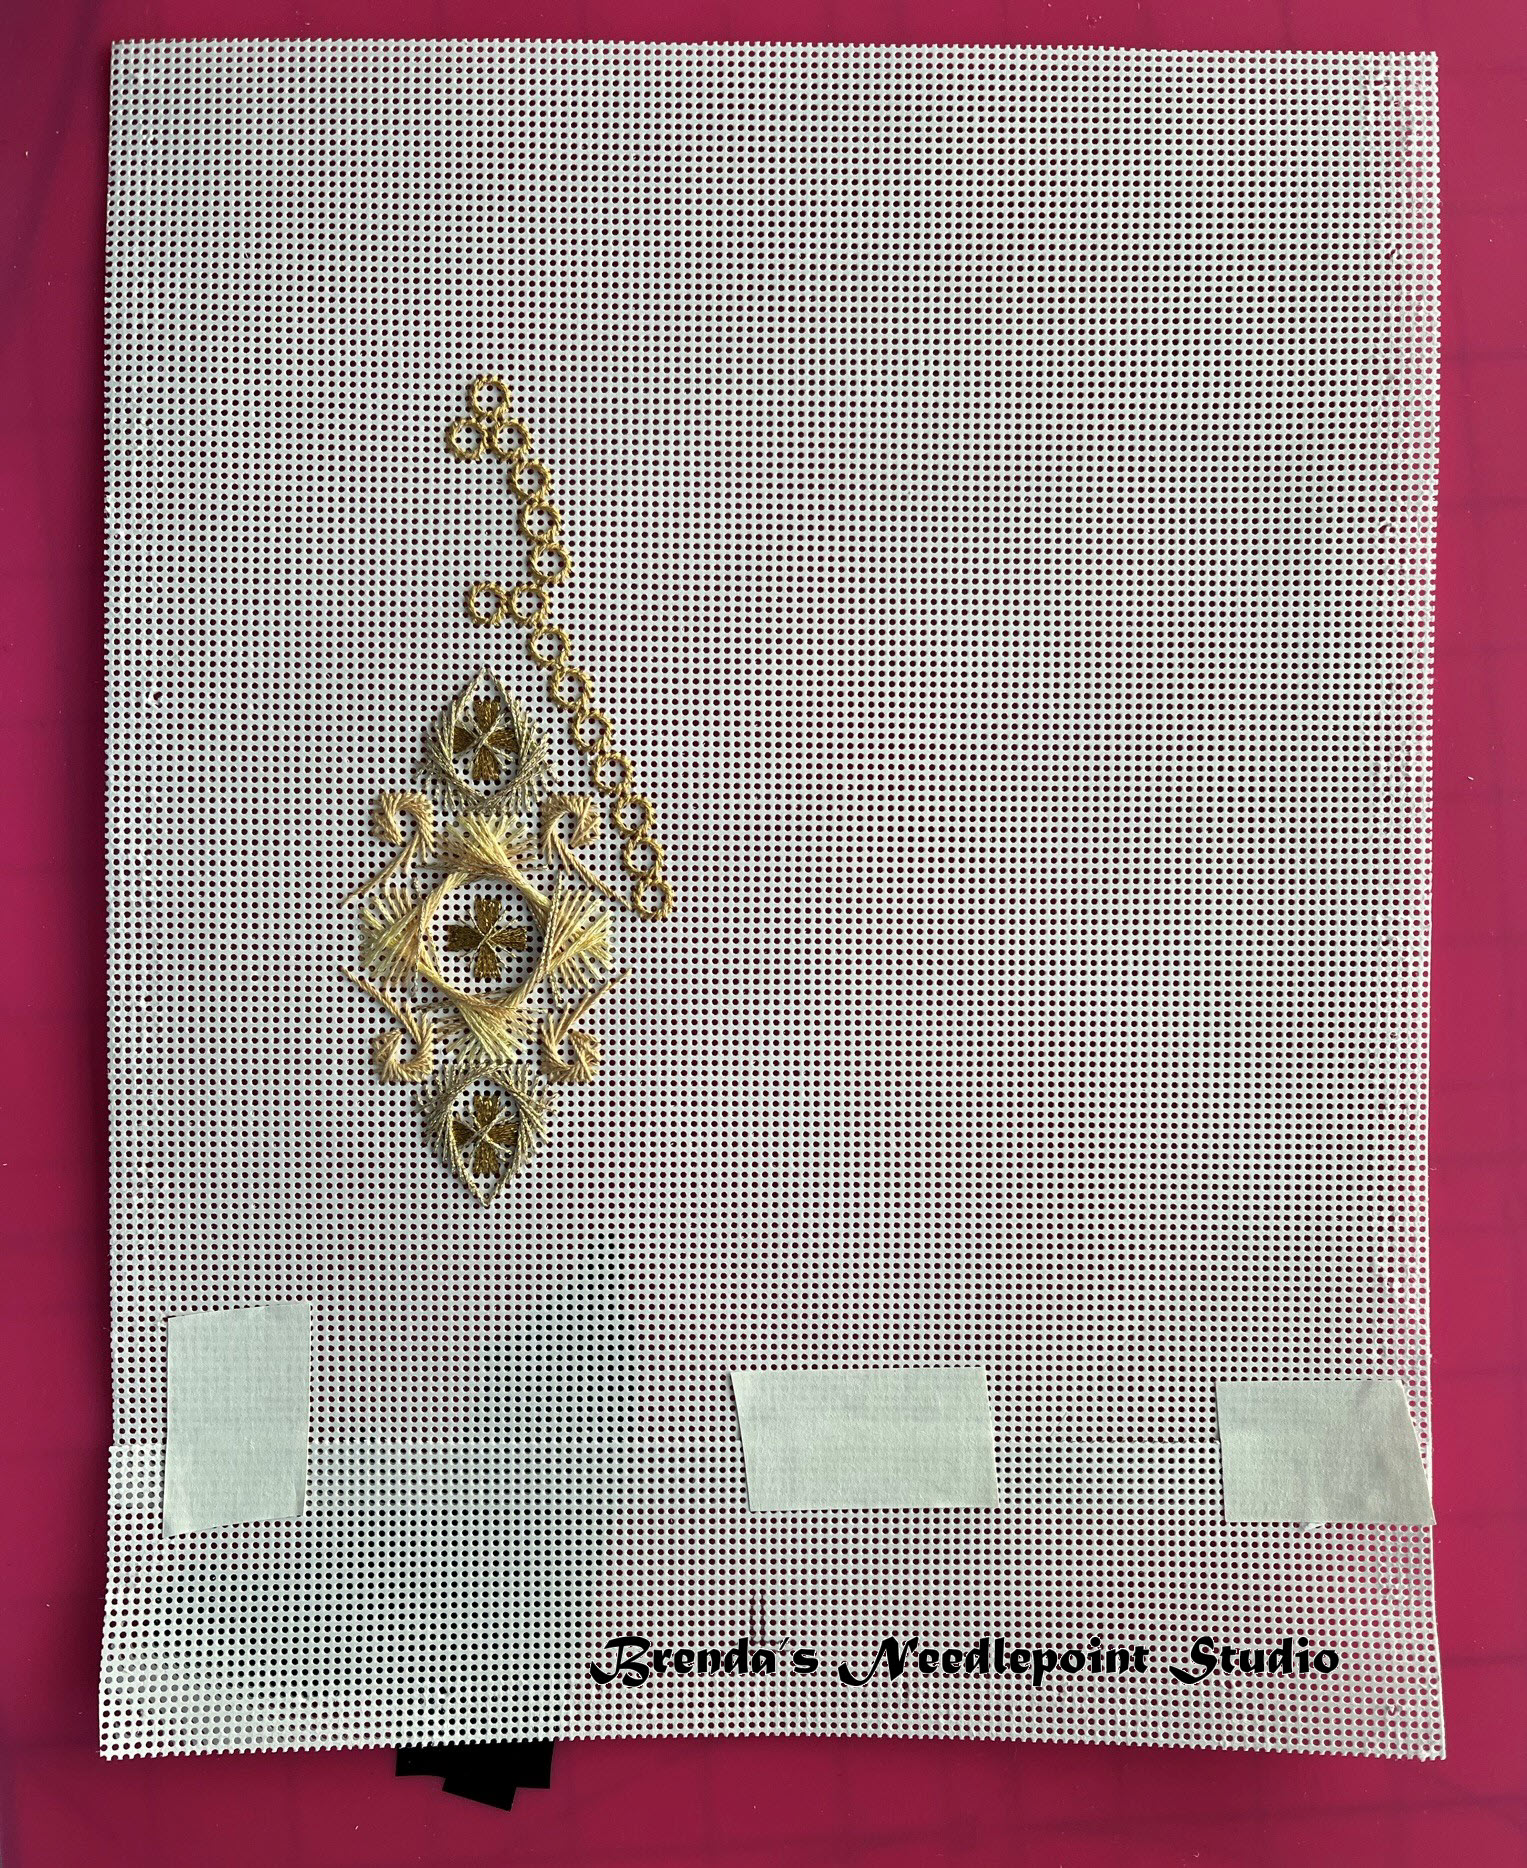
So I took the paper off the stretcher bars, cut off a few inches from the top and taped it onto the bottom to add length.  Then remounted it on stretcher bars.  Yes, that did the trick.  The edges won't show when stitches are done and the paper is cut to the ornament's shape.  BTW, I normally stitch "in the ditch", but because I needed access close to the stretcher bars on the left side to maneuver my needle when working up the Jessica stitches, I'm stitching this project "above ground", so to speak.  And yes, I do use a lot of tacks--keeps the canvas (or in this case, paper), from stretching.


Ornament Diamond Drop 2 Problem Fixed


Ornament Diamond Drop 2 Problem Fixed and on Stretcher Bars


February 19, 2022--Have begun stitching the Diamond Drop Ornament number two--gold threads on white perforated paper.  The designer of this project, Kurdy Biggs, had to swap out a number of threads in the kit I ordered from what was used to stitch the project photo, so what I have are threads that are a lot lighter than the original ones (see project photo below).  I think darker gold would be more dramatic but am not going to repurchase threads and perforated paper to start over.  I'll live with what was sent as part of the kit.

I changed the order of stitching.  We are instructed to stitch the Bracket Crescents (upper and lower stitches) first then stitch the Center Rhodes inside the Bracket Crescents.  I've learned from experience to always stitch the inside design first, then do the outside stitches.  Otherwise, you're unable to locate where the needle should go up and down because the outside stitching covers up a portion of the inside area.  Hope this makes sense.


Ornament Diamond Drop Gold Part 1 Closeup


Ornament Diamond Drop Gold Part 1


February 11, 2022--Completely finished the stitching of one Diamond Drop Ornament (white threads on gold perforated paper).  Love the shine and dimensions of the different threads and beads.  

Had one problem, though--the designer, Kurdy Biggs, wasn't able to send the 6mm bugle beads called for in her stitch guide when ordering the kit for this project--instead, she sent 12mm bugle beads which are waaaay too long for the project.  Fortunately, I had the right size in both the white and gold bugle beads in my stash, so it's not a serious problem.  Hopefully she'll be able to order the right sizes for future kits she sends out.

Next up:  stitching the ornament with gold threads on white perforated paper.   There's enough room on each sheet of paper, and I have enough threads to reverse the colors, to make a total of four ornaments.  Yay!

Ornament Diamond Drop Number One with White Thread on Gold Paper Completed Closeup

Ornament Diamond Drop Number One with White Thread on Gold Paper Completed Side View

Ornament Diamond Drop Number One with White Thread on Gold Paper Completed

January 27, 2022--I have had the pleasure over the last two years to work on ANG's Stitch of the Month (SOTM) projects with the NJNA Chapter.  This year is a little different.  Rather than work on the 2022 SOTM designed by Kurdy Biggs, I chose instead to stitch her Diamond Drop Ornaments (one in white on a gold background and another in gold on a white background) being offered as an ANG Workshop by Mail.  I love these ornaments, having done three others offered by Kurdy which were published in the 2015 November issue of Needlepoint Now Magazine (click here for more information).  Like those 2015 ornaments, this project is stitched on 14 count perforated paper.  

Luckily for me, a few NJNA Chapter members are also working on this project and/or others designed by Kurdy Biggs and have formed an online monthly stitch-along group called KBZers (Kurdy Biggs Zoomers).  This is going to be fun.   I divided this project into 12 sections (6 months for each color) so that I'm not feeling overwhelmed.  So far, I'm a little ahead of schedule and my progress to date is below.

Ornament Diamond Drop Number one with White Thread on Gold Paper Part 1 Closeup

Ornament Diamond Drop Number one with White Thread on Gold Paper Part 1


Below is a photo of the project as designed by Kurdy Biggs.

Ornaments Diamond Drops Designed by Kurdy Biggs Project Photo

1 comment:


  1. That's some journey! Looking forward to seeing more.

    ReplyDelete

Thursday, July 21, 2022

Holiday Light Yellow Ornament - 7/21/22

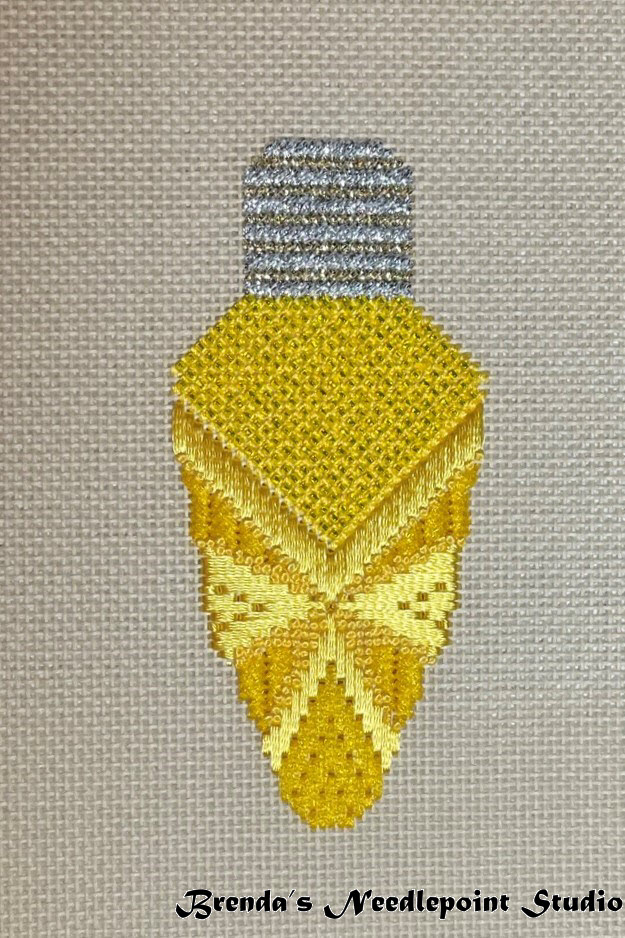
July 21, 2022--Here's the 14th of 16 Susan Portra Holiday Ornaments stitched to date (this one is from Needlepoint Now Magazine, 2017 Vol XIX, 1).  This is the brightest of all--the yellow threads (and the beads) really shine.  No electricity needed here.

There are lots of french knots on this ornament, and I'm noticing that with practice, they actually are getting better.  Now I need to start "finishing" them into tree ornaments.  Soon....

Ornament Holiday Light Yellow Completed


Thursday, June 30, 2022

Master Needlepointer Program of ANG - Stage 1 - 6/30/22

June 30, 2022--Last year I signed up to participate in ANG's Master Needlepointer Program (MNP) and mailed my completed project in time to be judged in May of this year.  I recently learned I passed by receiving 99 out of 100 points.  There was also a long critique which was most helpful. 

Here's my completed project.  One thing noticed by those reviewing my piece was the fact the thread used in the left "ray" seemed to have dye issues or was very old.  They are right--by the time I noticed it, I decided it wasn't worth redoing since I didn't have more of the color used.  I'll have to be aware of this issue when using older threads.

I do love the colors though--I chose mostly DMC floss in the blue-green color range; the variegated thread was from ThreadworX; and all were from my stash.

ANG Master Needlepointer Program Stage 1 Completed

I learned about this program from an article written in ANG's January 2021 issue of Needle Pointers Magazine where a description of the four stages was given.  Stage 1 involved the use of certain stitches on one of two designs supplied (I chose the "ray" design).  Below is a photo of the design basted and drawn on 24 count Congress Cloth.  

MNP Stage 1 Basted Design on 24 count Congress Cloth

I had to pencil in most of the ray's lines since they did not fall on the diagonal which made for some interesting stitch compensation issues


Friday, June 24, 2022

Holiday Bell Fuchsia Ornament - 6/24/22

June 24, 2022--I loved stitching this Susan Portra Holiday Bell using fuchsia-colored threads and beads.  It's the 13th of these Holiday Ornaments stitched to date and the instructions for this one were published in the December, 2016 Needlepoint Now Magazine.  I have three more to work up which will bring the total number of ornaments to 16.  There were supposed to be 24 in the series, but I understand from the magazine editor they are no longer available.  Oh well, I'll enjoy the ones I have,

It is difficult to see the fuchsia color since I stitched the bell on red canvas.  I tried removing the red canvas from the background so you could get a better idea of the beautiful colors of the bell.  I succeeded somewhat.  


Ornament Holiday Bell Fuchsia Completed


Ornament Holiday Bell Fuchsia Completed with Background Removed


Friday, May 27, 2022

Santa Snow-Cone - 5/27/22

May 27, 2022--Just finished stitching my 15th Santa called Snow-Cone Santa designed by Janet Zickler-Casey.  I love these Santas and am trying to keep up with my plan of stitching one old and one new (this is one of the older ones from 2003).    I love the sparkle and fluffiness of the moustache and hat brim.  My bunka brush got a lot of use on this one.  The beard looks a little like an ice cream cone.

Snow-Cone Santa designed by Janet Zickler Casey


Tuesday, April 26, 2022

Bargello Fun - Updated 4/26/22

April 26, 2022--Done the stitching on this really pretty bargello project.  I'm imagining this as a purse with a Kumihimo cord and shoulder strap and two large tassels on the right and left bottom corners.  How cool will it look with dark wash blue jeans and a white blouse.  

Bargello Fun Completed

January 30, 2022--I have the blues and am loving it.  The blues I'm talking about are in this project and look wonderful.  The first quadrant of Section 2 is done and actually worked up quickly.   Please ignore the "thread spaghetti".  Will deal with that in the next quadrant.

Bargello Fun Section 2 First Quadrant

January 5, 2022--Getting well into the new year now.  Lots of planned stitching to do, but for now, this is the project I'm very much enjoying.  I believe I've completed about 50% (this calculation includes the time it took to work up the outline in Smyrna stitches).  So here it is with the center and Area 1 completely stitched.  Loving the blues.

Bargello Fun Center and Area 1 Completed

January 1, 2022--Happy New Year!  Wishing everyone the best in 2022.

I've started stitching a new project being led by Delaware's Seashore Chapter member Pat vdA called Bargello Fun designed by Carol Algie Higginbotham.  It's taken from the ANG Chapter Project Book for 2015-2016.  So far, I've stitched the outline done in Smyrna Cross Stitch.  

Bargello Fun Outline Completed

I'm not stitching this in the pink colorway as shown in the project photo.   Instead, I've chosen to work this up in blue colors listed below.

Name/Type Color Number Color Name

DMC/Floss 791 12-13 V Dk Cornflower
DMC/Floss 797 12-11 Royal Blue
DMC/Floss 798 11-07 Dk Delft Blue
DMC/Floss 799 11-06 Md Delft Blue
DMC/Floss 800 10-03 Pale Delft Blue
DMC/Floss 809 10-04 Delft Blue
DMC/Floss Blanc White

Now on to the fun part of doing bargello stitches.

Here's a photo of the project as stitched by the designer.

Bargello Fun Designed by Carol Algie Higginbotham Project Photo


6 comments:

  1. Miłego wyszywania !Czekam na postępy,chętnie będę oglądała.Ładne kolory dobrałaś.
    Pozdrawiam
    PS. Przepraszam piszę po polsku bo nie znam angielskiego.Posługuję się tłumaczem internetowym żeby przeczytać Twój tekst

    ReplyDelete
    Replies
    1. Thank you for your nice comment. I also use a web translator to read your comments. It works very well. Happy New Year.

      Delete
  2. That is a lot of Smyrnas!! You are working on all those projects? They are on bars? How do you decide which to work on in a given day? By the way, I stitched Bronze Purse but never "finished" it - can't decide what to do with it. I have Fire and Ice on bars but haven't pulled it out in a while.

    ReplyDelete
    Replies
    1. Ah, I can tell you looked at my In Process Projects page. All of them are on stretcher bars with various amount of work done on them. I choose projects by whimsey or chapter commitments, not worrying about what's not getting done. My Fire and Ice project languishes still and I'm not sure I'll ever finish it. The Bronze Purse is definitely one that I want to get done now that the Let the Good Times Roll purse is finished. As far as my Planned Projects, most of them are fully kitted and mounted on stretcher bars. I'm slowly weaning them out by selling what I know I'll never get to--tastes do change. You should see my "dream list" of projects I would love to stitch that I have on Pinterest. Posting photos there instead of actually buying and kitting up those projects has saved me a ton of money. LOL.

  3. Too many on bars cause me anxiety. Process, Planned, and Dream projects! Good way to handle them especially the Dream projects. Thanks for sharing.

    ReplyDelete
  1. Love the blues too!!! Great piece - looking forward to your progress.

    ReplyDelete