Statcounter

Showing posts with label Source ANG CyberPointers Chapter. Show all posts

Wednesday, January 7, 2026

Nordic Gnome - Updated 1/7/26

January 7, 2026--The stitching of this cute gnome is done and ready to "finish" into -- a standup, wall hanging???  It's too big for a tree ornament.  I'll have to check out examples posted by others.  I have two mini skis to add once they are decorated with stripes, snowflakes, etc.  This is the first project stitched for 2026 and hopefully many more will follow.

Nordic Gnome Completed

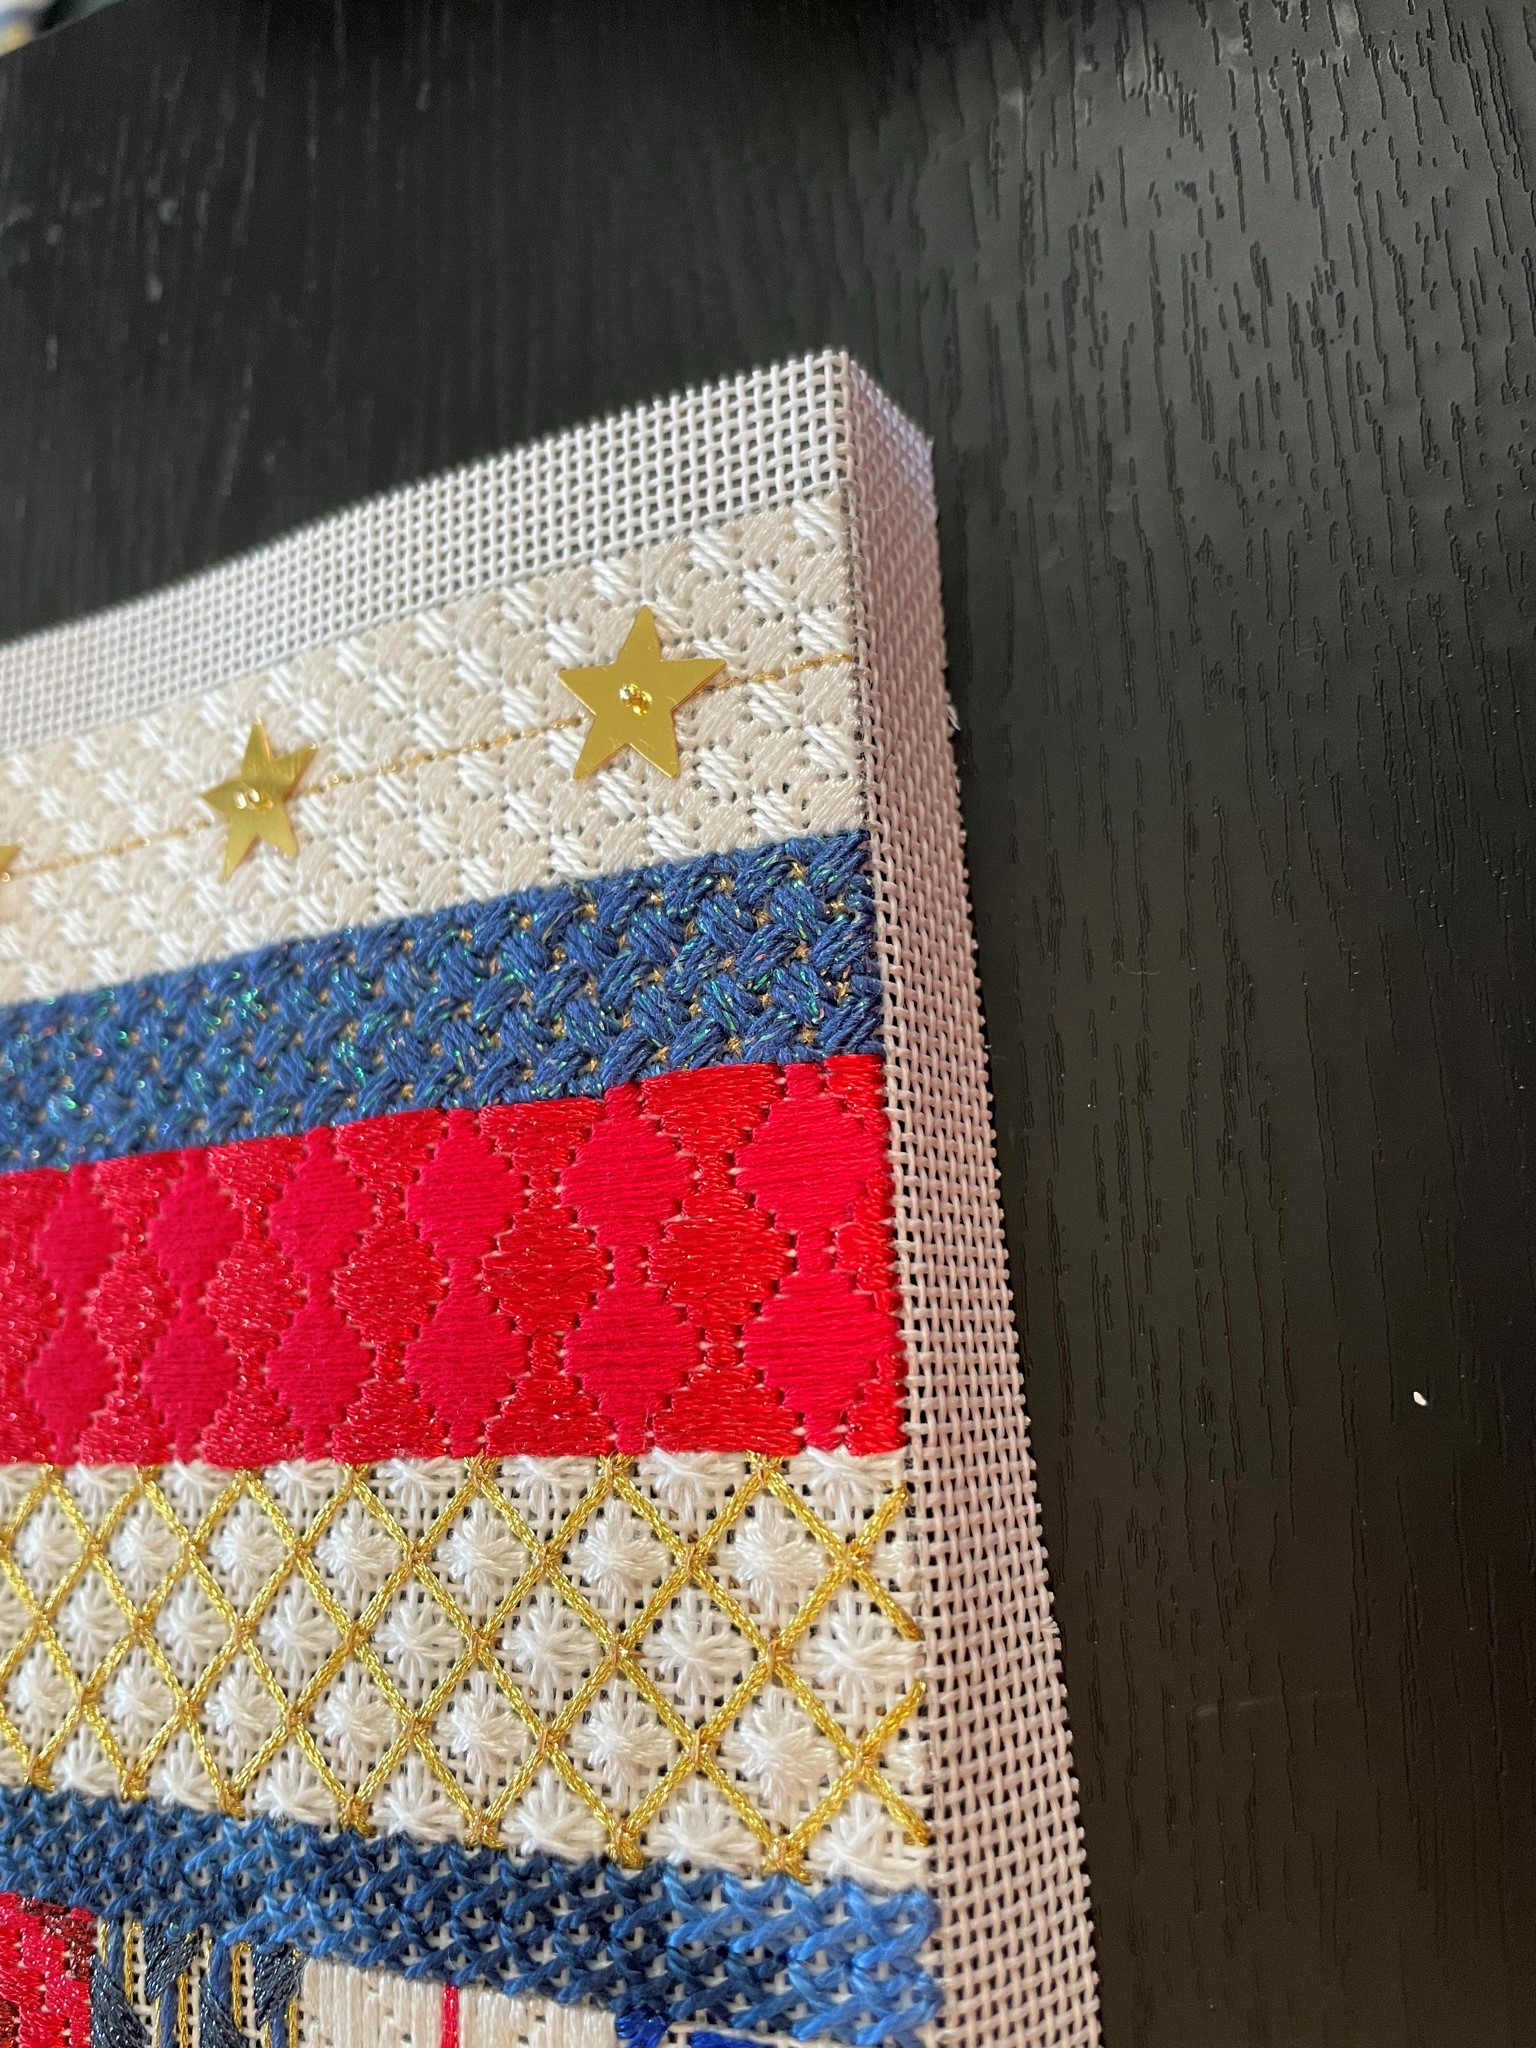
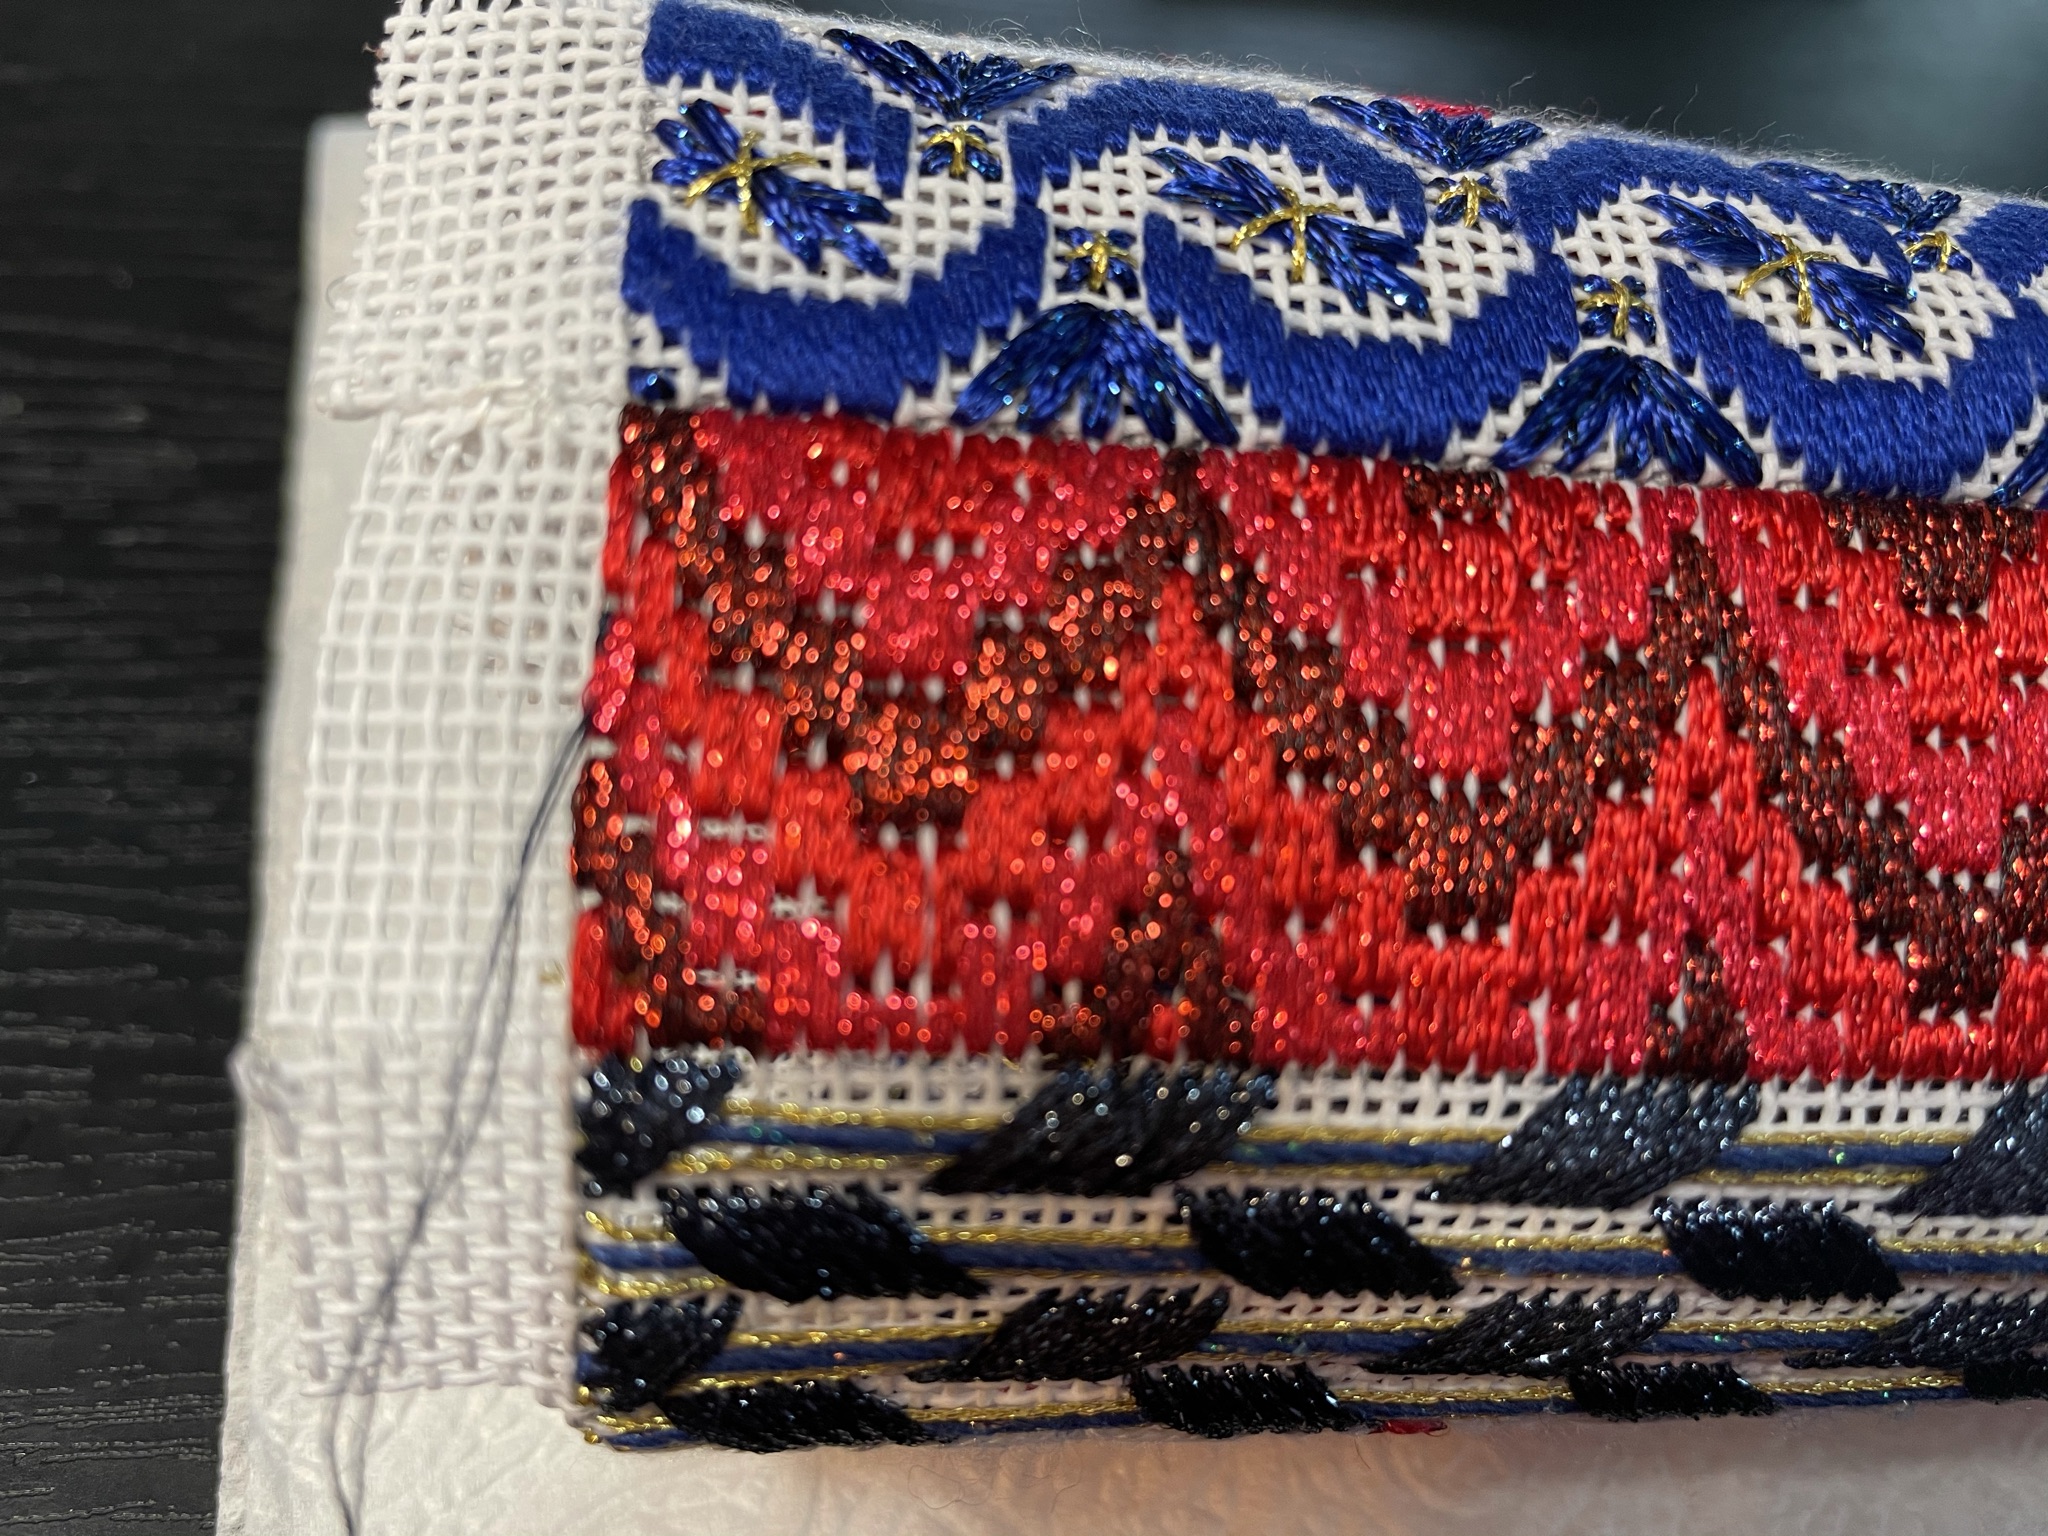
Can you see that I replaced the silver Kreinik Jessicas on the sweater bottom (see photo below) with blue Kreinik (see above photo), as should have been done in the first place.   Looks much better.


December 27, 2025--Merry Christmas everyone.  I hope your holiday was filled with everything you love.  I spent the last three days at two casinos (Bally's in Dover, DE and Ocean in Atlantic City, NJ) with my husband (who doesn't gamble--he's just my enabler--🤑😅) and had a ball.  We also did some wine tasting along the way.  Three of my favorites for the holiday--husband (of course), wine and gambling.    

Now that we're back, needlepoint is again on the agenda with a new project--Nordic Gnome by Kurdy Biggs.  This was offered last summer through ANG's CyberPointers Chapter and after stitching up Santa Gnome (from EGA's Mid-Atlantic Regional Seminar), I knew this one had to be stitched up too.  Here's my progress to date (face, beard and sweater):

Nordic Gnome - Bottom Half Completed (Face, Beard, Sweater)

Tuesday, May 20, 2025

Heart Swirled in Gold and White - Updated 5/20/25


May 20, 2025--Stitching is complete on this adorable, swirled heart.  The last area (Area 5) was a breeze to work up.  All I did differently was stitch the gold cross stitches over one BEFORE doing the gold waffle stitch.  

Scroll down to view previous posts about this heart.

Heart Swirled in Gold and White Completed

May 18, 2025--Area 4 has been stitched, and this area too was a challenge.  The designer called for long diagonal trellis stitches which had to be carefully spaced out.  Trying to count this out on curved lines (convex and concave) proved to be nearly impossible for me.  

Then I remembered the class notes for this project written by Gretchen J. and ta da--problem solved.   I have no clue why I forgot to read the class notes first, but once I did, I ripped out my attempt at the trellis stitch and followed Gretchen's suggestion of stitching 6 x 6 cross stitches.  Ta da--problem solved.  Thanks Gretchen!


Heart Swirled in Gold and White Area 4

Area 4 Grid Using 6 x 6 Cross Stitches

May 15, 2025--Area 3 is done, and like the prior area, required some stitch graphing on my iPad and lots of attention to compensation.   This heart is turning out to be a very pleasant challenge.  

Unfortunately, my vision isn't what it used to be so often enough stitches need to be ripped out and redone.  I see simpler projects in my future.


Heart Swirled in Gold and White Area 3

May 12, 2025--I finally tackled Area 2 of this pretty heart.  I've done a little Or Nué before but was never challenged as I was with this area.  I needed 4 working needles, all of which were laid or stitched one "line" at a time.  In order to manage this chaos, I had to mark up a chart (see below) showing which direction the laid threads would go and where to couch them.  The marked-up chart also helped me know when and where to begin the hearts.  Whew.

Heart Swirled in Gold and White Area 2

Graph for Area 2

May 2, 2025--Finished Area 1 of this beautiful heart described below.  Now on to Day 2's lesson.

Heart Swirled in Gold and White Area 1

April 25, 2025--At its May meeting, ANG's CyberPointers Online Chapter will be working on the Swirled Heart in Gold and White designed by Rozell Hirschfelt with instructions published in the January 2022 issue of Needle Pointers Magazine.  Of course, it can be done in any color, but I'm stitching it in the gold and white threads as designed.  It's a very pretty piece and I like the flowing movement of the sections.  Here's my preworked outline in advance of the meeting.


Heart Swirled in Gold and White Prework Outline

Saturday, April 27, 2024

Tumbling Stripes - Updated 4/27/28

April 27, 2024--Just had this framed by Michael's Arts & Crafts in Rehoboth Beach, DE.  Love the flat matt dark blue narrow frame.   It fits this piece beautifully.  

Tumbling Stripes Finished

March 29, 2024--The borders are now stitched, and this project is ready for framing.  I made one color change in the outermost border from dark red to dark blue.  I like the contrast much better.   The medium red in the border looks different from top to bottom due to the way the light shone on it.

Tumbling Stripes Completed

 March 25, 2024--All the stripes are stitched, and I will next work on the border.    I chose the same colors as the designer, Marily Owen, using the red, white and blue colorway, but my colors appear to be lighter than hers.  I also used 4 strands of the darkest RG Splendor color to fill in the "blank spaces".  Three strands, as instructed to use in the manual, proved to be too light in coverage and the canvas showed through.   I'm liking the results so far.

Tumbling Stripes with All Stripes Completed

February 1, 2024--I just finished the first seven or right-angle stripes of this adorable project.  The next 5 stripes will move diagonally to the left.  Those will be more of a challenge to work up since the edges of each stripe are stitched on the diagonal which will require me to pay more attention to stitch placement.  Here's what it looks like so far.

Tumbling Stripes Through Stripe 7

January 25, 2024--This interesting project, called Tumbling Stripes, is designed by Marilyn Owen and was offered by ANG's CyberPointers Chapter in April of 2021.  However, I never did anything with it and filed the .pdf instructions under "Projects on Hold" on my PC, thinking it would never see the light of day.  Well, it has now come out to play with the NJNA Chapter of ANG whose members have started working on it this month, and I've decided to join them (I'm also a member of the chapter).  

I like this type of project because of the wide variety of stitches and interesting pattern.  It has 12 rows or "stripes" repeated in 4 areas or quadrants.  The first 7 stripes angle to the right while the bottom 5 stripes (A through E) angle to the left, giving the appearance of a rolling or tumbling ball.  

I'm working up my project in the blue and red colorway and below is a photo of the first two stripes stitched so far.  

Tumbling Stripes through Stripe 2


Here's a photo of the completed project as stitched by the designer.

Tumbling Stripes designed by Marilyn Owen Project Photo


1 comment:

Saturday, May 27, 2023

Rozashi Daiya Variations Kit - Updated 5/27/23

May 27, 2023--I really enjoy Rozashi (which, in Japanese, means Ro - Canvas and Zashi - To Stitch).  You use mostly a vertical stitch on a type of canvas where the horizontal threads are much wider than the vertical ones.  In the United States, this type of canvas is only available through a few instructors from whom I've been fortunate enough to take classes (all online at this point).  

Here's a photo of the finished Daiya Variations using the Lee Ornament holder.  It's a good thing we are taught to seriously "paste" the back of the stitching because I had to cut about 1/4" off the circle as drawn for us on the canvas.  This meant cutting into the stitching--something I hated to do, fearing the threads and canvas would unravel.  Phew, because of the heavy Nori paste/starch, everything remained intact.  Next, the stitched circle had to be pushed, using a butter knife, into the Lee Ornament Holder.  This too caused me some anxiety fearing all that manipulation would hurt the piece.  Nope--everything held up fine and I now have a pretty ornament to hang in my dressing closet, along with all my other "smalls".

Rozashi Daiya Variations Ornament Finished

May 12, 2023--CyberPointers Chapter of ANG recently had a Rozashi class offering taught by Kate Festo called Daiya Variations.  I'm just now beginning to work on this beautiful piece and enjoyed going through everything in the kit which includes a rozashi canvas glued onto a wood frame, written instructions, 2 sumptuous silk thread colors and 1 packet of gold threads, needles, nori paste, AND a gold Lee round ornament to "finish" this project.  

I've read the instructions and watched the Zoom video by Kate, so I'm now ready to stitch.


Rozashi Daiya Variations Kit

BTW, Kate Festo is the daughter of Margaret Kinsey, famed Rozashi instructor and designer.

Wednesday, March 9, 2022

Firecrackers -- Updated 9/29/22

September 29, 2022--Won 3rd Place Ribbon for Canvaswork/Needlepoint category at Rehoboth Beach Museum's 10th Annual Needlework Exhibition in Rehoboth Beach, DE.  So pleased.

March 9, 2022--Won Honorable Mention Ribbon in the Canvaswork-Multi-stitch category at Woodlawn's 59th Annual Needlework Exhibition in Alexandria, VA.  So pleased.

July 26, 2021--Entered this fun project into the Delaware's State Fair and was awarded a Second Place Ribbon along with a small (very small) cash prize.   Nice.

November 23, 2020--I've just finished these firecrackers myself as standups and am very pleased how they turned out.  If interested, there's a tutorial of how I did it below.  Hope you find it helpful if you decide to try this yourself.


Firecrackers Finished as Standups

Below is a brief tutorial of how I made these into standups. 

Firstly, you will need the following:

Fishing line (used for strength).  Click here for more information about what I use.
Circular needle for joining seams
Acid free mounting board (click here for information about what I use).
Fabric for firecracker tops and bottoms.
Matching thread to the fabric.
Compass for drawing circles
#4 Pencil
Weights for standup bottoms
Polyfill stuffing
Foil sparklers


To begin, trim each canvas, leaving a 1/2" seam allowance.
Fold sides of canvas in toward the wrong side (see photo below)


Cut a length of fishing line approximately 3 times the height of the Firecracker and tightly secure the  line at the top seam allowance (be sure your line is very secure otherwise it will come undone as you pull the seam closed)., then begin stitching the long sides together using the Ladder Stitch over 2 canvas threads (count carefully to keep the seams matched up).  

Periodically pull the Ladder Stitches tight to close the seam.  This photo shows the seam closed after an inch or so.

Here the stiches have been pulled tightly halfway through stitching the seam closed

The seam is now completely stitched closed.

Securely end the fishing line in the bottom seam allowance.

Clip into the top and bottom seam allowances so they will easily fold to the inside of the Firecracker.  Leave a few canvas threads "unclipped".


Measure the diameter of each Firecracker.  I came up with the following:
Small Firecracker:  1.5"
Medium Firecracker:  2.25"
Large Firecracker:  2.5"  The photos below are for the large Firecracker


Set up a compass one-half distance of diameter (if diameter is 2.5", the compass should measure 1.25").  I use a #4 pencil so the markings won't "bleed" unto the fabric or canvas.

After drawing and cutting out your circle, measure to confirm it's the size you desire.

Since the board I use is rather thin (for easy cutting), I cut out 3 circles for the bottom and 2 circles for the top).

Cut fabric circles with a seam allowance of about 1/2".

Place a running stitching along the edge of the fabric circle

Now pull the running stitches tight so the fabric will wrap around the board.

I go one step further and lace the edges together so the fabric won't slip.

To begin stitching the bottom to one of the Firecrackers, secure your sewing thread to the canvas edge, then fold the edges of the seam allowance towards the inside of the Firecracker

Using straight pins to temporarily hold the bottom unto the Firecracker, whip stitch both together using thread to match the bottom fabric.

Once the bottom is attached, place a weight inside to rest on the bottom (I used gravel I found around my driveway) then stuff, stuff, stuff until  you can stuff no more with Polyfil.  


Now cover the Firecracker top with fabric.  Then make a hole through the fabric and board (so you can  push a "foil sparkler" through the top) and attach to the Firecracker with pins and sew on as with the bottom.  

That's it.  As you can see, my top and bottoms rest outside the canvas.  Someday I'll learn how to fit a top and/or bottom inside the standup, but as of yet don't have a clue how to do that. 

Please add photos of your Firecrackers to the ANG CyberPointers Photo Album when you get them done.


November 2, 2020--All three firecrackers are now stitched and ready to finish.  I even found some foil sparklers for the top of each one.  Below is a photo of the smallest firecracker.  


Firecracker Small Completed


 October 19, 2020--The medium size firecracker is stitched with only the smaller one left to do.  

Firecracker Medium Completed

October 14, 2020--Here's a photo of  the first of three firecrackers (and largest) that is fully stitched.  I can imagine how cute this will look with a sparkler coming out of the top.  

Firecrackers Large Completed

August 13, 2020--The CyberPointers Chapter of ANG offered this project by Toni Gerdes as a class to be held during its July and September meetings.  I purchased the full kit and love the variety of threads and stitches.  Lesson one given at the July meeting covers the largest of the three firecrackers.  I plan on getting the stitching done in time for the second lesson given in September.

Here's my progress to date.

Firecracker Largest Top Portion Completed


Firecracker Largest Top Portion Completed Closeup


Toni advised us to be sure the laid threads in bargello are flat, not only on the front, but on the back as well to avoid a "twist" working its way from the back to the front.  She's right.  You can see this problem in a few of my red threads on the right side where I didn't worry about what was happening in the back.   Of course, to do this means flipping the canvas over after every stitch.  I realize now that I need to Iearn how to lay stitches on the back without turning the canvas over.  This will be interesting.

Gilded Cabochons - Updated 3/9/22

March 9, 2022--Won 1st Place Ribbon in the Canvaswork-Multi-stitch category at Woodlawn's 59th Annual Needlework Exhibition in Alexandria, VA.  So pleased.

September 5, 2021--Just had this project framed at Michael's Arts & Crafts and love how formal it looks.  Now to find a special spot in the house to place it.


Gilded Cabochons Framed

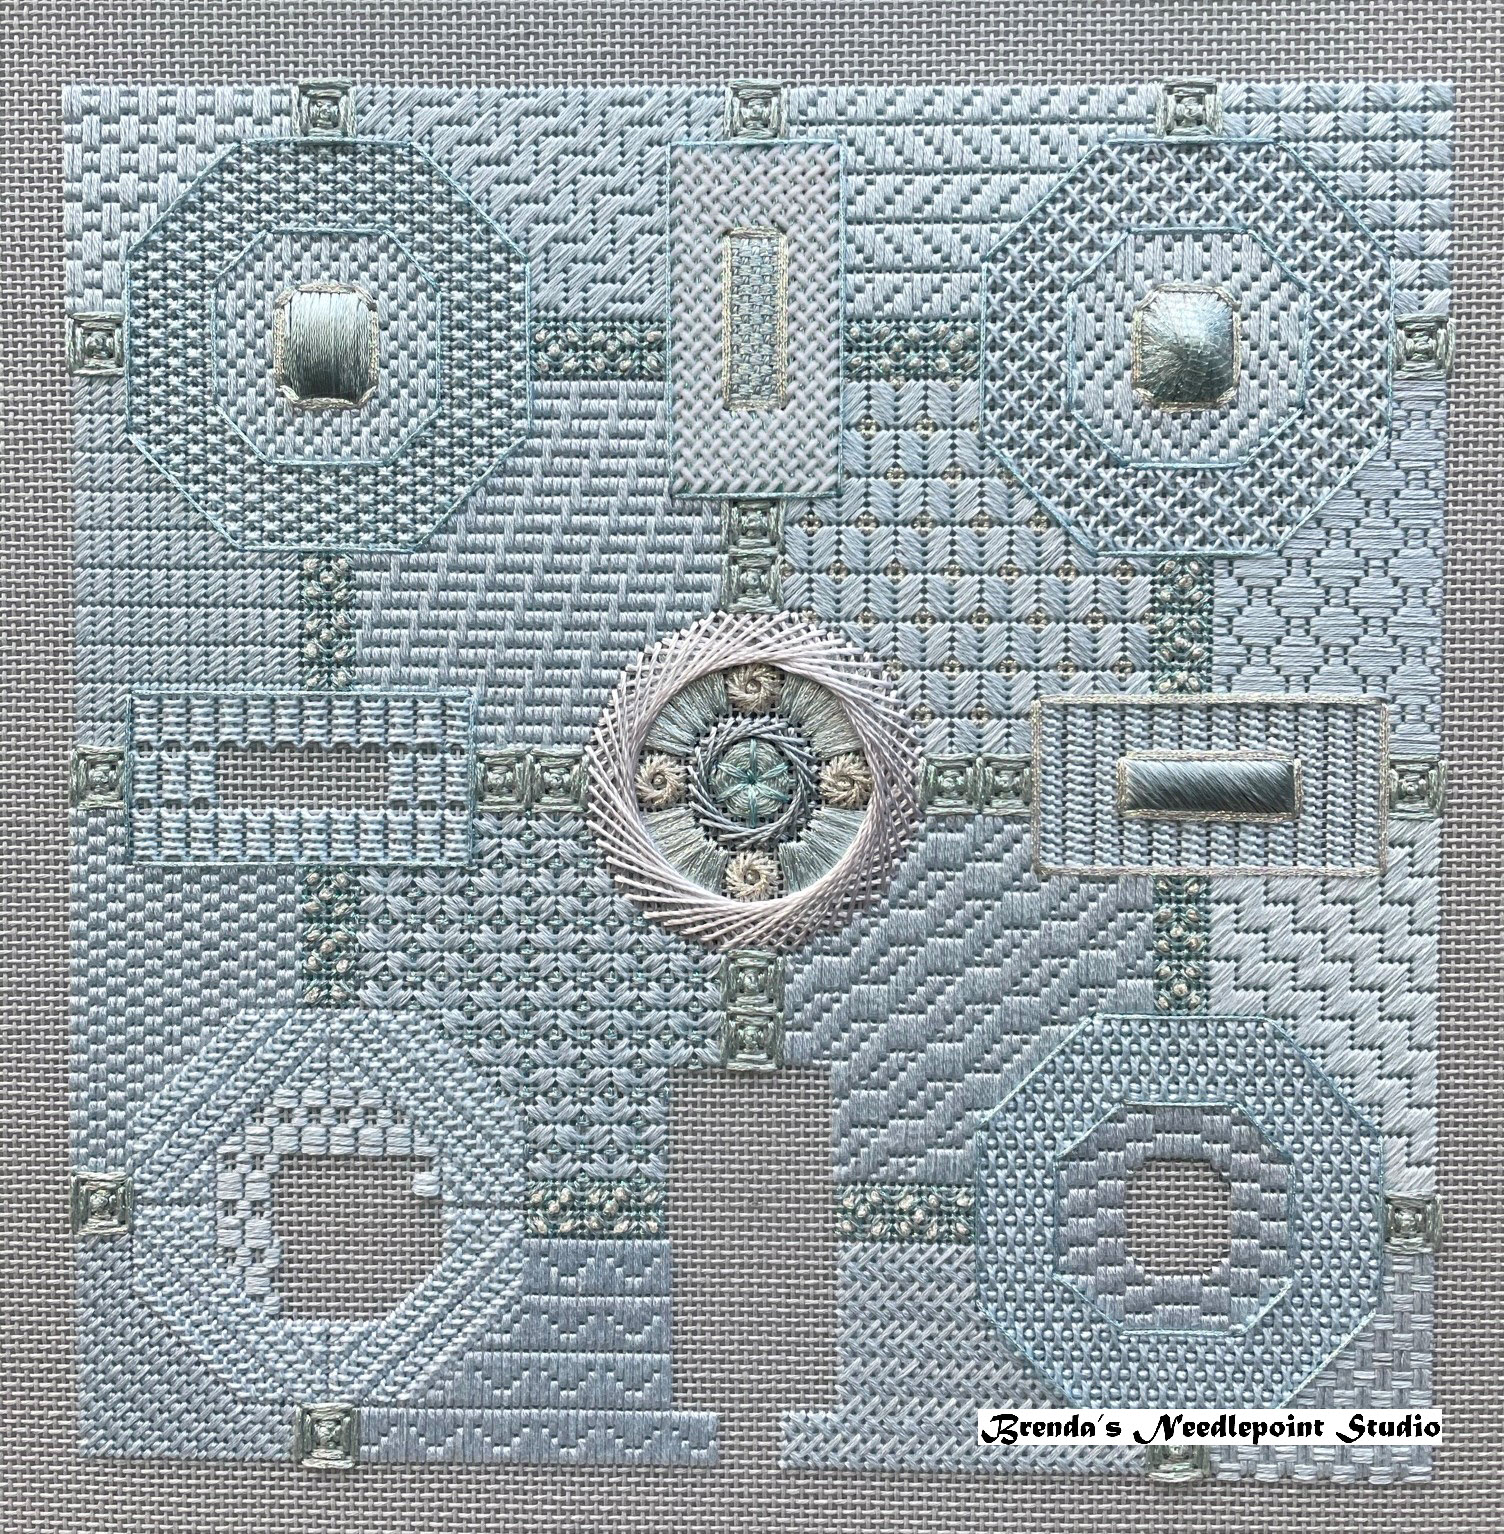
July 1, 2021--Fini, Done, Finished!  Yay.  I don't know why I procrastinated so long before tackling the stuffed detached buttonhole oval and rectangular cabochons, but I did.  I found every excuse under the sun not to buckle down and just DO IT!  Well, this morning, I finally did just that--I DID IT!  

Fortunately Debbie Rowley has some wonderful videos attached to her Zoom classes which explain easily what to do.  Mine aren't exactly in the perfect category, but to most eyes, it'll look fine.  Now off to the framer I go.

Gilded Cabochons Completed

BTW, I did not add two rows of extra stitching around the edge for easier framing as I wrote about in May (see below).  Just couldn't wait to get this off the stretcher bars and now hope my framer can deal with any wonkiness that may have occurred.


May 14, 2021--Plugging along on the lower left quadrant, just a bit past Lesson 11.  Hospitalizations, surgeries, etc. for both myself and my husband have slowed down my stitching immensely.  But I really love this project and want to complete it more than ever.  

I'm also trying to figure out if I should stitch a row of 2 threaded satin stitch around this thing so the framer has a teensy bit play of room for mat placement.  This extra bit of color is becoming important for a few reasons:  1) the canvas may be a bit wonky and isn't as straight as it should be for matting; 2) I'm mounting the canvas incorrectly on the stretcher bars--pulling too tightly on one edge vs. the other causing the edges to warp.  Either way, blocking doesn't seem to fix this, so satin stitching around the edge may be the easiest solution.


Gilded Cabochons through Lesson 11


April 25, 2021--The upper left quadrant is completed and ready for the detached buttonhole stitch to be worked up in the rectangle and lower right quadrant.   Don't know if I'll do that now or wait until everything else is done.  We'll see....  Here are photos of my progress to date.  Love all the shine and texture.

Gilded Cabochons through Lesson 10


Gilded Cabochons through Lesson 10 Side View

February 14, 2021--Finished stitching the lower right quadrant through Lesson 6.  I'm leaving the area open for a cabochon which is done using the detached buttonhole stitch.  There is a cabochon in another quadrant which utilizes this same stitch, so I'll do both at the same time after I practice a bit in the margin.   Will pick this up again in a month or so.  

Gilded Cabochons through Lesson 6


November 15, 2020--The right quadrant, through Lesson 4, is stitched.  Whew--this is definitely a learning process for me so please don't be distracted by the bad stitching.  I can't tell you how many sections I've had to rip out due to miscounting or just getting the stitch sequences wrong.  My eye doctor tells me I'm ready for cataract surgery, and I guess she's right.  I do love the thread colors and how much dimension there is to the "cabochons" and center medallion.  I'm going to take a break before starting another quadrant, picking this up after the holidays (but maybe sooner).

Gilded Cabochons Through Lesson 4 (Right Quadrant)
Side View

November 5, 2020--ANG CyberPointers Chapter offered Gilded Cabochons by Debbie Rowley as an online class beginning in October, 2020.  I love this type of project, so immediately signed up opting for the Blue Topaz colorway.  So far I've managed to complete the stitching through Lesson 2.  This is an immense challenge--I've either forgotten how to count or need new glasses, or both.  There's a lot of shine and dimension which hopefully you can see in the second photo.  I'm muddling through and below are the results:


Gilded Cabochons Through Lesson 2


Gilded Cabochons Through Lesson 2 Side View

Below is a list of threads used for this project:


  1. This looks amazing and difficult!

  1. So beautiful - can't wait to see the next installment

  2. Where can I find this pattern? It is really beautiful.

    Replies
    1. Hi garthgirl. This is a teaching piece by DebBees Designs offered through ANG CyberPointers Chapter. You might want to contact her through her website to learn when she'll offer it again. Good luck.

  3. Gorgeous. Can’t wait to see it finished

  1. Hope you're feeling better. I always like seeing this piece.

  2. I love this piece and understand why you want to finish it ! Hope you and your family are feeling better.