Statcounter

Monday, July 22, 2013

Pumpkin 3D Designed by Ruth Chow

July, 2012--I purchased this Ruth Chow painted canvas from Waste Knot (Arlington, VA) in 2009. Lori Maza had the model available to view and I just had to have it.  Unfortunately, I was too new at doing needlepoint and found some of the stitches difficult to do, so I put it aside.  After 3 years of gathering needlepointing experience, I picked up the pumpkin again and was easily able to complete it.  It was a lot of fun.  This is what it looked like while on the scroll bars.


October, 2012--This is what it looked like when I got it back from the finisher.  It's so cute sitting next to the candy dish at Halloween.


Saturday, July 20, 2013

HanDBase Threads Inventory Database

July 22, 2013--I mentioned in an earlier blog that my favorite app is HanDBase Database Manager.  It has enabled me to inventory all of my threads, books and projects (with pictures).  Data can be entered on my PC or on my iPhone, then the two can be synced.  I chose this software because I couldn't find anything in the "app" market that would allow for the storage of a high volume of data or give me the flexibility to add or subtract fields I wanted in each record.

Today I'll talk about my threads inventory.  Below is a screen capture of the Threads Inventory Database as it appears on my PC.  I am able to see this same information on my iPhone.  The inventory can be sorted by any field, such as thread name/type, color number, project, etc. (sorting can be done on my PC or on my iPhone).  The picture below shows the database 
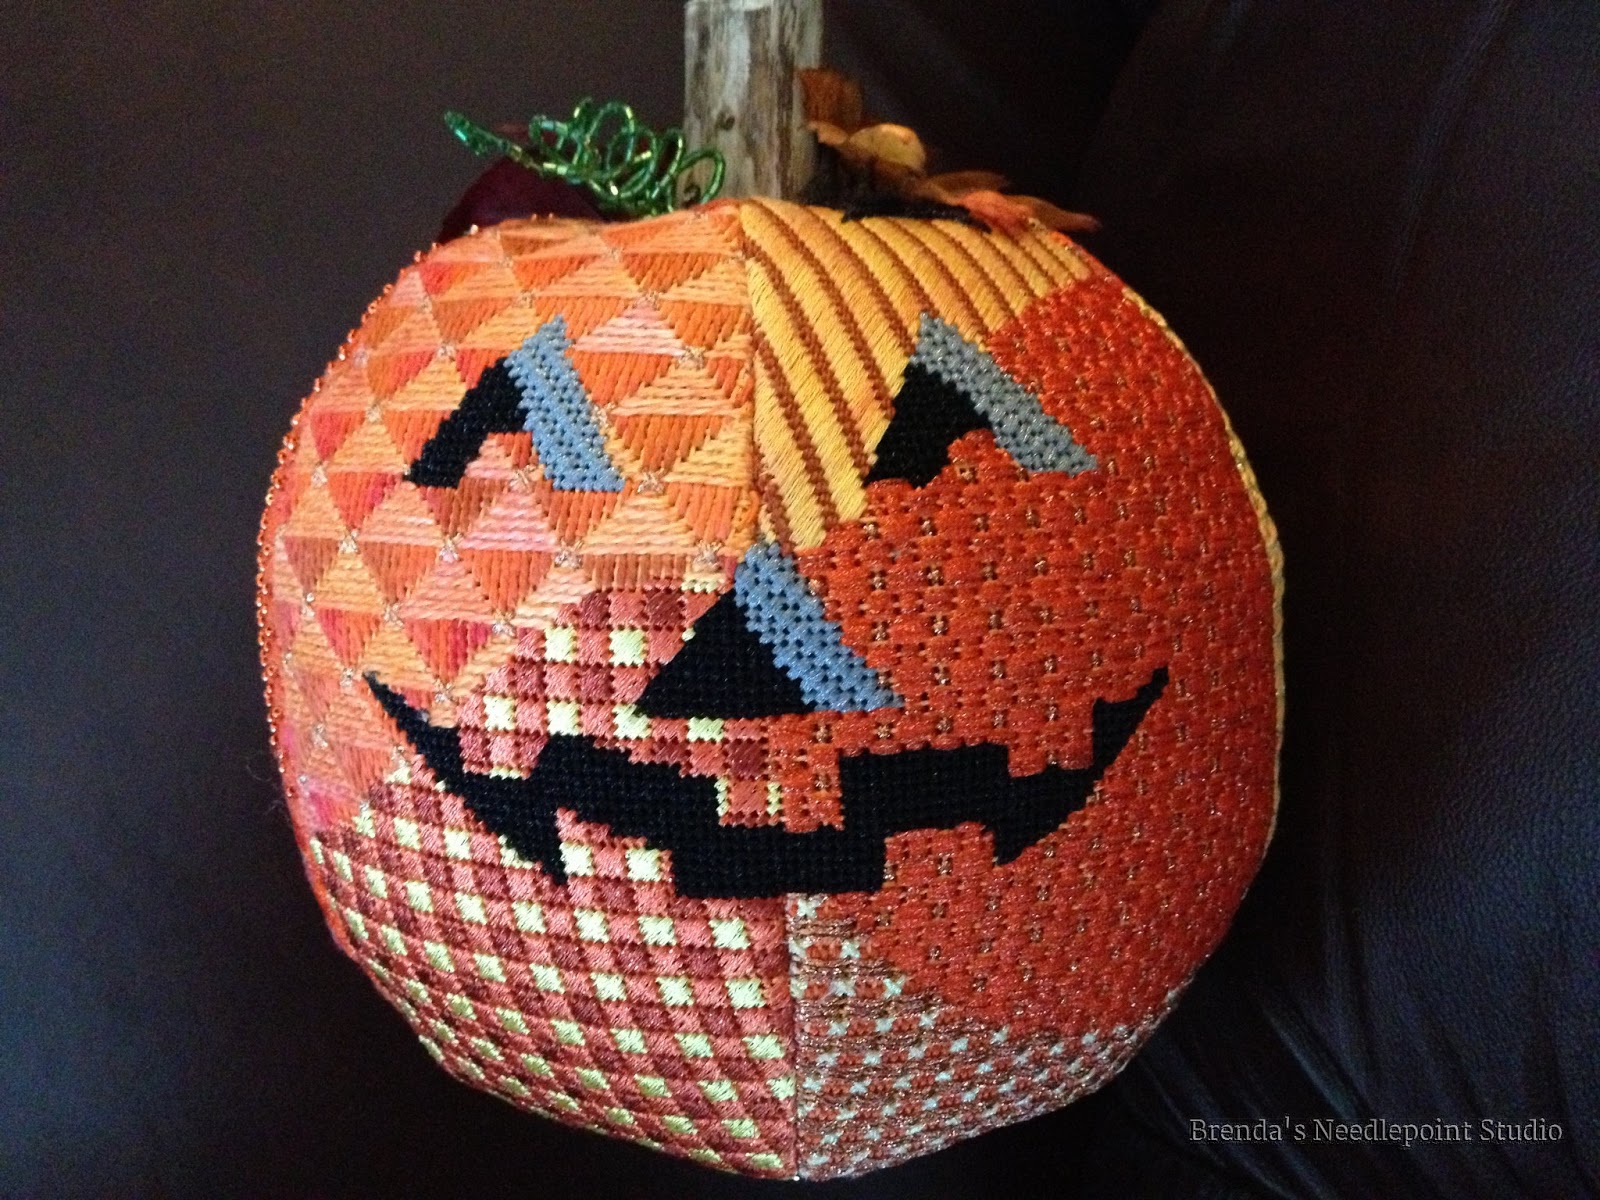
sorted by Project, the first being Anasazi Dream.  You can see a list of threads used in this project, showing the thread name/type, color number, color name (if available), project in which it was used, color wheel number, HEX number, dye lot, notes, when purchased, from what source, and cost.  When I sort this database by Name/Type, I'm able to see what I have in my stash--useful when buying threads for a new project, or making substitution decisions.  It's also helpful to see what project a thread was used for--I can easily refer to the project to see how it covered the canvas, what stitches were used, etc.


The field labeled "Name/Type" in the above example only shows the brand name of the thread and whether or not it's a floss, perle, and its size.  For more information about the thread, such as its fiber content, ply/strands, washability, gauge, etc., I have another database for that called Thread Brands. The screen capture below shows the setup.   Most of the information is taken from the package or card around which the thread is wrapped.


Now, when I have a new thread to add to my Threads Inventory Database, I fill in the information on the entry form below:


However, instead of typing in the thread name/type, all I need do is hit the little arrow to the left of the field name (using Name/Type as an example) and up pops the Thread Brands database.  Then I scroll down to the thread I'm looking for.  If my new thread is a Kreinik Braid #4, I would scroll down to that thread brand and hit enter.  This is a huge convenience when you have a project that's using many colors of the same type of thread, such as DMC floss.  Of course, if I'm adding a new thread brand to my inventory that I've never used before, I must first add it to my Thread Brands Database.

The other fields which point to separate databases are Project, Color Wheel and Source.  I'll discuss the Project Database in another blog.  

The Color Wheel Database is a list of color ranges as used by Joen Wolfrom's Color Tool.  I find this very helpful when looking for threads I own in a particular color range, for example, blue-green (color card 06 in the Color Tool).

The Source Database shows how the thread was acquired--whether or not it was included in a kit, purchased from a store, part of my stash, etc.  This field doesn't have a separate database, but has something called a "pop up list" where you can pick from a number of items such as where the thread was purchased, if it was included in a kit, etc.


If you have read this far into the blog, kudos!  I know there's a lot of information here, but hopefully it will be helpful if you decide to set up your own inventory using a database type of app.  Please note that I am not a computer/software guru and had never used Access type software before.  This was all new to me.    However, DDH Software has some great tutorials and lots of examples of how their customers use HanDBase, and it was from there I began to formulate how I would set up my databases.

If you have any questions, please add them to the comment section and I will respond ASAP.

Monday, July 15, 2013

Victorian Ornament

October, 2012--Stitched this little ornament for Delaware's Seashore Chapter's December 2012 holiday ornament exchange.  The instructions, written by Teresa Kinberger, were found in the September, 2012 Needlepointers magazine.  I changed it from an oval to a diamond shape and filled in the background.  Also did the finishing myself.  Not yet perfect, but getting better at this.


Original ornament as designed.

Thursday, July 11, 2013

Stitching In The Well and Framer's Tool to Push In Tacks

July 11, 2013--When I first began needlepointing 3+ years ago, I was given some wonderful advice on how to mount canvas onto stretcher bars.  This advice came from Liz, the owner of Needlewoman East in Falls Church, VA, and I hope you find it helpful as well.

She recommended attaching the canvas so that it appears to be on the "back" of the stretcher bars, as shown below, rather than on top.  This keeps your wrists and arms off the canvas, and your work cleaner.  By attaching tacks to the inside of the stretcher bars, magnets can be placed on the tacks as needle holders, etc.  When your work is put away in a bag, the needles and threads are protected by the sides of the stretcher bars and won't fall off.  I often place tacks on top of the bars, and use another magnet to hold graphs in front of me while stitching.   Another reason for "stitching in the well"....if the margins of your project are very narrow, you won't have trouble ending your threads on the back because there isn't anything in the way.  Bead holders placed inside the stretcher bars won't fall off the canvas either.  For some, using a laying tool in a tight corner is difficult unless the canvas is on top of the stretcher bars.  I use a "trolley" type of tool--it's a long, large needle welded to a ring that I wear on my index finger.  I can then curve my finger around a tight area....or just turn my canvas around for more maneuvering room.

Canvas right side.  Tacks are on the back of stretcher bars

Back or wrong side of the canvas.  I know there are a lot of tacks, but I find they keep the canvas from stretching

Magnet attached to tack used as needle minder

This is a "framer's tool" I use to push tacks against stretcher bars.  The handle is very comfortable to use.


Using the framer's tool to push tacks into the stretcher bars
Jane of Chilly Hollow found a website for this tool, called a picture framer's bradset, at Highland Woodworking.  Thanks Jane.

Wednesday, July 10, 2013

Folding Ort Box Number 2, Black and Red 3/18/15

March 18, 2015--Won 1st Place Ribbon in the Canvaswork-Multi category at Woodlawn's 52 Annual Needlework Exhibition in Alexandria, VA.

February, 2010.  Made this ort box for DH to keep in his office.  The black and silver was to match his electronics and furniture while the red was for impact.  It got noticed--by other women of course.   And what man doesn't love the attention of other women.  Now that he's retired full time, the ort box has been re-commissioned to travel with me when taking classes, etc.


Monday, July 1, 2013

Kreinik Pen

September, 2012--I bought two of these cool pens at ANG Seminar in Philadelphia...one for myself and one as a gift for my conference roommate, Vicki.   She really had a time of it at the hotel check in.  Our original plans were that she would arrive first,  check in and get the room.   Well, it was I who arrived first and was assigned "our room".  When Vicki checked in, she was not told I was already in the room, so was very concerned that our room had been assigned to someone else, not recognizing my luggage.  She had to get a last minute change of rooms, all to my surprise when I tried to return to the room I had been assigned and found myself locked out.   Too funny.  It ended well with a nicer room than originally assigned.   I have to find out if she ever stitched the pen.

(Kreinik Stock Photo)