Statcounter

Showing posts with label Independence Day. Show all posts

Saturday, May 9, 2026

Heart Fourth of July - Updated 5/9/26

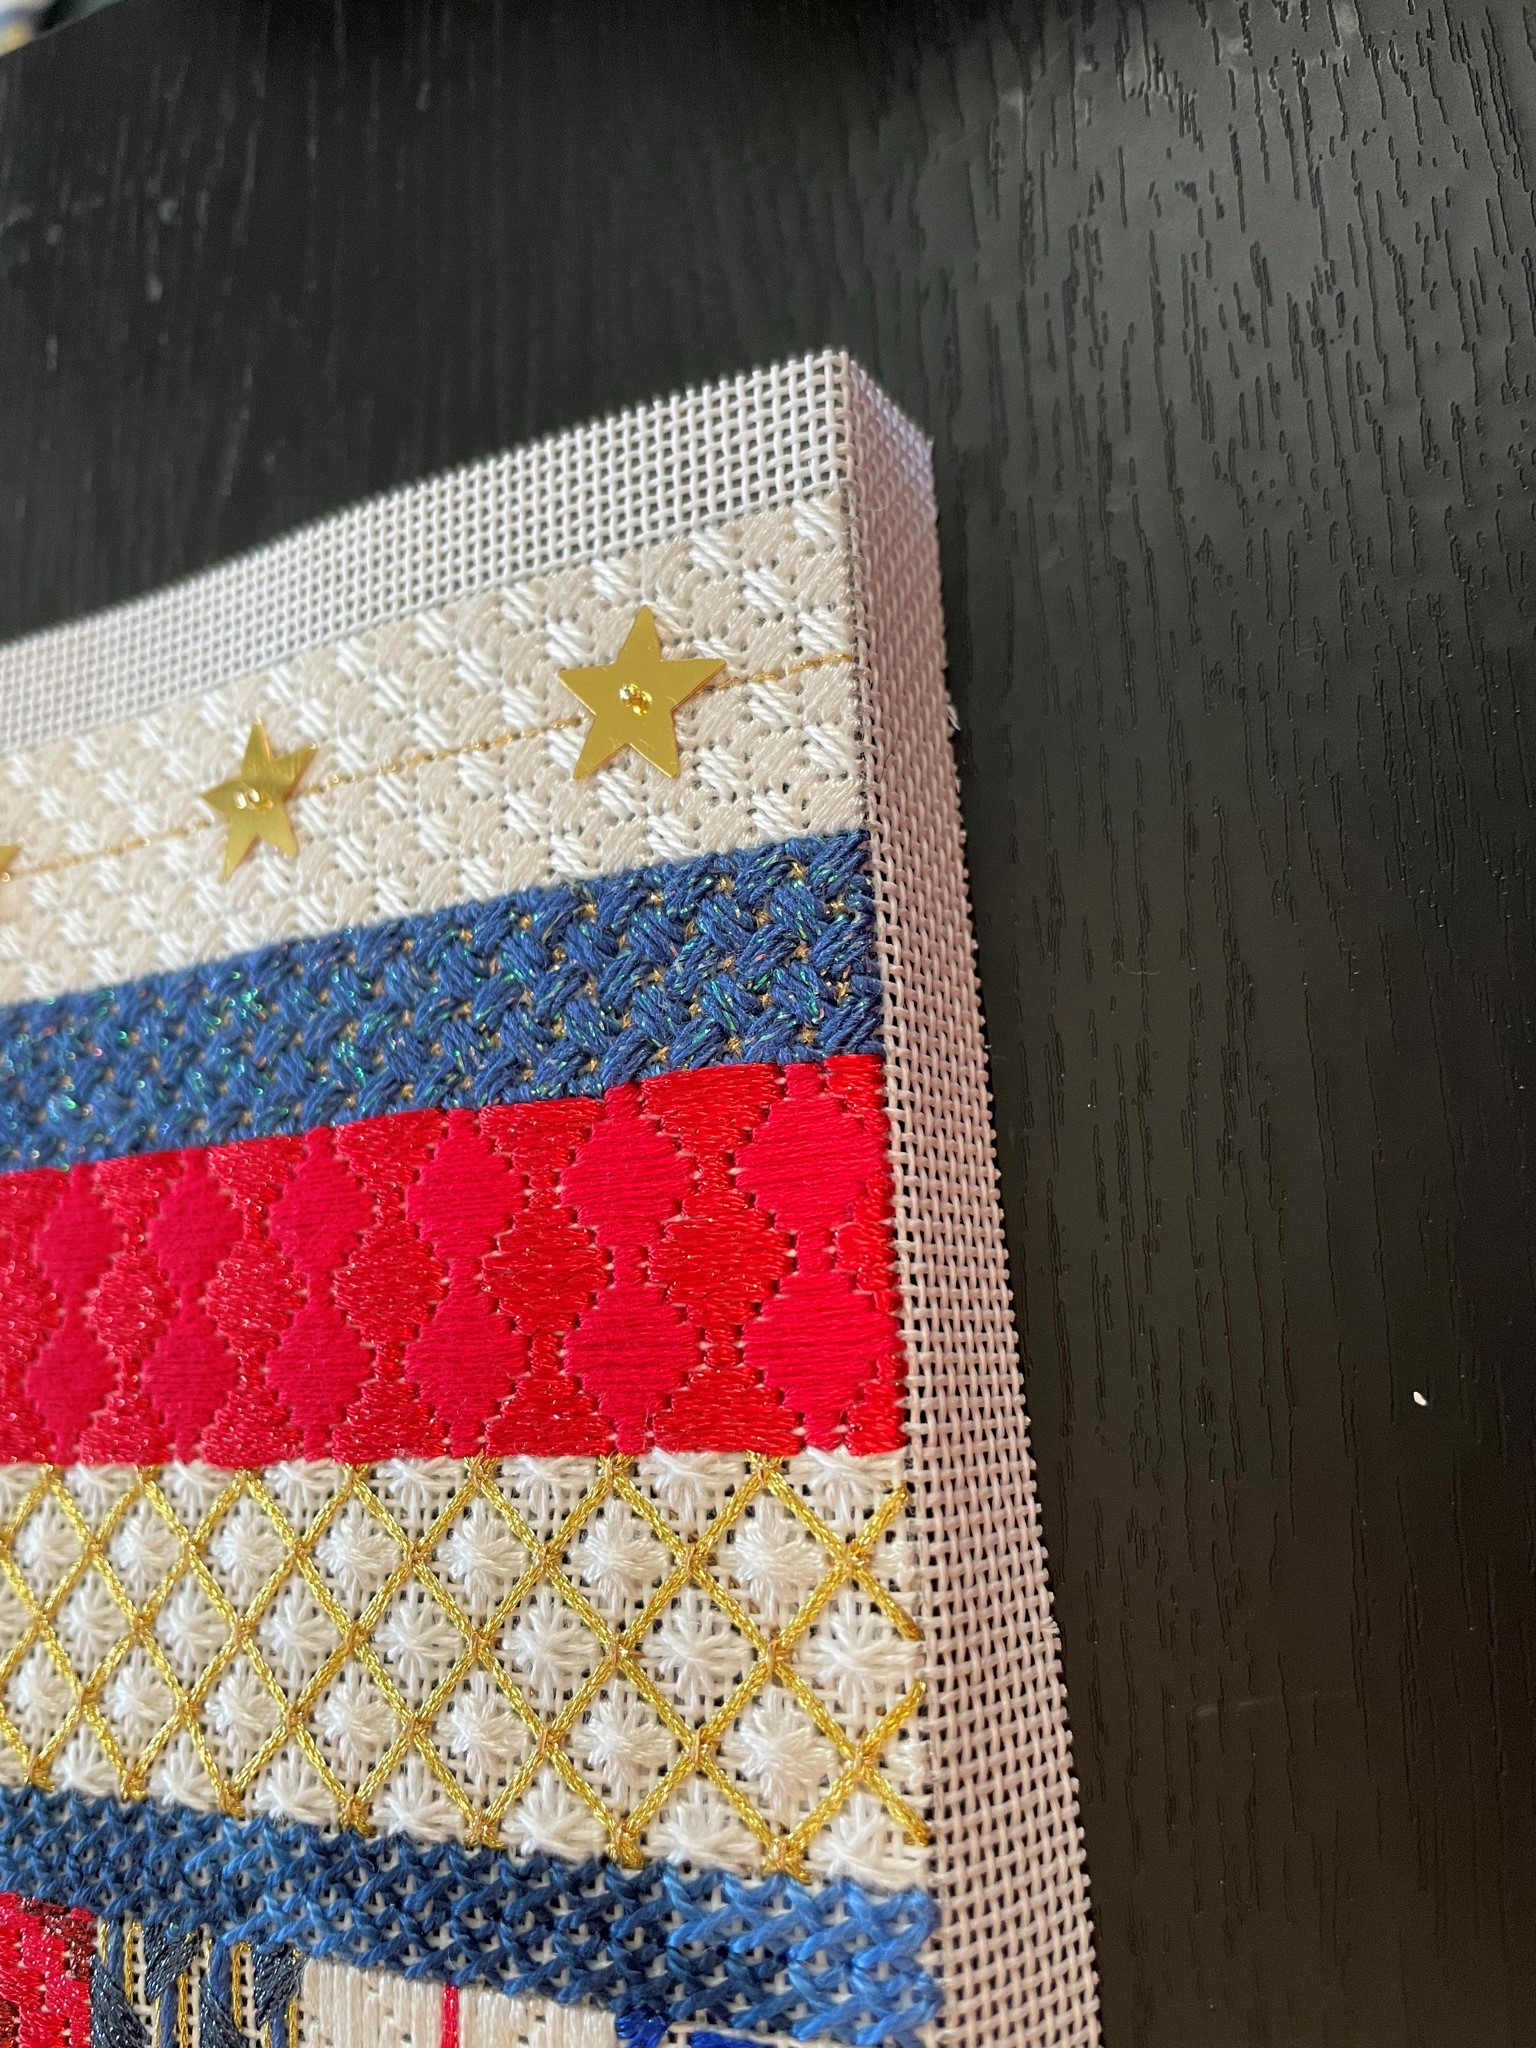
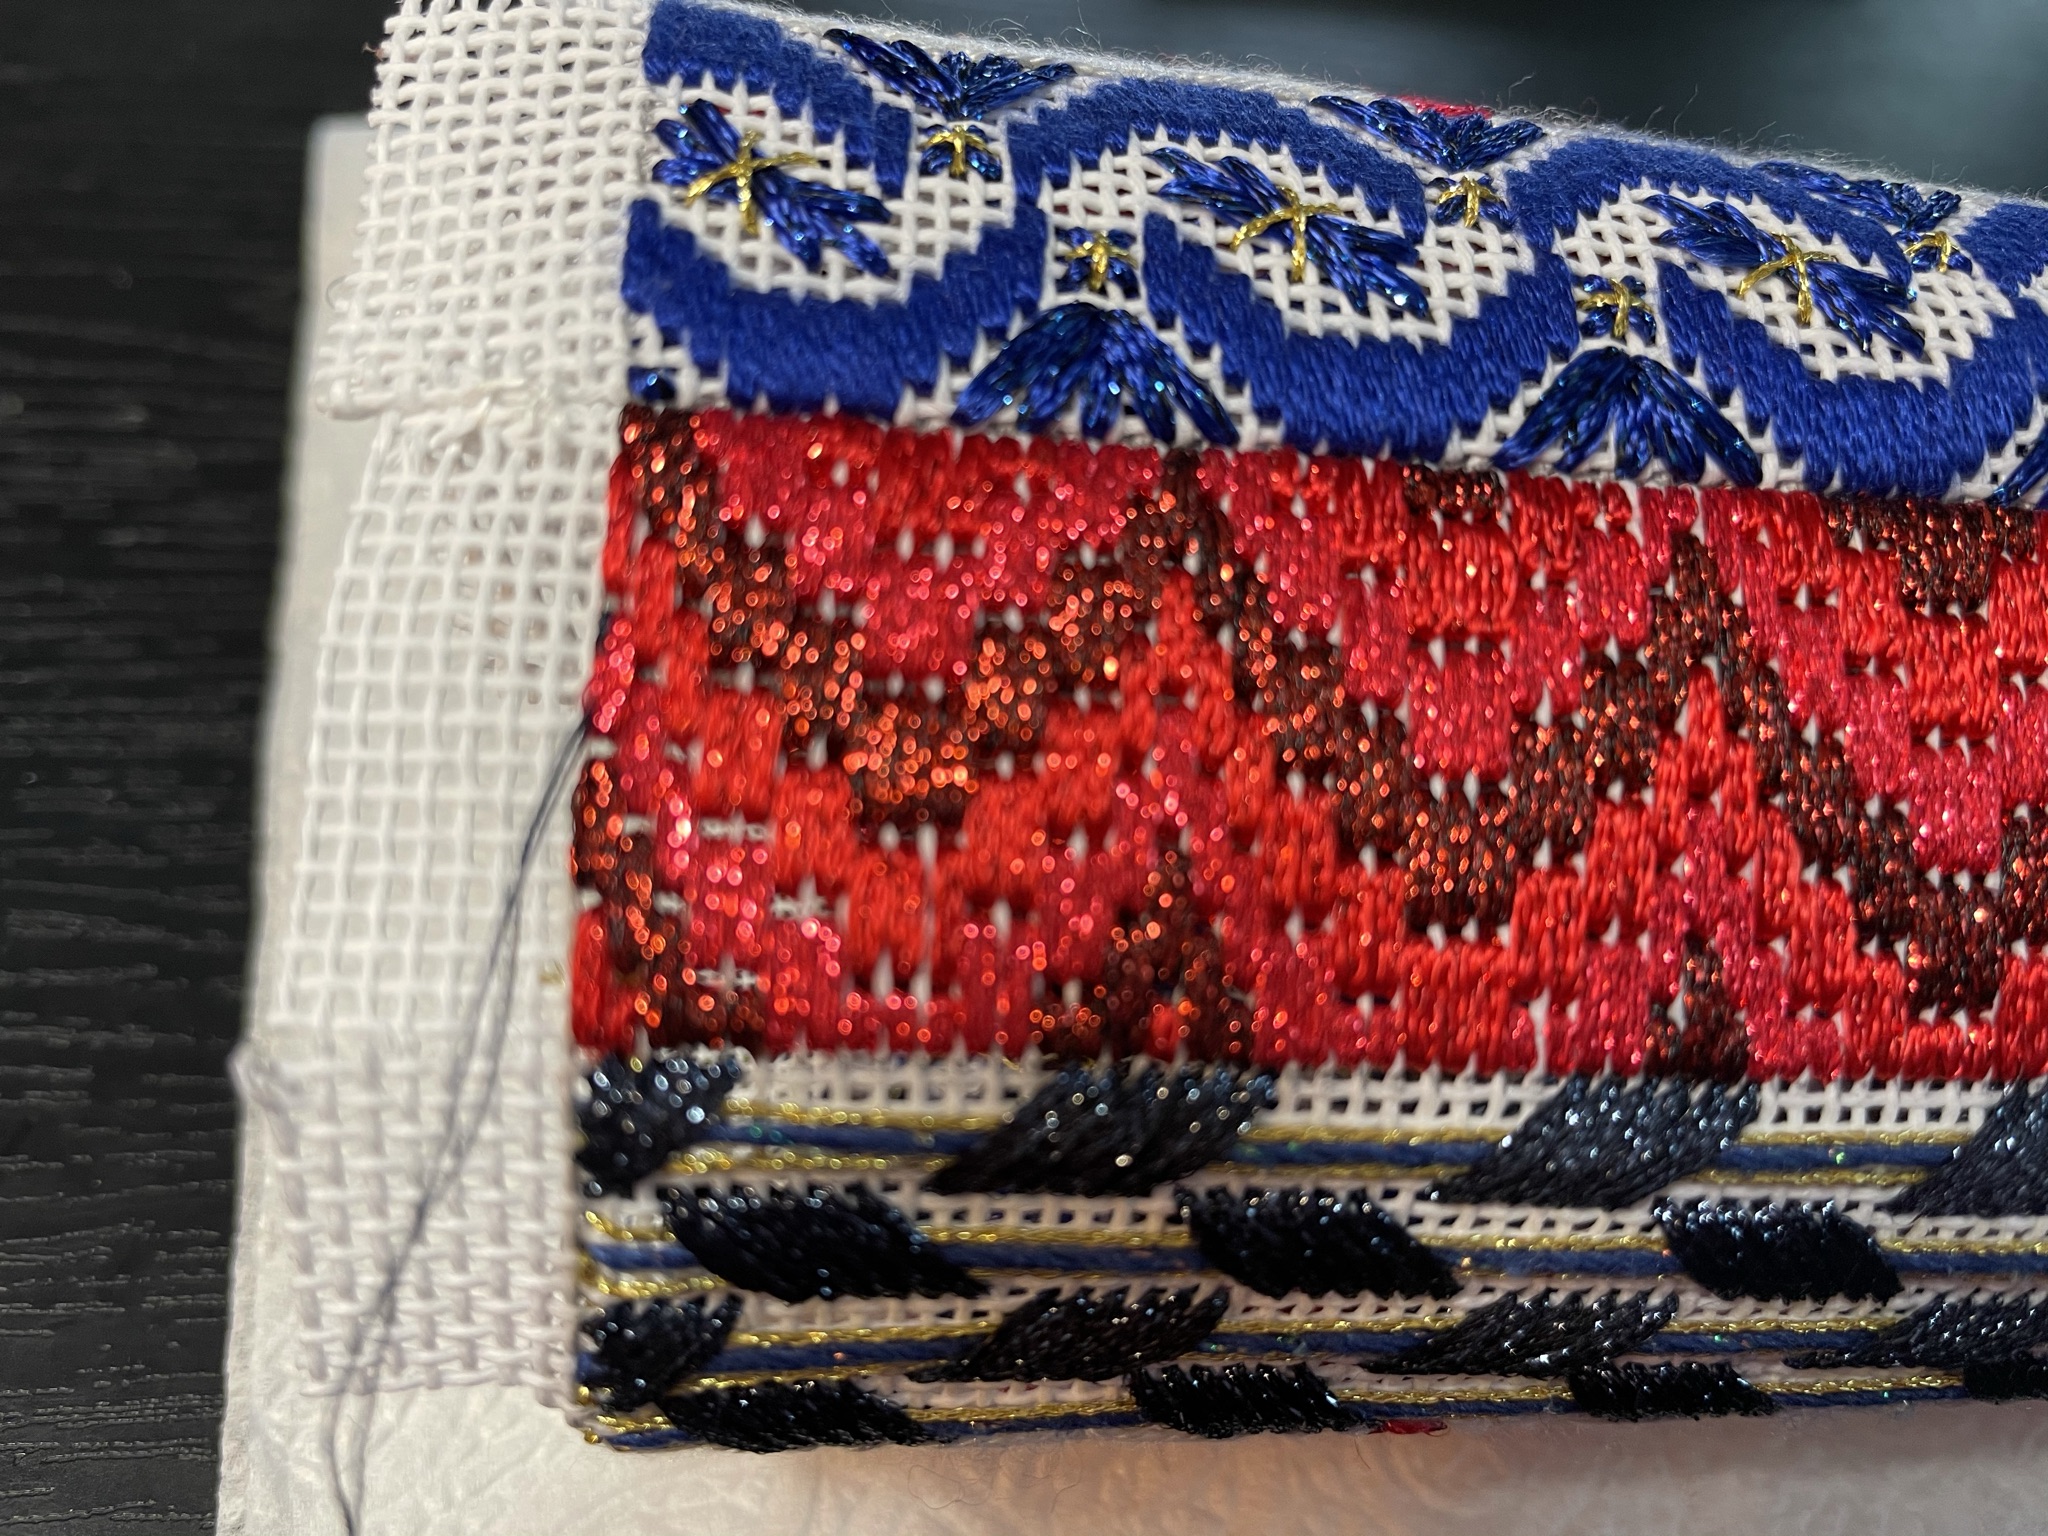
May 9, 2026--I placed the last stitch on this beautiful, very shiny heart today and look forward to finishing it as an ornament in the near future.   I had fun leading this project to a handful of my ANG chapter members and they are moving along nicely.   There was an initial glitch when we learned the threads recommended by the designer are no longer available, but we found RG's Neon Rays made a very nice substitute.  This will make a nice addition to my Memorial Day, Independence Day and Labor Day decorations.

Fourth of July Heart Completed

March 13, 2026--I have the pleasure of leading a class at the Delaware's Seashore Chapter of ANG May meeting called Fourth of July Heart designed by Margaret Bendig.  The instructions were published in ANG's July 2008 Needle Pointers Magazine.  Since we'll have just a few hours to cover everything in class, I'm going to teach it "seminar" style where a little bit is done in each section so the students will learn the stitches involved, then the heart can be completed at home.  Of course, there will be lots of "thread spaghetti" to contend with.   Below is the "prework" the members will be asked to do before the class begins.  


Heart Fourth of July Prework

This is a delightful project to work on to celebrate the USA's 250th anniversary.  I remember celebrating our country's 200th anniversary on the "Mall" in Washington, DC.  OMG--50 years ago!!!  Yup, I'm that old. 😋

Sunday, November 6, 2022

Patriotic Ornament - Updated 11/6/22

November 6, 2022--Finished this fun project into an ornament in time to display on Veterans Day.   

See prior post below for more information about this project.


Ornament Patriotic Finished Front

Ornament Patriotic Finished Back

Just learned this will be a class taught by Ann Strite-Kurz at Denise's Needlework Shop in St. Michaels, MD sometime in the Spring of 2023.   If interested, call Denise for more information.


October 18, 2022--At the October 3rd meeting of Delaware's Seashore Chapter of ANG, one of our members, Ann Strite-Kurz (also a well-known designer and teacher) held a class on stitching her Patriotic Ornament. 

Working on this ornament was such a pleasure with lots of challenges and surprises.  Now all I need to do is finish it into an ornament.   The pencil markings on the edge of the circle will disappear as part of the seam allowance.

Patriotic Ornament Completed


Saturday, November 5, 2022

Heart My Patriotic - Updated 11/5/22

November 5, 2022--Finished this heart into an ornament using a 3 color, 6 ribbon Kumihimo braid as cording around the edge.   Note to self--be sure to maintain the cord twist when pulling it tightly around the corner of the heart.

See prior blog entries (posted below) for more information about the heart.


Heart My Patriotic Finished Front


Heart My Patriotic Finished Back


I tried something different in the finishing process--instead of using my glue gun to piece the front and back together, I used a new glue pictured below.  It enabled me to take the time needed to move the front and back pieces together in perfect alignment, then hold them with clips.  After less than an hour of drying, it was ready for the cording to be placed around the heart with my glue gun.

This was a game changer for me because my back is usually a smidge larger than the front (done on purpose so the cording sits a little forward on the ornament).  When I used a glue gun to put them together, I didn't have time to make adjustments because the glue would dry so fast, so something wouldn't be right on one side or the other.  This Tacky Glue gave me time to move things around a bit for a perfect balance all around before the front and back dried securely in place.


May 7, 2022--This patriotic heart worked up quickly, especially since the groundwork had already been done by Vicki T (silver outline and horizontal separation line).  The stitches were fun and as always with Nancy Cucci's designs, the beading makes it all pop.  

My Patriotic Heart Completed

April 29, 2022--In 2020, I purchased this project from the estate of an old friend and co-member of the Northern Virginia ANG Chapter.  She and I were seminar roomies for a couple of years, and I miss her dearly.   

This heart, designed by Nancy Cucci, is called My Patriotic Heart and is just the kind of piece I like to work on.  Nancy's instructions are very detailed and easy to follow.  Below is a photo of what my friend had stitched while taking this at an ANG seminar class years ago.  It'll be a pleasure to finish it for her.

My Patriotic Heart Partially Stitched by VT


Wednesday, March 9, 2022

Firecrackers -- Updated 9/29/22

September 29, 2022--Won 3rd Place Ribbon for Canvaswork/Needlepoint category at Rehoboth Beach Museum's 10th Annual Needlework Exhibition in Rehoboth Beach, DE.  So pleased.

March 9, 2022--Won Honorable Mention Ribbon in the Canvaswork-Multi-stitch category at Woodlawn's 59th Annual Needlework Exhibition in Alexandria, VA.  So pleased.

July 26, 2021--Entered this fun project into the Delaware's State Fair and was awarded a Second Place Ribbon along with a small (very small) cash prize.   Nice.

November 23, 2020--I've just finished these firecrackers myself as standups and am very pleased how they turned out.  If interested, there's a tutorial of how I did it below.  Hope you find it helpful if you decide to try this yourself.


Firecrackers Finished as Standups

Below is a brief tutorial of how I made these into standups. 

Firstly, you will need the following:

Fishing line (used for strength).  Click here for more information about what I use.
Circular needle for joining seams
Acid free mounting board (click here for information about what I use).
Fabric for firecracker tops and bottoms.
Matching thread to the fabric.
Compass for drawing circles
#4 Pencil
Weights for standup bottoms
Polyfill stuffing
Foil sparklers


To begin, trim each canvas, leaving a 1/2" seam allowance.
Fold sides of canvas in toward the wrong side (see photo below)


Cut a length of fishing line approximately 3 times the height of the Firecracker and tightly secure the  line at the top seam allowance (be sure your line is very secure otherwise it will come undone as you pull the seam closed)., then begin stitching the long sides together using the Ladder Stitch over 2 canvas threads (count carefully to keep the seams matched up).  

Periodically pull the Ladder Stitches tight to close the seam.  This photo shows the seam closed after an inch or so.

Here the stiches have been pulled tightly halfway through stitching the seam closed

The seam is now completely stitched closed.

Securely end the fishing line in the bottom seam allowance.

Clip into the top and bottom seam allowances so they will easily fold to the inside of the Firecracker.  Leave a few canvas threads "unclipped".


Measure the diameter of each Firecracker.  I came up with the following:
Small Firecracker:  1.5"
Medium Firecracker:  2.25"
Large Firecracker:  2.5"  The photos below are for the large Firecracker


Set up a compass one-half distance of diameter (if diameter is 2.5", the compass should measure 1.25").  I use a #4 pencil so the markings won't "bleed" unto the fabric or canvas.

After drawing and cutting out your circle, measure to confirm it's the size you desire.

Since the board I use is rather thin (for easy cutting), I cut out 3 circles for the bottom and 2 circles for the top).

Cut fabric circles with a seam allowance of about 1/2".

Place a running stitching along the edge of the fabric circle

Now pull the running stitches tight so the fabric will wrap around the board.

I go one step further and lace the edges together so the fabric won't slip.

To begin stitching the bottom to one of the Firecrackers, secure your sewing thread to the canvas edge, then fold the edges of the seam allowance towards the inside of the Firecracker

Using straight pins to temporarily hold the bottom unto the Firecracker, whip stitch both together using thread to match the bottom fabric.

Once the bottom is attached, place a weight inside to rest on the bottom (I used gravel I found around my driveway) then stuff, stuff, stuff until  you can stuff no more with Polyfil.  


Now cover the Firecracker top with fabric.  Then make a hole through the fabric and board (so you can  push a "foil sparkler" through the top) and attach to the Firecracker with pins and sew on as with the bottom.  

That's it.  As you can see, my top and bottoms rest outside the canvas.  Someday I'll learn how to fit a top and/or bottom inside the standup, but as of yet don't have a clue how to do that. 

Please add photos of your Firecrackers to the ANG CyberPointers Photo Album when you get them done.


November 2, 2020--All three firecrackers are now stitched and ready to finish.  I even found some foil sparklers for the top of each one.  Below is a photo of the smallest firecracker.  


Firecracker Small Completed


 October 19, 2020--The medium size firecracker is stitched with only the smaller one left to do.  

Firecracker Medium Completed

October 14, 2020--Here's a photo of  the first of three firecrackers (and largest) that is fully stitched.  I can imagine how cute this will look with a sparkler coming out of the top.  

Firecrackers Large Completed

August 13, 2020--The CyberPointers Chapter of ANG offered this project by Toni Gerdes as a class to be held during its July and September meetings.  I purchased the full kit and love the variety of threads and stitches.  Lesson one given at the July meeting covers the largest of the three firecrackers.  I plan on getting the stitching done in time for the second lesson given in September.

Here's my progress to date.

Firecracker Largest Top Portion Completed


Firecracker Largest Top Portion Completed Closeup


Toni advised us to be sure the laid threads in bargello are flat, not only on the front, but on the back as well to avoid a "twist" working its way from the back to the front.  She's right.  You can see this problem in a few of my red threads on the right side where I didn't worry about what was happening in the back.   Of course, to do this means flipping the canvas over after every stitch.  I realize now that I need to Iearn how to lay stitches on the back without turning the canvas over.  This will be interesting.

Saturday, March 21, 2020

Hooray for the Red, White & Blue - Updated 3/21/2020

March 21, 2020--The 3rd and final lesson, the flag block, was supposed to have been given to my ANG chapter at the meeting on April 6th.  However, with everything canceled because of COVID-19, I wrote out the lesson and emailed it to all participants.  They have all done so well on the stitching through the second lesson and I know this last one will be a breeze for them.  The only concern they may have is with the star brads used for embellishment.  I wrote about my experience of placing them on the canvas, so they shouldn't have any trouble at all.  Looking forward to seeing photos of their completed projects.  All in all, this was a lot of fun to work on and to lead as a chapter class.

Hooray for the Red, White & Blue - Lesson 3, Section 8


March 3, 2020--The instructions for the second installment to the project were given to my ANG chapter members yesterday.  The three sections covered were Lettering, Red and White Squares, and Fireworks.   All of us are thoroughly enjoying the variety of stitches in this piece.

The last section, The Flag, will be stitched next month, then I'll have the fun of finishing it into a box standup.

Hooray for the Red, White & Blue - Lesson 2, Sections 5 - 7
The only changes we would have made are in the spacing between the letters L and Y--they need to be closer together by one thread for balance, and lower the firecrackers by 5 threads to allow more room on top for the "spaeklers".  Otherwise it's looking good.


February 4, 2020--This wonderful project, designed by Karen Barras of the Central Kentucky Chapter of ANG, was chosen by Delaware's Seashore Chapter as their project for the first 3 months of 2020.

I have the privilege of leading the members in stitching this design, and yesterday was Lesson 1 covering the first 4 sections (bunting, pinwheel, plaid and flowers).  Of course, prior to the first lesson, all had the opportunity to do the pre-work which outlined each section with Diagonal Gobelin Stitch.

Karen's instructions and graphs are superb, but I did have to review my Chottie's Plaids book to figure out how the plaid section should be stitched.  Using her technique, the back looks as good as the front.  Here are the results:

Hooray for the Red, White & Blue - Lesson 1, Sections 1 - 4