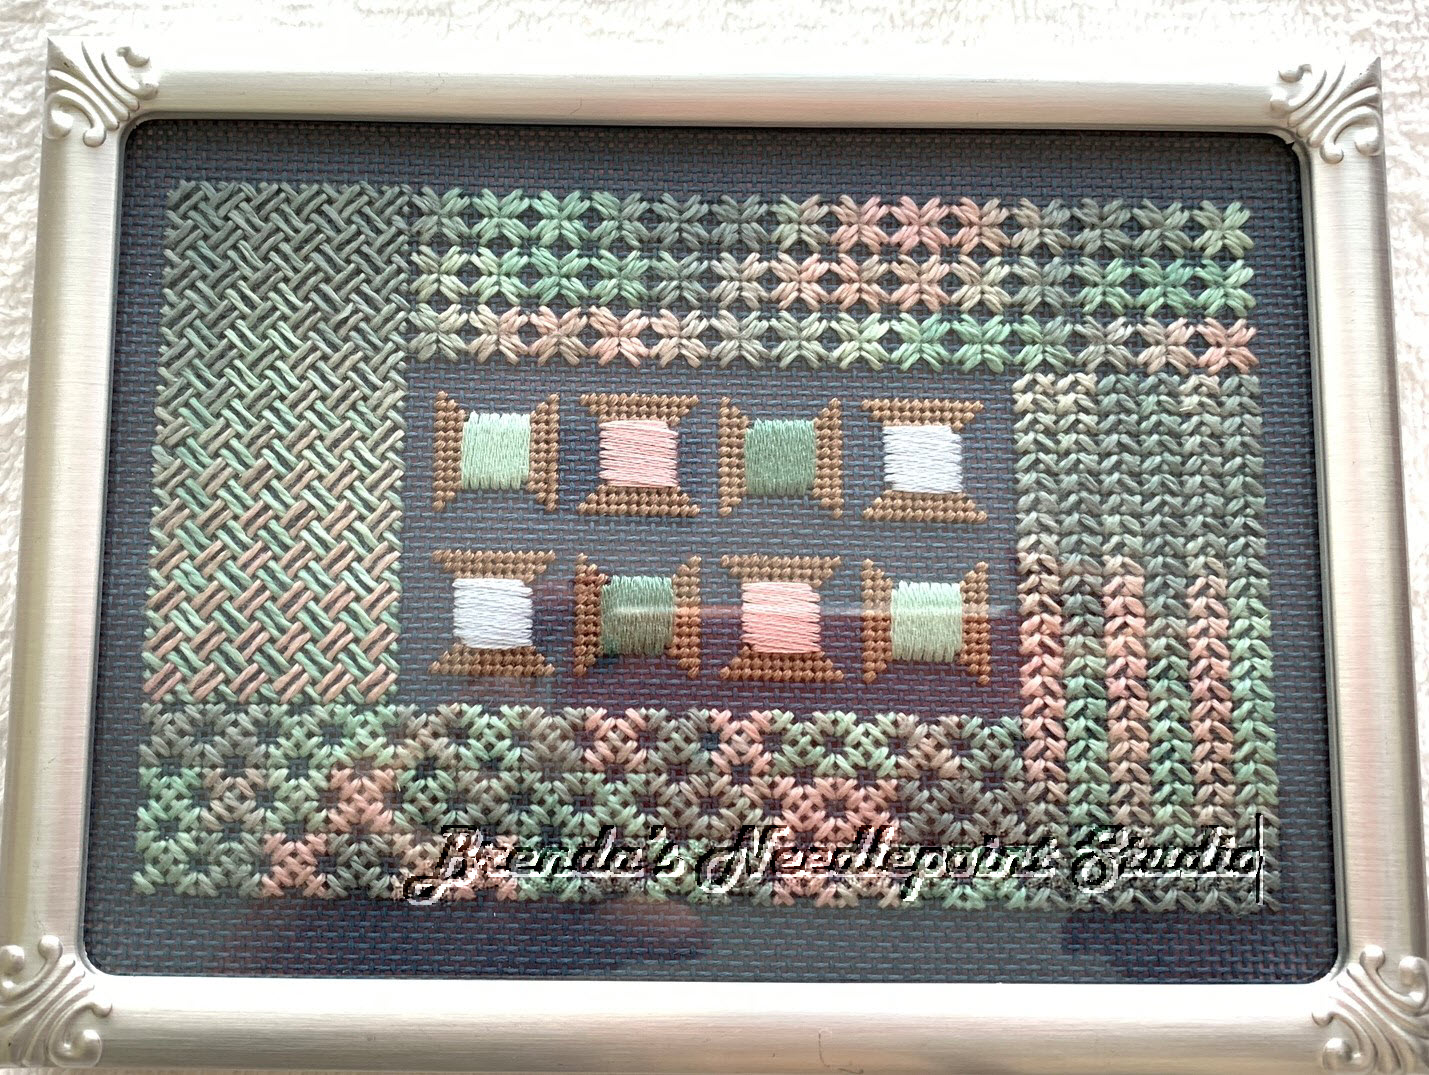
September 14, 2019--Just learned this piece garnered a 2nd place ribbon at the Rehoboth Beach Museum's 9th Annual Needlework Exhibit. Thank you Susan Hoekstra for such a beautiful design.
August 27, 2019--Just picked this up from Aaron Brothers Framing out of Michael's Arts and Crafts. I think they did a perfect job. I chose a formal frame and matts since this will hang in my boudoir.
 |
| SOTM 2016 Framed |
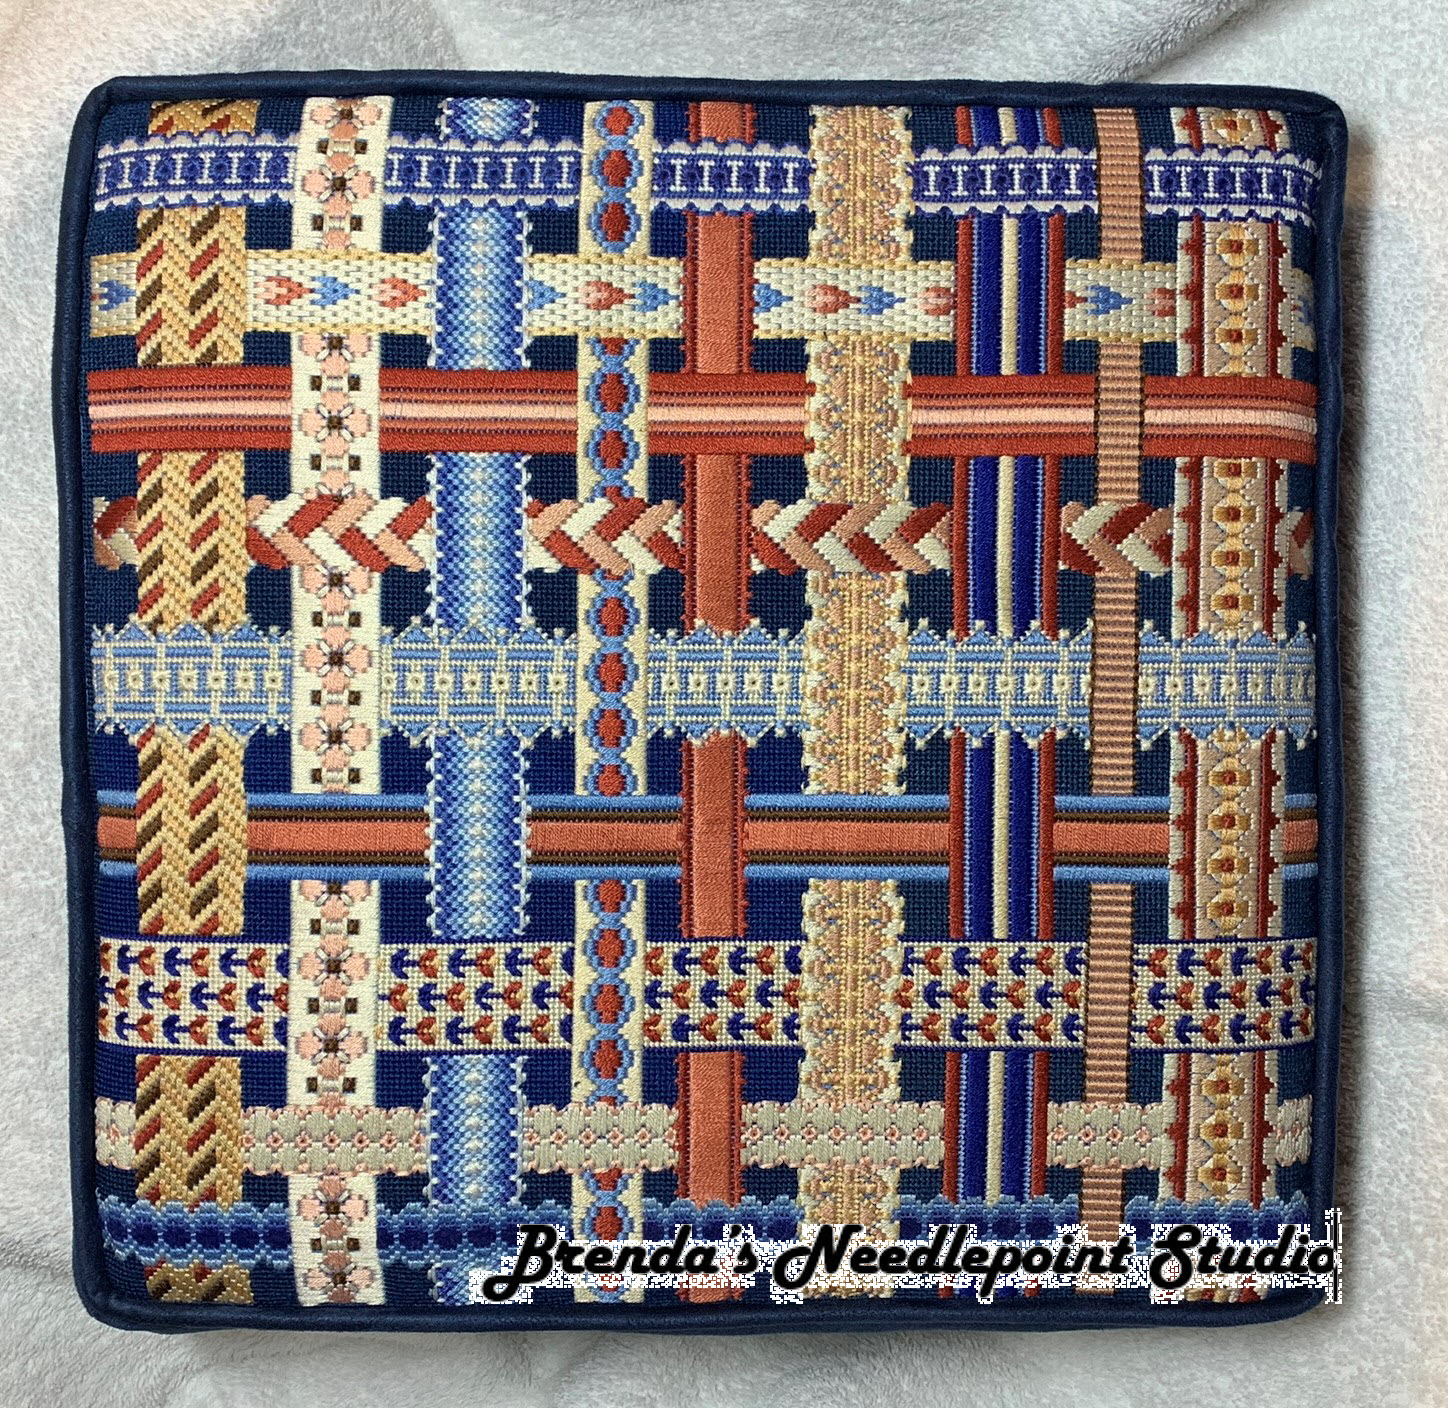
January 19, 2017--December's instructions covered couching Kreinik thread across the dividing lines of each section. Lots and lots of couching. It's now done and ready to be finished into a pillow. It's a really lovely design.
PS: Decided at the last minute to fill in the very center of the design with the lightest shade of blue using T-Stitch. Ahhh, much better.
 |
| SOTM 2016 Completed |
November 15, 2016--November's blocks, the last ones, are stitched. Something tells me December's instructions will be to couch Kreinik thread around each section. Plan on making a pillow out of this pretty SOTM.
It's visually interesting how the corners look like dog ears even though they are even with the other areas. I also like the way the center recedes into the background as if you're looking down into a box. Cool.
 |
SOTM 2016 November Section 11 Completed
|
|
November 2, 2016--Block 10 for October is complete. Chose beads from my stash which are in the mid-range of the blue colors. Like how they look.
 |
SOTM 2016 October Section 10 Completed
|
September 15, 2016--Finished stitching blocks 8 and 9. Started block 8 in August, but ran out of thread and time before seminar, so now that I've been back for almost two weeks, had some time to work on this project. The last color seems to jump from medium blue to a very pale blue, but I believe it's because the prior color has a darker blue laid on top of the lighter one. The next two months should make the colors look different again.
 |
| SOTM 2016 August and September Section 8 and 9 Completed |
|
July 7, 2016--Block 7 for July is done. The corner units stitch up quickly and they are all the same size except for the ones on the last row. It looks so much better in person.
 |
| SOTM 2016 July Section 7 Completed |
|
June 21, 2016--June's Section 6 is stitched. It took longer than it should have because I ran out of thread. Got it in time to finish up in June.
Moving into the pale blues now. Like how it's developing.
 |
| SOTM 2016 June Section 6 Completed |
May 4, 2016--Section 5 for May is done. It's interesting how different the colors are when placed next to others. For example, the dark color used in this latest grouping is the same thread used in the very center, but it appears a bit bluer. Also, the light blue color in this section appears darker than the one used last month, but it is in fact a bit lighter. Must be that they're different threads and reflect light differently.
 |
| SOTM 2016 May Section 5 Completed |
April 18, 2016--Section 4 for April is done. Was able to do most of the stitching while attending the 6th Annual NJ Needle Festival last weekend.
 |
| SOTM 2016 April Section 4 Completed |
March 7, 2016--Completed the stitching for March, Section 3. A quick and easy section. The photo was taken late in the afternoon with the sun low in the sky. Makes a difference in how the blues appear.
 |
| SOTM 2016 March Section 3 Completed |
February 6, 2016--Section 2 for February is done. The two blues seem to be fighting each other right now, but I suspect that as more sections are completed, they'll meld together nicely.
 |
| SOTM 2016 February Section 2 Stitched |
January 30, 2016--January's Block 1 is stitched. I made some changes to the Amedeus stitch because I used perle thread instead of multiple strands of thread.
 |
| SOTM 2016 January Block 1 |
Below is a photo of what the Amadeus stitch looked like before I added a long thread down the middle to hide the "open area". The two arms on the right and left side have a long stitch down the middle to cover the open area while the upper arm does not. I also diverted from Susan's instructions by stitching the right side first, then the left. I found it difficult to work left, right, left, right--could not see the holes in the middle. Also, did not want to "pierce" the perle thread like you can do with stranded. I'm pleased with the result. Can't wait to start February's Block 2.
PS The light threads you can barely see on the canvas are basting lines.
 |
| Block 1 with and without long center stitch |
January 23, 2016--A few days ago some members of the ANG Delaware's Seashore Chapter and I drove up to
Fireside Stitchery in Pennsylvania to purchase the necessary threads to stitch this year's
ANG Stitch of the Month (SOTM) project. This beautiful design by Susan Hoekstra, called Feuilles d'Ananas (Pineapple Leaves), is a study in values requiring 11 different threads from dark to light. What fun we had comparing our color choices to Susan's dark golds/topaz to light straw colors (see project photo below). I love blues, so naturally migrated to those colors and below is a picture of my thread selections.
Those of us in the guild who are stitching this year-long project plan on meeting once a month at each other's home to help with any challenges we may have. Looking forward to stitching the first block this month.
 |
| ANG SOTM 2016 Designed by Susan Hoekstra |
 |
SOTM 2016 Thread Selection
|