Statcounter

Wednesday, December 20, 2023

Stars Beaded Mini 3D Warped 5 Pointed - 12/20/23

December 20, 2023--Recently learned how to bead up this adorable mini five-pointed warped star, so of course, I had to do two of them.  It starts off in the shape of a folded over square, worked up five times, then zippered together.   Fun.


Star Beaded Mini 5 Point Warped Bordeau Mix

Star Beaded Mini 5 Point Warped Neutrals Mix

Star Beaded Mini 5 Point Warped Stars

Red area is one of five "squares" that is folded in half (the warping occurs in the center of the square).  The diagonal lines show where the squares are "zippered" together.


This shows the fifth square getting zippered to the first square, but only after stuffing is inserted. 

Wednesday, December 13, 2023

Bracelet Flat Herringbone with Two Hole Duo Beads - 12/13/23

December 13, 2023--I continue to learn new things every time I bead up a project.  This time it was how to make a flat herringbone bracelet with two-hole "duo" and seed beads using a free pattern from Jill Wiseman Designs.   It was fun to do.  However, finding just the right colors proved to be a bit more daunting.  I found a shop in Annapolis, MD called the Twisted Bead which had multi-colored packs of Duo beads.  I chose one which contained dark bronze, light blue, very pale blue, silver and clear duo beads.   An interesting selection.  I used dark bronze seed beads to connect the Duo beads.

I tried to be random at how I placed the Duo beads, but found I just had to pick out the five colors to place in each row.   Then I worked very hard NOT to have the colors line up next to, on top of, or below each other.  Whew.   Random--nope!


Bracelet Flat Herringbone with Two Hole Duo Beads


Saturday, September 30, 2023

Stitching Girl with Her Horse - 9/30/23

September 30, 2023--I recently took a few days of classes from Sandy Arthur of Duo Designs at a retreat in Kentucky to work on Gayla Elliott's Stitching Girl with Her Horse.   I love this project with all of its embellishments and variety of threads and stitches.  Sandy kept us very busy learning how and where to place stitches to bring this canvas to life.   We had a choice of two Stitching Girl canvases, and I chose this one because of the horse boarding stables behind my property.

Stitching Girl with Her Horse Status as of 9-30-23


Here's the background.....when my husband and I moved to our new home in Delaware 13 years ago, there was a large farm located on the property in back of our house.  We knew living in an agricultural region would mean listening to tractor noises (tilling, planting, fertilizing, harvesting), crop duster planes, etc., and dealing with lots of flies--especially the little fruit flies that infest your home during harvest season, but we didn't realize how bad all of those flies would be.  Then a number of years ago the farm was sold to Windswept Stables, a horse boarding and riding instruction farm.   The only sounds we now hear are the neighing and whinnying of horses.  The house flies have disappeared because they prefer to be at the stables, and we no longer get the harvest fruit flies--YAY!  Sooooo....I'd like to name the horse Independence (the name of my community) and have the Stitching Girl needlepoint the name of the stables on the canvas she's working on (of course you will only see it in reverse).  Then I'll see if the stable owners would like to have this as a gift to hang in their home (or stables for that matter).  If not, it will be part of my guest room stitching gallery.


Stitching Girl with Her Horse Designed by Gayla Elliott, Stitched by Sandra Arthur of Duo Designs

I will post photos of my canvas in future blogs as I stitch it up.  Stay tuned.  

Thursday, September 28, 2023

Retreat by Duo Designs in Kentucky - 9/28/23

September 28, 2023--I've recently returned from a two and a half-day retreat put on by Sandy Arthur and her daughter, Teresa Kinberger, of Duo Designs at General Butler State Resort Park in Carrollton, KY.   The location was beautiful with large rooms for classes and dining.  We were well taken care of from the time of arrival on Friday to Monday morning's departure.  This is my second retreat with Sandy Arthur (first one was a river boat cruise down the Rhine River last year) and she did not disappoint.

Lodge Mezzanine 

There was a choice of two projects to work on, Stitching Girl with Her Horse (specific for this retreat) and Boss Lady Stitching Girl--both designed by Gayla Elliott who happened to be at the opening reception on Friday afternoon.  I chose the Girl with Her Horse and what I will do with this will be discussed in a separate blog.

It was interesting to learn how Gayla developed her Stitching Girls.  There also was an Alice Peterson Trunk Show while at the retreat to drool over.  I also came home with a swap meet project designed by Susan Portra that was partially stitched in gorgeous colors of blueish purple.

Stitching Girl with Her Horse Designed by Gayla Elliott, Stitched by Sandra Arthur

In addition to receiving a full kit for this wonderful piece (instruction book, threads, embellishments, painted canvas mounted on stretcher bars), Sandy also gave us lots of goodies, listed below:

·            ·        Coffee/Water Tall Mug Personalized with first name and “Queen of the Needle” title.  Special crown top added (photos below).  All done by Sandy Arthur.

·        Balls of perle 8 thread (2), one in a plastic protector with a hole for pulling out thread—nice to keep thread clean.

·        Beading Pad

·        Booklet Treasured Techniques by Sandra Arthur of Duo Designs

·        Charm 2023

·        Canvases Painted, 2 small

·        Cuticle Cream

·        Darning needle set

·        Fluff-It Velcro type brush to use in lieu of a bunka brush designed by Duo Designs

·        Kentucky shaped thread holder

·        Leather thimble pads for finger tips (set of 12)

·        Magnetic Clip by Oliblok to hold items to canvas/stretcher bars

·        Magnetic scissor/laying tool/pen flexible holder

·        Nail file

·        Plastic paper clips, large, for securing items together

·        Pouch with various threads

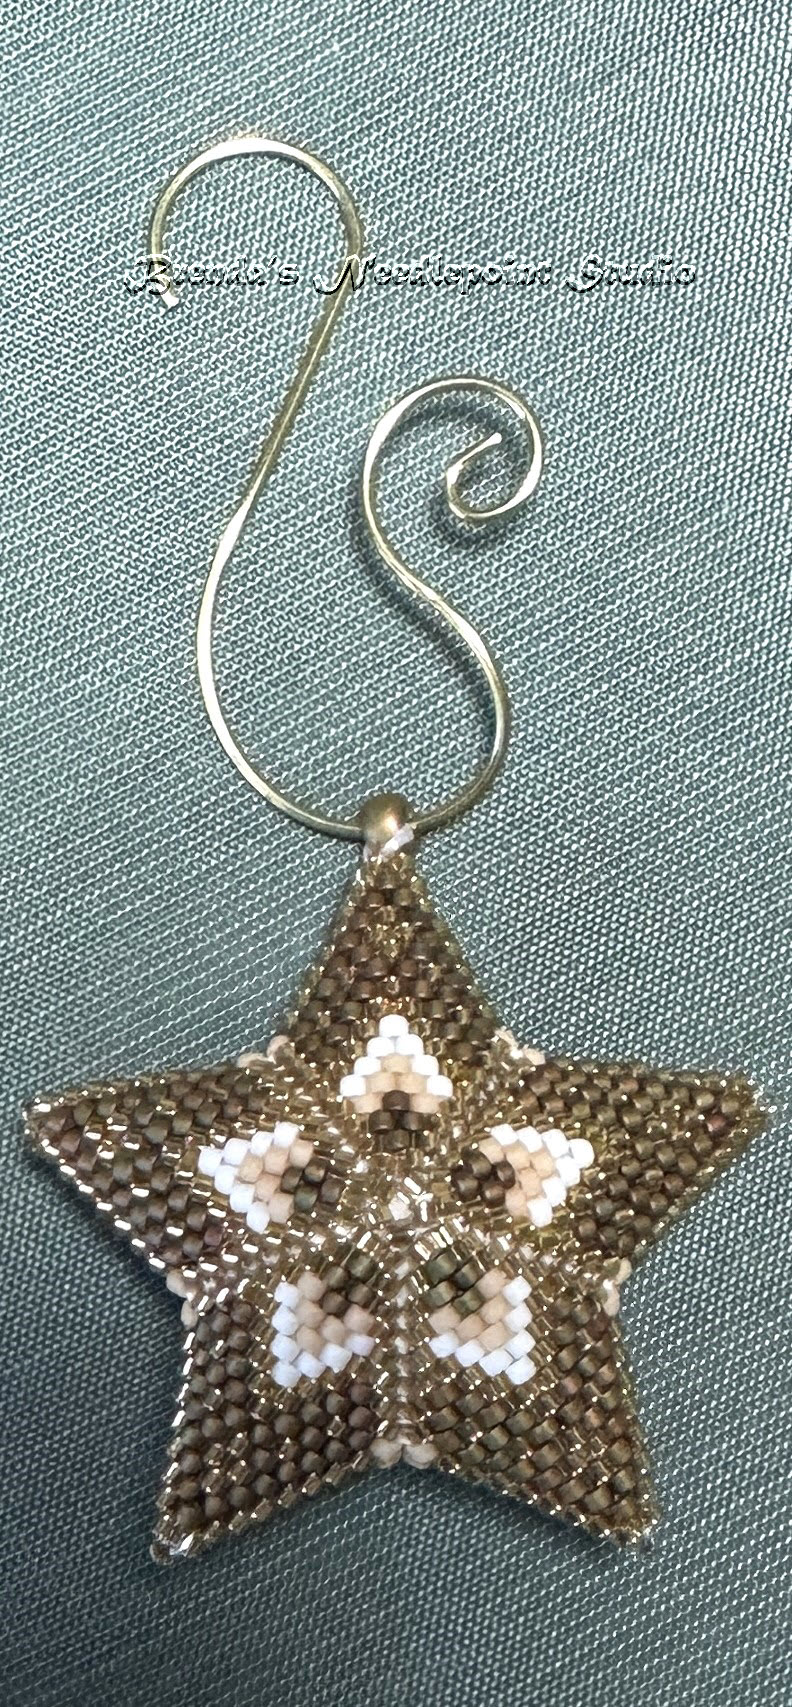
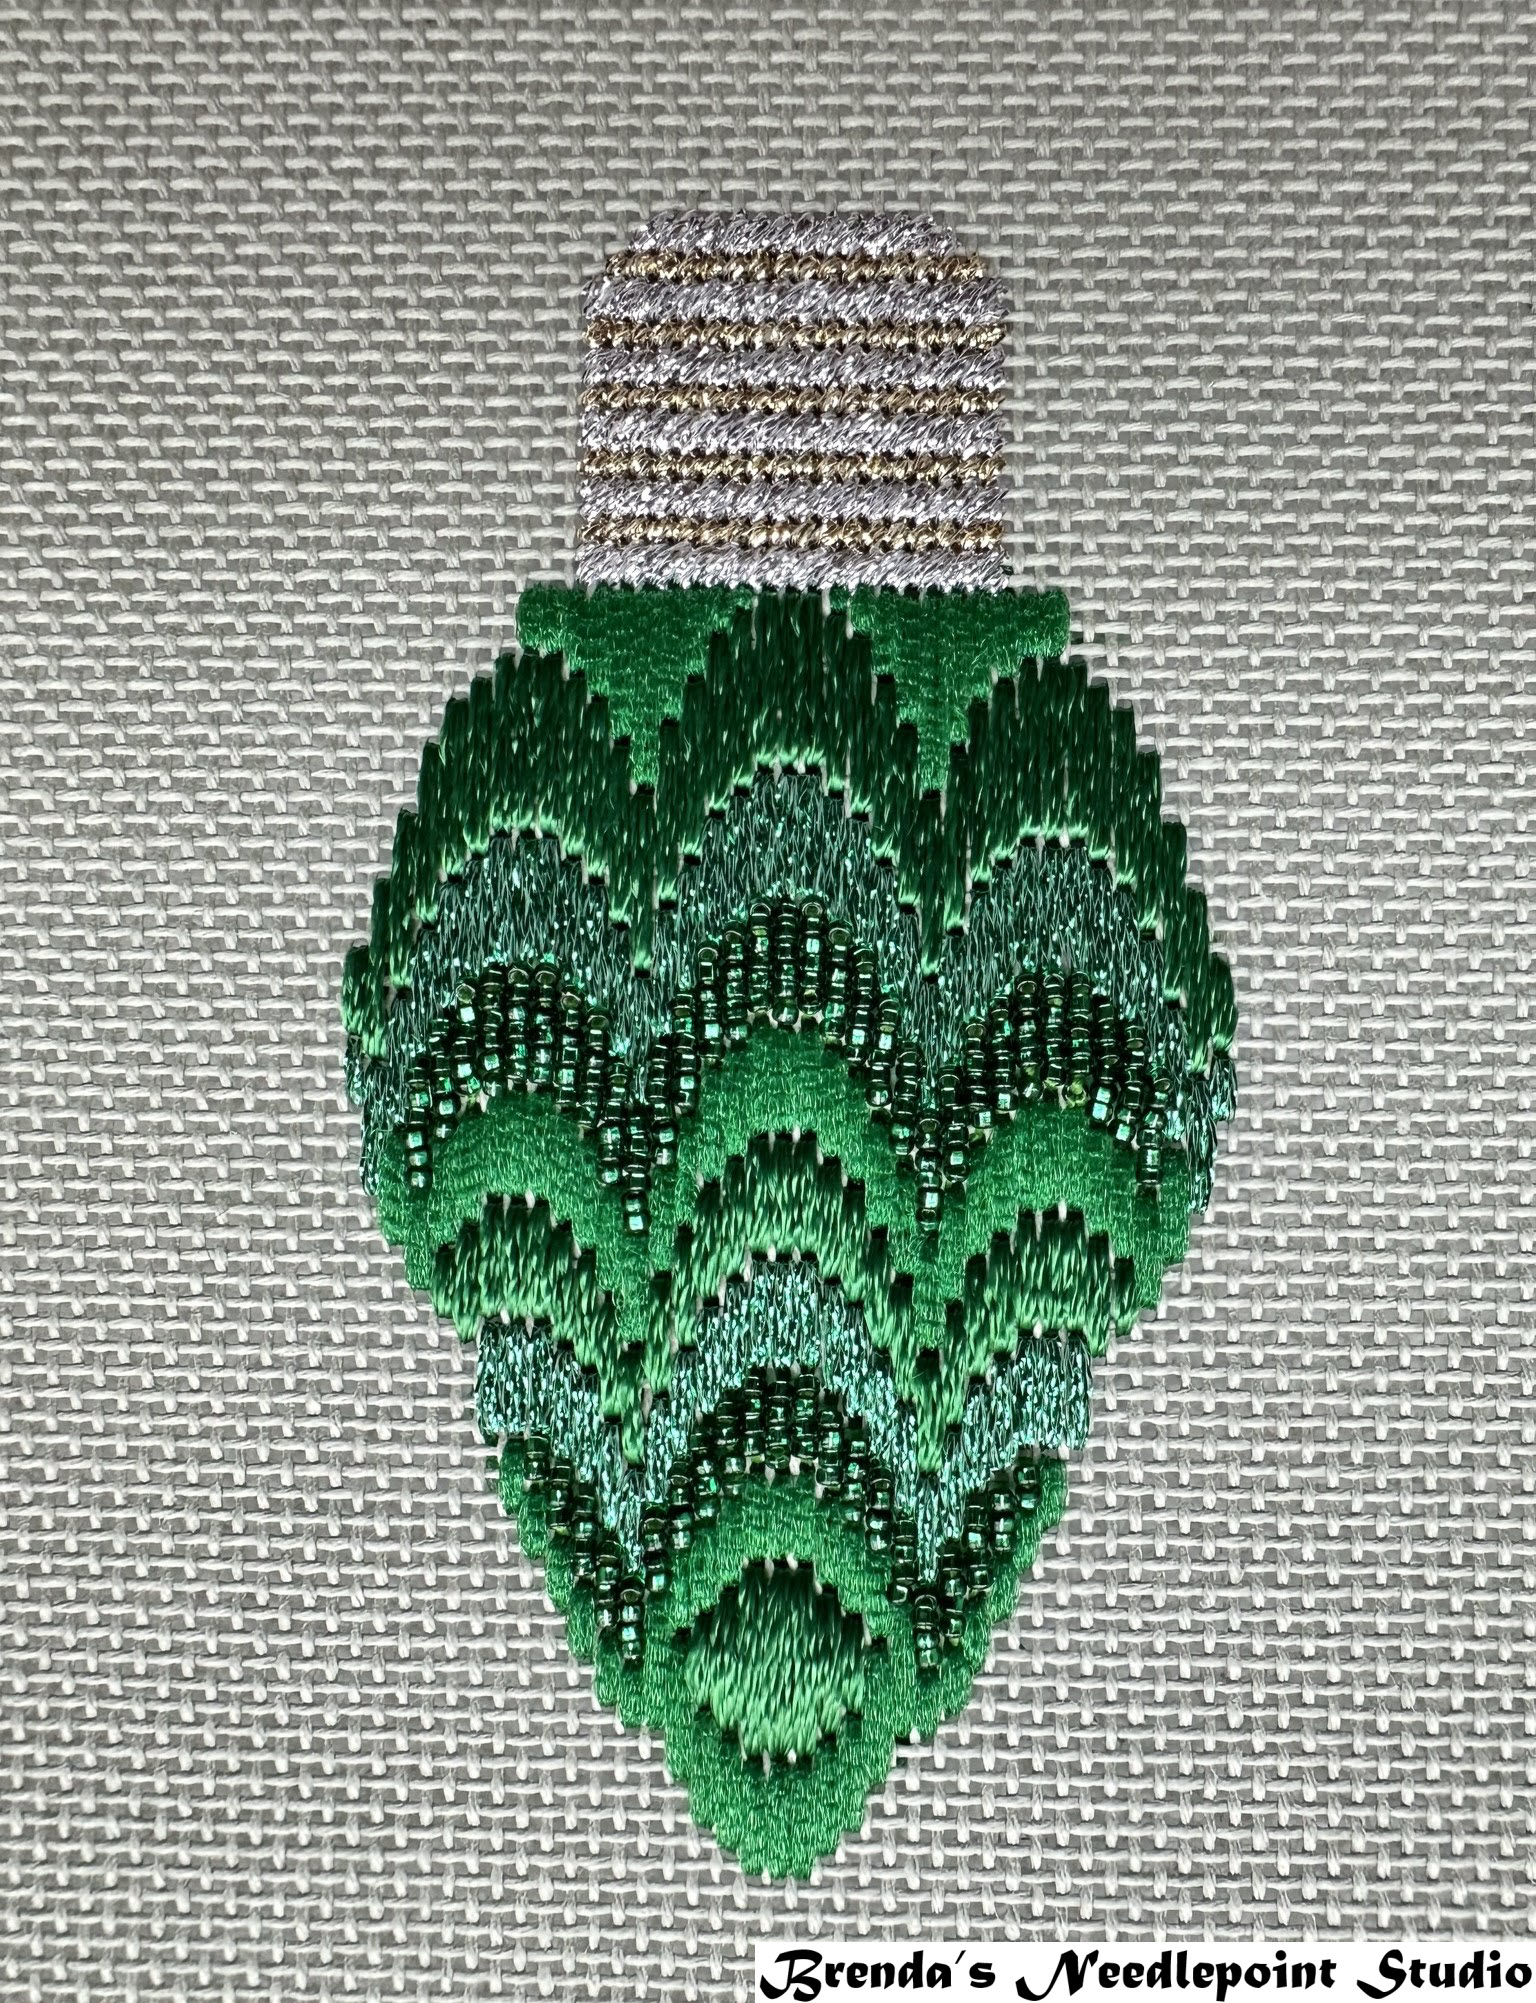
·        Project “Kentucky State Ornament” with stretcher bars, canvas, instructions, threads all in a  “Duo Designs Stitching Retreat 2023” project bag

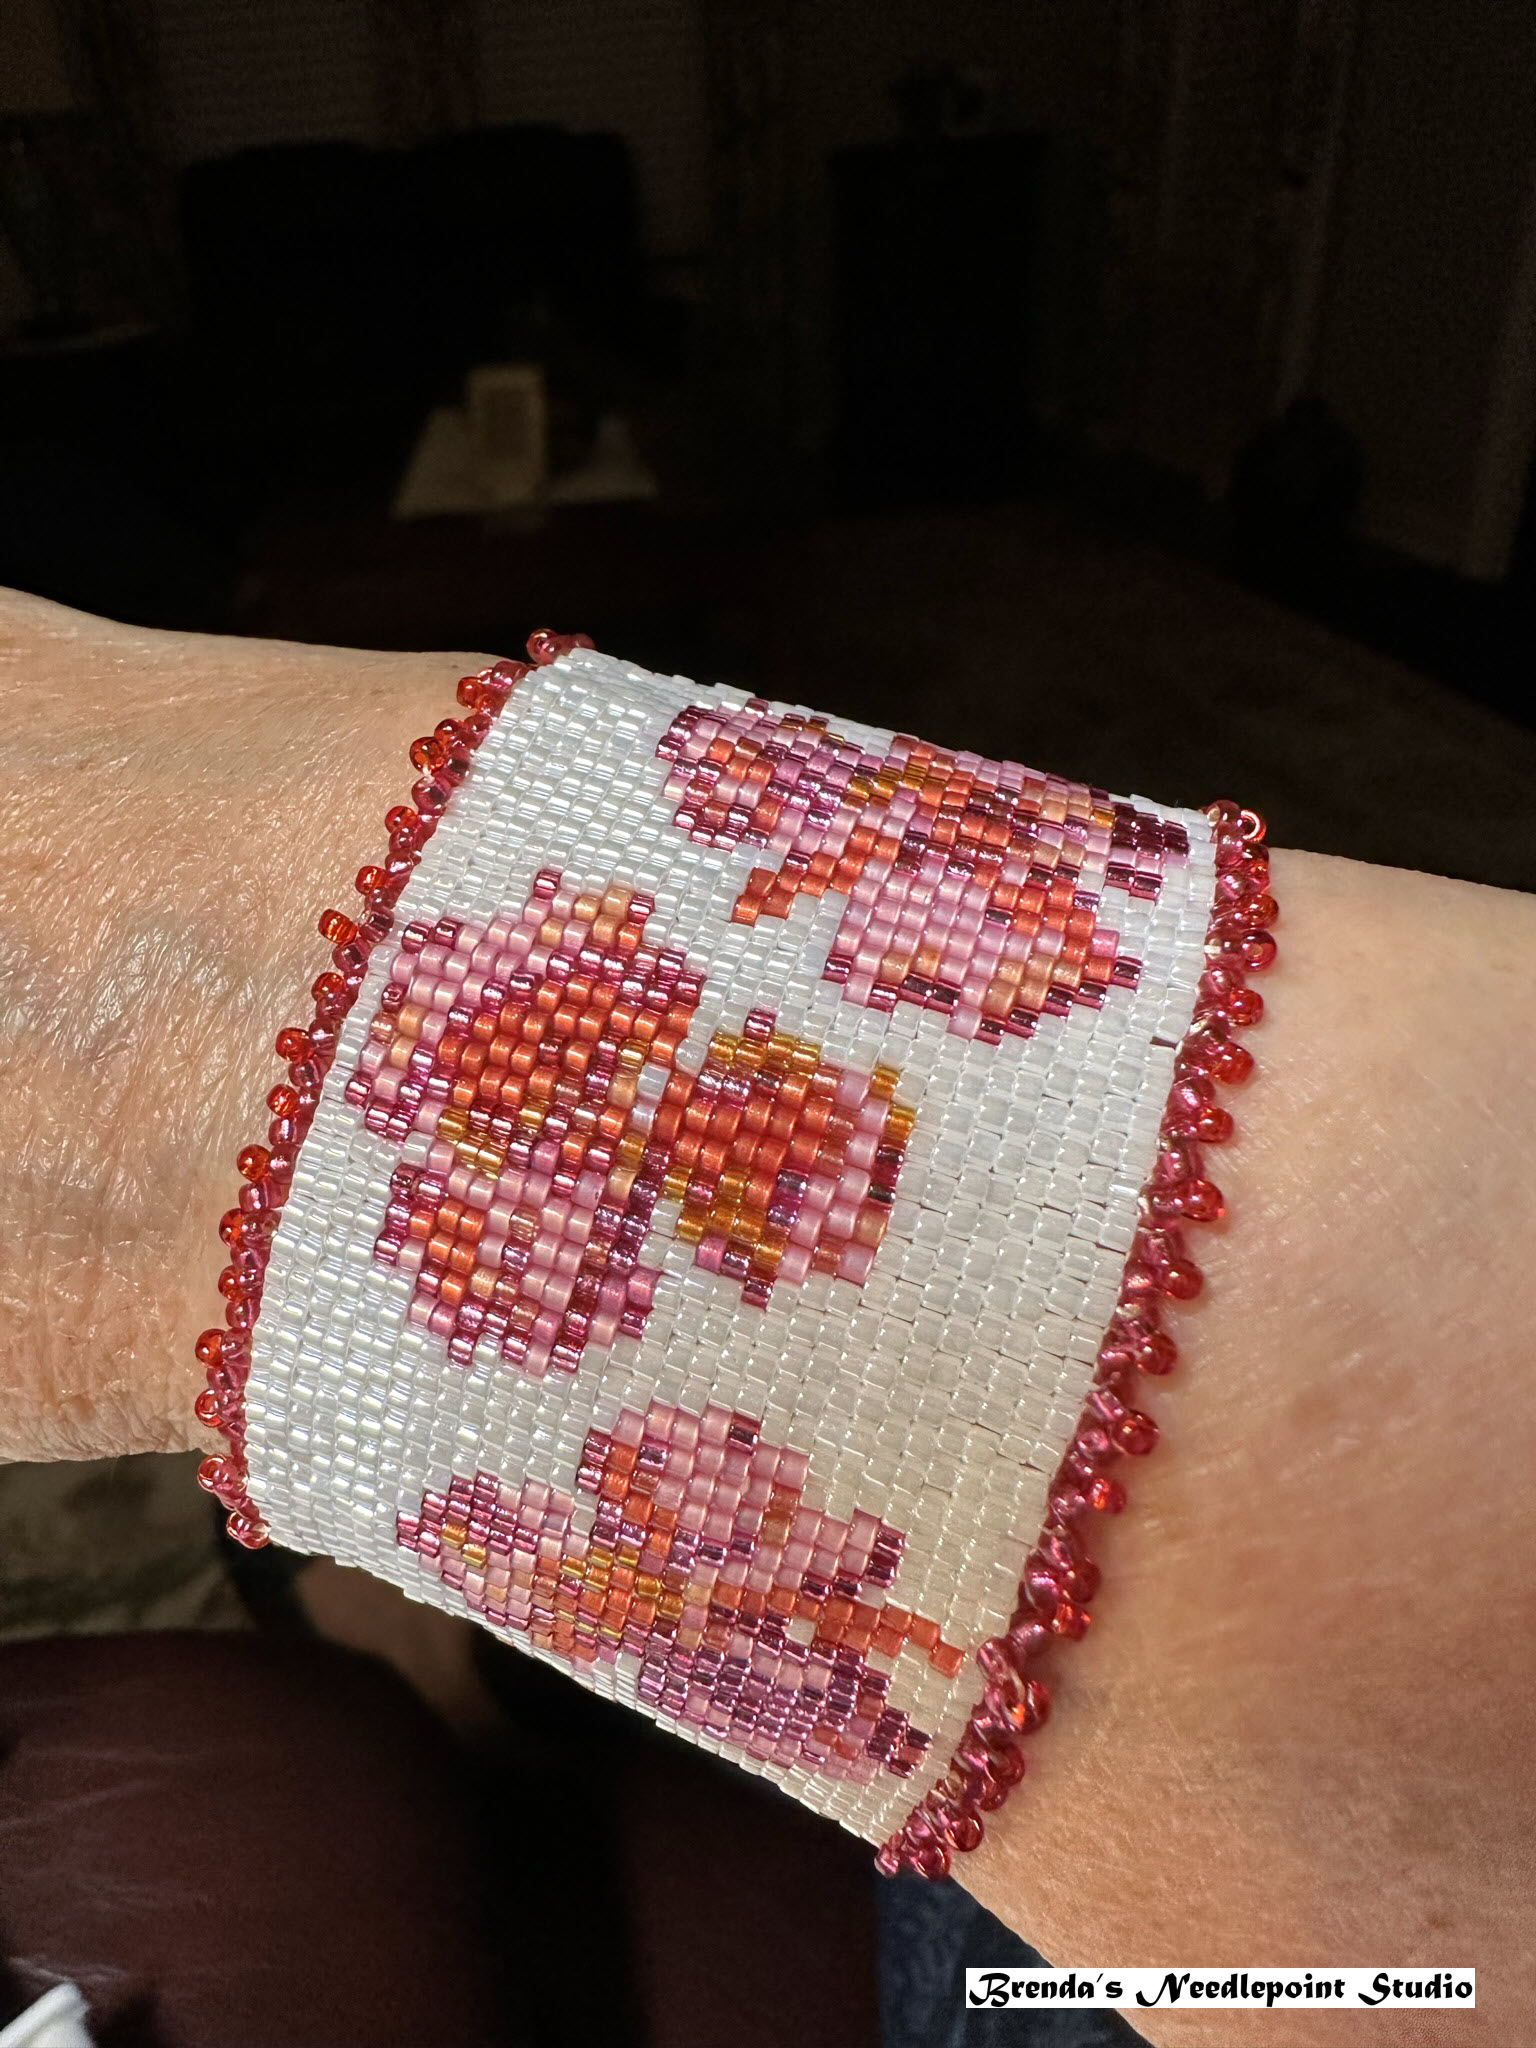
·        Project “Flower Basket” painted canvas, threads and River Silk ribbon in a Duo Design project bag (we learned how to work up two types of miniature roses)

·        Scissor or Stitching Tool Fob, beaded with charms

·        Ruler 6” Clear

·        Stitch Marker with beads and a horse charm at the end

·        Stitch Notes Booklet

·        SuperSnip scissors

·        The Collection DSQ-26 Bar Sequins in various colors

·        Tiny, teeny, teensiest threader (works great for beading thread in a size 28 needle)         

·        Wonder clips, small size, in various colors

·        AND…. a large project bag to keep it all in.


Personalized with my name

Yup, that's me--Queen of the Needle

An additional crown topper 

It was an intensive retreat with two days of classes running from 8:30 am to almost 9:00 pm each day, snack and meal breaks included.   Sandy's imagination was on full display with how she embellished this canvas using a variety of stitches, threads and charms.  Can't wait to continue working on this now that I'm home.

Tuesday, September 19, 2023

Game is On Checkerboard - Updated 9/19/23

September 19, 2023--Won an Honorable Mention Ribbon in the Canvaswork/Needlepoint category at Rehoboth Beach Museum's 11th Annual Needlework Exhibition in Rehoboth Beach, DE.  So pleased.

February 5, 2023--My local framer, Michael's Arts and Crafts in Rehoboth Beach, DE, had a devil of a time putting together the frame that was part of the "Game is On" checkerboard kit.  It's an adorable frame with grooves for holding checkers, but the frame itself wasn't squarely cut or mitered evenly, so it looks a bit wonky and uneven.  She showed me some of the problem areas, but personally, I don't think it's that bad, so after two tries, I took it home.  

The frame and checkers that came as part of the kit were unfinished.  In my earlier blog about this project (see the postings below), I wrote about having to spray paint the frame and paint the checkers with a brush.   The frame was very easy to spray paint and any unevenness doesn't show since the color is "clear".  Painting the checkers was a bit more of a challenge since I've never done anything like this and had to handle each checker nine times to get the top, side and bottom painted twice, then placed one coat of shiny stuff on all twelve checkers.  Whew!  

So here's a picture of the results.  It's really very cute and sits on the bottom shelf of my living room coffee table.


Game is On Checkerboard Finished


January 24, 2022--Just completed stitching 6 rows of basketweave in black all around the checkerboard so the canvas will be totally covered under the glass inside the frame.  I also purchased a can of polyurethane to spray the frame, but this won't get done until the weather warms up (want to do this outdoors in fresh air).  I also need to purchase some paint for the checker pieces.  Lots of bits to take care of, but when done, this will be quite the conversation piece.
Game is On Checkerboard Completed

January 7, 2022--This project is stitched EXCEPT for additional rows needed so that the checkerboard will fill up the the frame that came as part of the kit.  I need about 6-7 rows in black basketweave around the project, so I'll do 6 rows then paint a couple of canvas threads in black in case the canvas does show.  

Game is On Completed Except for Black Border

December 22, 2021--The stitching is done through Area 8 of this interesting project.  I'm loving the stitches, threads, and even the unusual colors.  The next border sections, Areas 9, 10 and 11, should go quickly now that I'm over halfway done. 

I met with the manager of the framing department in Michaels Arts & Crafts who is willing to help me learn how to paint the frame for this piece, along with the checkers.   Once the project is completely stitched and the frame painted, she will then insert the checkerboard into the frame after she has put it together.   Fun.

Read below for more information about the source of this project.


Game is On Stitched Through Area 8


December 2, 2021--The checkerboard portion of this project is now completely stitched and I'm ready to work on the borders.  They look very interesting with a bit of a challenge.   


Game is On Checkerboard Portion Completed


November 20, 2021--I've begun working on a Pilot Stitch project for Susan Hoekstra of Foxview Needlepoint called Game Is On.  It's a beautiful checkerboard with amazing stitches using wonderful threads, some of which don't require a laying tool (yay!).  So far, I've stitched 36 of the 64 squares, so am a little over half done with the checkerboard portion.

Susan will be teaching this piece at ANG's 2022 Seminar in Tucson, AZ and a photo of the project can be seen on ANG's website (click here).  

The kit not only includes a line drawn canvas with delicious threads and excellent instructions, it also comes with a frame that has grooves to hold the checkers that are not in play.  Cool.  The hard part, though, is having to paint the frame and checker pieces.  Since I've never done anything like this, I'll have to ask someone at Michael's Arts & Crafts how to go about getting it done right (if I can find someone there who can help me).  Stay tuned on this bit.

Game is On Checkerboard Half Done


Beaded Bracelet Peyote Silk Flowers - 9/19/23

September 19, 2023--Won 2nd Place Ribbon in the Beadwork category at Rehoboth Beach Museum's 11th Annual Needlework Exhibition in Rehoboth Beach, DE.  So pleased.

April 20, 2023--Another bracelet worked up.  This one is done in the peyote stitch with lots of color changes.  Learned so much with this one--how to organize lots of different bead colors on my beading tray, how to decrease the bracelet ends, how to make a "ruffled" side edge with beads, how to place a tubular clasp with decorative beading, etc.  Thank you to Beads Gone Wild for another excellent kit with easy to understand instructions.


Bracelet Peyote Silk Flowers Laid Flat


Bracelet Peyote Silk Flowers On Wrist


Bracelet Peyote Silk Flowers On Wrist


Bracelet Beaded Tiffany - 9/19/23

September 19, 2023--Won 2nd Place Ribbon in the Beadwork category at Rehoboth Beach Museum's 11th Annual Needlework Exhibition in Rehoboth Beach, DE.  So pleased.

June 7, 2023--I just completed this beautiful cuff bracelet kitted by Beads Gone Wild called Tiffany.  It's absolutely gorgeous with light gold and white pearl beads.  The pearls are stitched on a grid base consisting of size 11 seed beads.    When I stitched the grid, I feared it was too wonky and would cause the pearl beads to sit on it in a crooked manner, being too high or too low, etc.  I emailed Beads Gone Wild about this and was assured my grid looked perfectly fine and the pearl beads would sit on them perfectly.  Well, they were right.  


Beaded Bracelet Tiffany Finished Lying Flat

Beaded Bracelet Tiffany Finished and Clasped


Beaded Bracelet Tiffany Finished on Wrist


Bracelet Beaded Tiffany Grid for Pearls

This is a beautiful bracelet with lots of shine and substance (and there are small crystals between the pearl beads).   I will enjoy wearing this with everything!


Monday, September 18, 2023

Bracelet Peyote Marrakesh - 9/18/23

September 18, 2023--I just finished peyote beading this beautiful bracelet kit designed by June Wiseman of Jill Wiseman Designs.   The written instructions were wonderful, and if you need extra help, Jill has lots of YouTube videos that cover all aspects of beading, from full projects to separate techniques.   

I wish you could see the sparkle of this bracelet.  I added the gold picot edge using size 15 seed beads to hide the thread along the edges that could be seen.  With this kit I learned how to make a beaded toggle along with a peyote beaded loop.   Now I know how to finish my bracelets and necklaces without having to purchase metal toggles, sliding locks, etc.

Bracelet Peyote Marrakesh Flat


Tuesday, September 5, 2023

Bracelet Beaded Berry Band - 9/5/23

September 5, 2023--I loved beading this bracelet since it's the first time working with Czech tiles and superduo beads.   The bracelet, called Beaded Berry Band, is a free pattern designed by Deborah Roberti on her AroundTheBeadingTable.com website.  I purchased the beads online from Jill Wiseman Designs with the help of Corrie.  We chose Opaque Olive Picasso 2-hole CzechMate Tile Beads to coordinate with Matte Jet Bronze SuperDuo Beads.  Very interesting combination which happens to work well with many of my articles of clothing.    I was short a few beads so the length was a smidge smaller than desired.  The best way to solve this is by adding "jump rings" between the bracelet beads and the magnetic slide lock clasp.  Perfect.  


Bracelet Beaded Berry Band Finished


Tuesday, August 29, 2023

Ornament Holight Light Green - 8/29/23

August 29, 2023--Just completed the stitching of Holiday Light Green Ornament designed by Susan Portra.  This is the 16th and last of her ornaments that were published in Needlepoint Now Magazine.  There are eight more to do, but I had to purchase the instructions directly from the designer since the magazine is no longer printing them.  As with all the others, there is lots of shine and bling which doesn't show up very well in the photo.

You can see all of the Holiday Ornaments that I've completed under the "Collections Stitched" page on the right side of this blog.

Ornament Holiday Light Green Completed


Sunday, August 27, 2023

Name Tag for EGA Brandywine Chapter - 8/27/23

August 27, 2023--Completed the stitching of this little project quite some time ago and finally "finished" it into a name tag today.  The design is by Linda Reinhardt and the instructions and kit (included beads, suede backing, padding, etc.) were given to me at last December's Brandywine Chapter Holiday get together.  I used DMC Perle 5 threads for both the stitching and cord around the tag.  The cord was crocheted using the two colors in the tag--love how it came out.  Lastly, I placed the Brandywine Chapter pin in the upper left corner.   Fini.

Name Tag EGA Brandywine Chapter


Friday, August 18, 2023

Bracelet Beaded Treasure - 8/18/23

August 18, 2023--Loved working up this beaded bracelet called Treasure or Mix It Up designed by Jill Wiseman.   It used five different Czech 6mm glass pearls randomly placed on a "bed" of 8 mm seed beads.  Here are some photos.


Sunday, August 13, 2023

Rozashi Three Hana - Updated 8/13/23

August 13, 2023--Done.  All I need to do now is "starch" the back with Nori (rice) paste to ensure the silk and metallic threads don't come loose, then make it into a hanging ornament.

The last time I blogged about this project (see below), I mentioned that I was running out of threads and wrote Margaret Kinsey, the designer, to see if she might have more for this 2000 project.  She responded quickly and was able to send me threads for all four colors.  Unfortunately, two of the colors (navy and light green) had die lot changes.  However, I only needed one strand of the light green and it barely shows in the lower right corner.  I did need more of the medium green, but there was no problem with a color difference there.  Whew.

Rozashi Three Hana Completed

July 18, 2023--Section 2, called The Hana, is now stitched.  It consists of three flower patterns with a "brick" type stitch in the background.  I've run out of the darker green thread and have only a few pieces of light green and blue metallic.  I wrote Margare Kinsey, the designer, in the hopes she has more thread for this 2020 project.  Crossing my fingers.

Rozashi Three Hana Section 2 Completed

July 9, 2023--Section 5 (Flax Leaf Pattern) and Section 10 (Kawari Kanoko) are now stitched.  The color combinations of dark navy silk, very light green silk, medium green silk, and lite blue metallic threads give a nice contrast and sheen to the piece.  

Will now take a short break from this project to work on other WIPS.

Rozashi Three Hana Sections 5 and 10 Completed

June 29, 2023--Finished Section 3 which was stitched using the Dan Dan Technique.  The "dimples" in the stitching give an interesting diagonal effect from upper right to lower left, even though it is stitched from upper left to lower right.

Rozashi Three Hana Section 3 Completed - Dan Dan Technique

June 23, 2023--I am so enjoying the rhythm of stitching this beautiful Rozashi project.  The upper middle portion, Section 4, is now done and I'll probably drop down and begin working on Section 3 next.  Section 4 is labeled Higaki which means a satin stitch pattern.  Very pretty.

Rozashi Three Hana Section 4

June 1, 2023--Since I like to stitch from the upper left to right, working my way down the canvas, I began this project with Section 9, called Combination Stitches.  A very easy and quick start consisting of stitches placed over one dan in one row, then over two dan in a subsequent row, then begin again.  

Here it is:

Rozashi Three Hana Section 9

May 30, 2023--Back in 2020 when ANG's National Seminar classes were held online due to COVID (boy, am I glad that's over with), I signed up to take two of Margaret Kensey's Rozashi classes, one of which I'm now working on called Three Hana.  I really enjoy this type of stitching--all stitches are vertical worked on ro canvas using sumptuous silk threads.   Rozashi is Japanese meaning canvas (ro) and to stitch (zashi).  The ro canvas has horizontal threads (called dan) that are much wider than the vertical ones which make the stitches pop.

Here's my progress so far:

Rozashi Three Hana Outlines Completed

Below is a photo of the project as stitched by the instructor.  Lots of interesting and challenging stitches.

Rozashi Three Hana Project Photo Designed by Margaret Kinsey

Saturday, August 12, 2023

Scissors Case Lacy - Updated 8/12/23

August 12, 2023--The stitching is done and this little scissors case has been sewn together with a binding stitch and lined.  It's rather cute, if I say so myself.   Now I need a beautiful pair of scissors to place in it.

Scissors Case Lacy Back Finished

Scissors Case Lacy Front Finished

July 23, 2023--The upper half is stitched except for the middle area where a ribbon will be couched.  That will get done after the bottom half is finished.  I like how the overdyed colors are playing out on the canvas.   I'm putting this away for a while to use as my "take along" project for social stitching days.

Scissors Case Lacy Upper Half Completed

July 21, 2023--At my local EGA meeting with the Brandywine Chapter on Wednesday, we received full kits to stitch Margaret Bendig's 2000 Petite Project offered through EGA to its members.  What a delightful project.  It's worked up using Valdani Pearl 8 which I love--no need to "lay" the thread and the variegated color is beautiful.  I've completed the outline done in Smyrna stitches and look forward to working up the body of the case.  Our instructions also guide us through the "finishing" process.


Here's my progress to date.

Scissors Case Lacy Border


Below is a photo of the project as stitched by the designer.

Scissors Case Lacy Project Photo