Statcounter

Showing posts with label Source Needlepointer Magazine. Show all posts

Tuesday, September 29, 2026

Ornaments Bargello Woven - 9/30/26

September 30, 2026—My needlepoint chapter, the Delaware Seashore Chapter of ANG, is again participating in our local hospice’s Christmas tree program. This year’s theme is bargello ornaments, with members free to interpret the theme as they wish. The only guideline was to keep each ornament small—under 4 inches. Below is my adaptation of a pattern published in the latest issue of ANG’s Needle Pointers magazine (2026, Vol. 5, September/October), designed by Deborah Reichert.


I stitched two ornaments, reversing the thread colors between them and reducing the graphed design to a 3-inch square. I used threads from my stash and stitched on 18-count PVC (plastic) canvas. Because the holes are very small, this canvas limits you to a size 24 or 26 needle and strandable floss. I used Pepper Pot Silk in a few bargello rows and needed pliers to pull it through the canvas. For each ornament, I made a plastic-canvas backing and joined the front and back with buttonhole stitch. I may cover the backs with self-stick felt or leave them as they are. If I make these again, I'll needlepoint or cross-stitch a holiday phrase on the back.


Thursday, August 28, 2025

Art Deco Tree - Updated 9/12/25

September 12, 2025--Won a 2nd Place Ribbon in the Canvaswork/Needlepoint category at Rehoboth Beach Museum's 13th Annual Needlework Exhibition in Rehoboth Beach, DE.  So pleased.

August 28, 2025--Just picked this up from my framer, and wow, was very pleased to see what she did with the mat board.  And it's a double mat to boot.  And it was cut completely by hand (no lasers involved).  Wow.  

Art Deco Tree Finished

March 13, 2025--Ta da -- Done!!!  I've been working on this beautiful tree on and off for the last 3 months and loved every minute.   For more information about the source of this project, please scroll down to see prior blog postings.  This post will be about the last lesson being given to my ANG chapter (Lesson 3) and the sections covered.   As was done for the prior two lessons, I've worked up lots of graphs to make the stitching of this advance level project a bit easier.

The advice I would give to anyone endeavoring to work up this project is to count, count and recount every step of the way.  Read EACH sentence carefully--there's a lot of information packed into each paragraph, and you don't want to miss a step.  Ripping out sections because the stitch was done incorrectly, or you counted wrong, will be a common theme (was for me).  Don't worry about it--just redo it and you'll be happier.  This project is very addicting, and you'll want to keep stitching on it as you see each section develop (like a flower opening its petals). 

OK, now that I've posted lots of closeup photos below--I can see how bad some of my stitching looks.  Oh well--this is a very "busy" project and from a normal distance, my wonky stitches won't look bad at all.  

Art Deco Tree Completed

Art Deco Tree Areas C4, M2 M1 Partial, T1, M4, M3, C5, T2 and Star Completed Lesson 3

Area T1, T2, M4, M3 Closeup


Area C4 Closeup


Area C5 Closeup


Star Closeup


February 18, 2025--Below is a photo of Areas B1, B2, B3, B4, C1, C2, C3, E1, E2, and M1 Partial stitched to date.  This is a large project. The completed stitching will measure about 13" tall and 11" at the widest point (the tree bottom).

Art Deco Tree Completed Through Area M1 Partial

Areas B1, B2, B3, B4, C3 and M1 will be part of the second class given to my ANG chapter in May.  I calculate I'm about 70% done with this beautiful project.  It has a ton of shine and dimension.  However, please don't look closely at the stitches and beading--some of it is a "hot mess" so to speak.  Also, my Kreinik gold threads had a dye lot change and if you study the stitches closely, you may be able to see the difference.  But the pattern is so busy, I don't believe the dye lot changes will jump out at anyone.

Here are photos of each section as stitched:

Art Deco Tree Area C3 Completed

The beading in area C3 was strung up in a line and couched down rather than attached to the canvas one at a time as instructed.  Even though this looks a bit wonky (Mill Hill beads are not as nice as Miyuki or Toho beads, for example), it looks so much better than the other way.  This is because the beads are larger than the canvas thread spacing, so you need to skip a canvas thread periodically.  I did not like how that looked.

The photos, from this point forward, are of the right side of the tree only.

Art Deco Tree Area B1

Art Deco Tree Area B3


Art Deco Tree Area B2


Art Deco Tree Areas B4 and M1 Partial

January 7, 2025--This is a section of the Art Deco Tree project designed by Deborah Reichert published in ANG's Needle Pointers Nov 2024 Magazine.  The stitching in this post covers Areas C1, C2, E1 and E2.  Isn't it beautiful?  

I have the privilege of leading this as a three-part class to Delaware's Seashore Chapter of ANG beginning in March.   My class will include lots of additional notes, graphs and instructions to make stitching this piece a little easier and more enjoyable.

Art Deco Tree Completed through Section E2


Below are photos of each section as it was stitched.

Art Deco Tree Area C1 Completed (love how the shiny rayon floss makes this look like a pearl)


Art Deco Tree Area C2 Completed (the outer edges make me think of Mother of Pearl)


Art Deco Tree Area E1 Completed


Tuesday, May 20, 2025

Heart Swirled in Gold and White - Updated 5/20/25


May 20, 2025--Stitching is complete on this adorable, swirled heart.  The last area (Area 5) was a breeze to work up.  All I did differently was stitch the gold cross stitches over one BEFORE doing the gold waffle stitch.  

Scroll down to view previous posts about this heart.

Heart Swirled in Gold and White Completed

May 18, 2025--Area 4 has been stitched, and this area too was a challenge.  The designer called for long diagonal trellis stitches which had to be carefully spaced out.  Trying to count this out on curved lines (convex and concave) proved to be nearly impossible for me.  

Then I remembered the class notes for this project written by Gretchen J. and ta da--problem solved.   I have no clue why I forgot to read the class notes first, but once I did, I ripped out my attempt at the trellis stitch and followed Gretchen's suggestion of stitching 6 x 6 cross stitches.  Ta da--problem solved.  Thanks Gretchen!


Heart Swirled in Gold and White Area 4

Area 4 Grid Using 6 x 6 Cross Stitches

May 15, 2025--Area 3 is done, and like the prior area, required some stitch graphing on my iPad and lots of attention to compensation.   This heart is turning out to be a very pleasant challenge.  

Unfortunately, my vision isn't what it used to be so often enough stitches need to be ripped out and redone.  I see simpler projects in my future.


Heart Swirled in Gold and White Area 3

May 12, 2025--I finally tackled Area 2 of this pretty heart.  I've done a little Or Nué before but was never challenged as I was with this area.  I needed 4 working needles, all of which were laid or stitched one "line" at a time.  In order to manage this chaos, I had to mark up a chart (see below) showing which direction the laid threads would go and where to couch them.  The marked-up chart also helped me know when and where to begin the hearts.  Whew.

Heart Swirled in Gold and White Area 2

Graph for Area 2

May 2, 2025--Finished Area 1 of this beautiful heart described below.  Now on to Day 2's lesson.

Heart Swirled in Gold and White Area 1

April 25, 2025--At its May meeting, ANG's CyberPointers Online Chapter will be working on the Swirled Heart in Gold and White designed by Rozell Hirschfelt with instructions published in the January 2022 issue of Needle Pointers Magazine.  Of course, it can be done in any color, but I'm stitching it in the gold and white threads as designed.  It's a very pretty piece and I like the flowing movement of the sections.  Here's my preworked outline in advance of the meeting.


Heart Swirled in Gold and White Prework Outline

Friday, March 5, 2021

A Star in the Meadow Stocking - Updated 3/5/21

March 5, 2021--Finally finished this project into a stocking ornament.  This is the second stocking made using a technique I wrote about here.   It's definitely a learning process and some of what I learned can be transferred to flat ornaments.  For example, finger pressing the canvas seam allowance into place, then ironing it flat so it can be used as a mounting board template is a great technique for odd shaped ornaments.  I'm still on the fence about hand sewing together the canvas front to the fabric back, but I'll give it a try with flat backed ornaments rather than gluing them together as I would normally do (hand sewing is a necessity for working up stockings though).  


Stocking Star in the Meadow Finished Front

Stocking Star in the Meadow Finished Back

Below is a photo of the cording I used which was purchased from Michaels Arts & Crafts.


Stocking Star in the Meadow Cording

February 9, 2017--My ANG chapter, Delaware's Seashore Chapter, had a class led by our incomparable Geri W. on stitching Pat Mazu's stocking called A Star in the Meadow.   This was a free download (click here) made available by ANG Needle Pointers Magazine.  Due to the bargello or florentine stitches over multiple threads, this was a very quick finish.  Too bad the shiny Swarovski Bicones don't show well in the photo.  This is the third Pat Mazu project I have ready to finish into a stocking.  They make darling ornaments.


A Star in the Meadow Stocking

  1. Love her stockings. Yours turned out great. Geri is a gem. I just finished I Can Do It through CyberPointers, sent it in for critique & she is doing the finishing!


Friday, February 26, 2021

Stocking Brocaded Elegance - Updated 2/26/21

February 26, 2021--Finished this ornament into an opened top, lined stocking with the help of two YouTube videos done by "starkeart" and can be found by clicking on Part 1 and Part 2.  Her technique is different from other stocking finishers and I personally like it a lot.   There is more hand sewing than I'm used to, but it's necessary in putting the stocking back and front together.  However, I chose to glue the Kumihimo cording around the stocking rather than hand sew it because my arthritic fingers couldn't take any more hand sewing.  The embroidered initials and year on the stocking back were done on my Bernina 1530 which is a garment sewing machine, not an embroidery machine, so I'm lucky it does this much.


Stocking Brocaded Elegance Completed Front

Stocking Brocaded Elegance Completed Back


Stocking Brocaded Elegance Completed Showing Lining


Kumihimo Cording for Stocking Brocaded Elegance


February 19, 2021--The Northern Virginia Chapter of ANG worked this beautiful stocking designed by Pat Mazu as a chapter project at their February meeting.  Even though I was unable to attend the Zoom meeting that night, I decided to stitch it up using colors from my thread stash.  The instructions can be found in the January, 2019 issue of ANG's NeedlePointers Magazine, and is a very quick stitch.  Now off to my craft room to finish this into a stocking ornament.

Stocking Brocaded Elegance Completed


Stocking Brocaded Elegance Completed Side View

The instructions called for a Swarovski teardrop pendant crystal, but I used a very dark blue pendant leftover from another of Pat Mazu's projects that I stitched called Sapphires and Sparkles
Perfect.

Below is a copy of the stocking as shown in the magazine.  Mine looks very different stitched in monochromatic colors.

Stocking Brocaded Elegance Designed by Pat Mazu Project Photo

Monday, September 2, 2019

Ornament Woven Ribbons - 9/2/19

September 2, 2019--Happy Labor Day 2019.

I pray for those in the path of Hurricane Dorian.  It's going to be a long week.  We here in Delaware are being warned about the possibility of heavy wind and rain beginning around Friday.

When this ornament project designed by Jo Ann Jackson called Woven Ribbons appeared in the March, 2018 issue of ANG NeedlePointers Magazine, I knew I wanted to stitch it.  So a year and a half later, here it is--stitching is completed and the ornament is ready to be finished.  It's going to be a big one--over 5" in diameter.  Below the photo of my ornament is one of the project as published in the magazine for comparison.

I chose my threads from the Caron Watercolors overdye called Williamsburg.  I also added a Kreinik #8 called Pink for a little sparkle.  The open area of the canvas under the ribbons was left blank by the designer, but I chose to fill it in with basketweave using Splendor thread.  Think it looks a little cleaner.

All in all, this little project turned out to be a challenge as well as a joy to stitch.

Ornament Woven Ribbons Completed by me

Ornament Woven Ribbons Project Photo from ANG NeedlePointers Magazine


Sunday, July 28, 2019

Valentine Heart - Updated 7/28/19

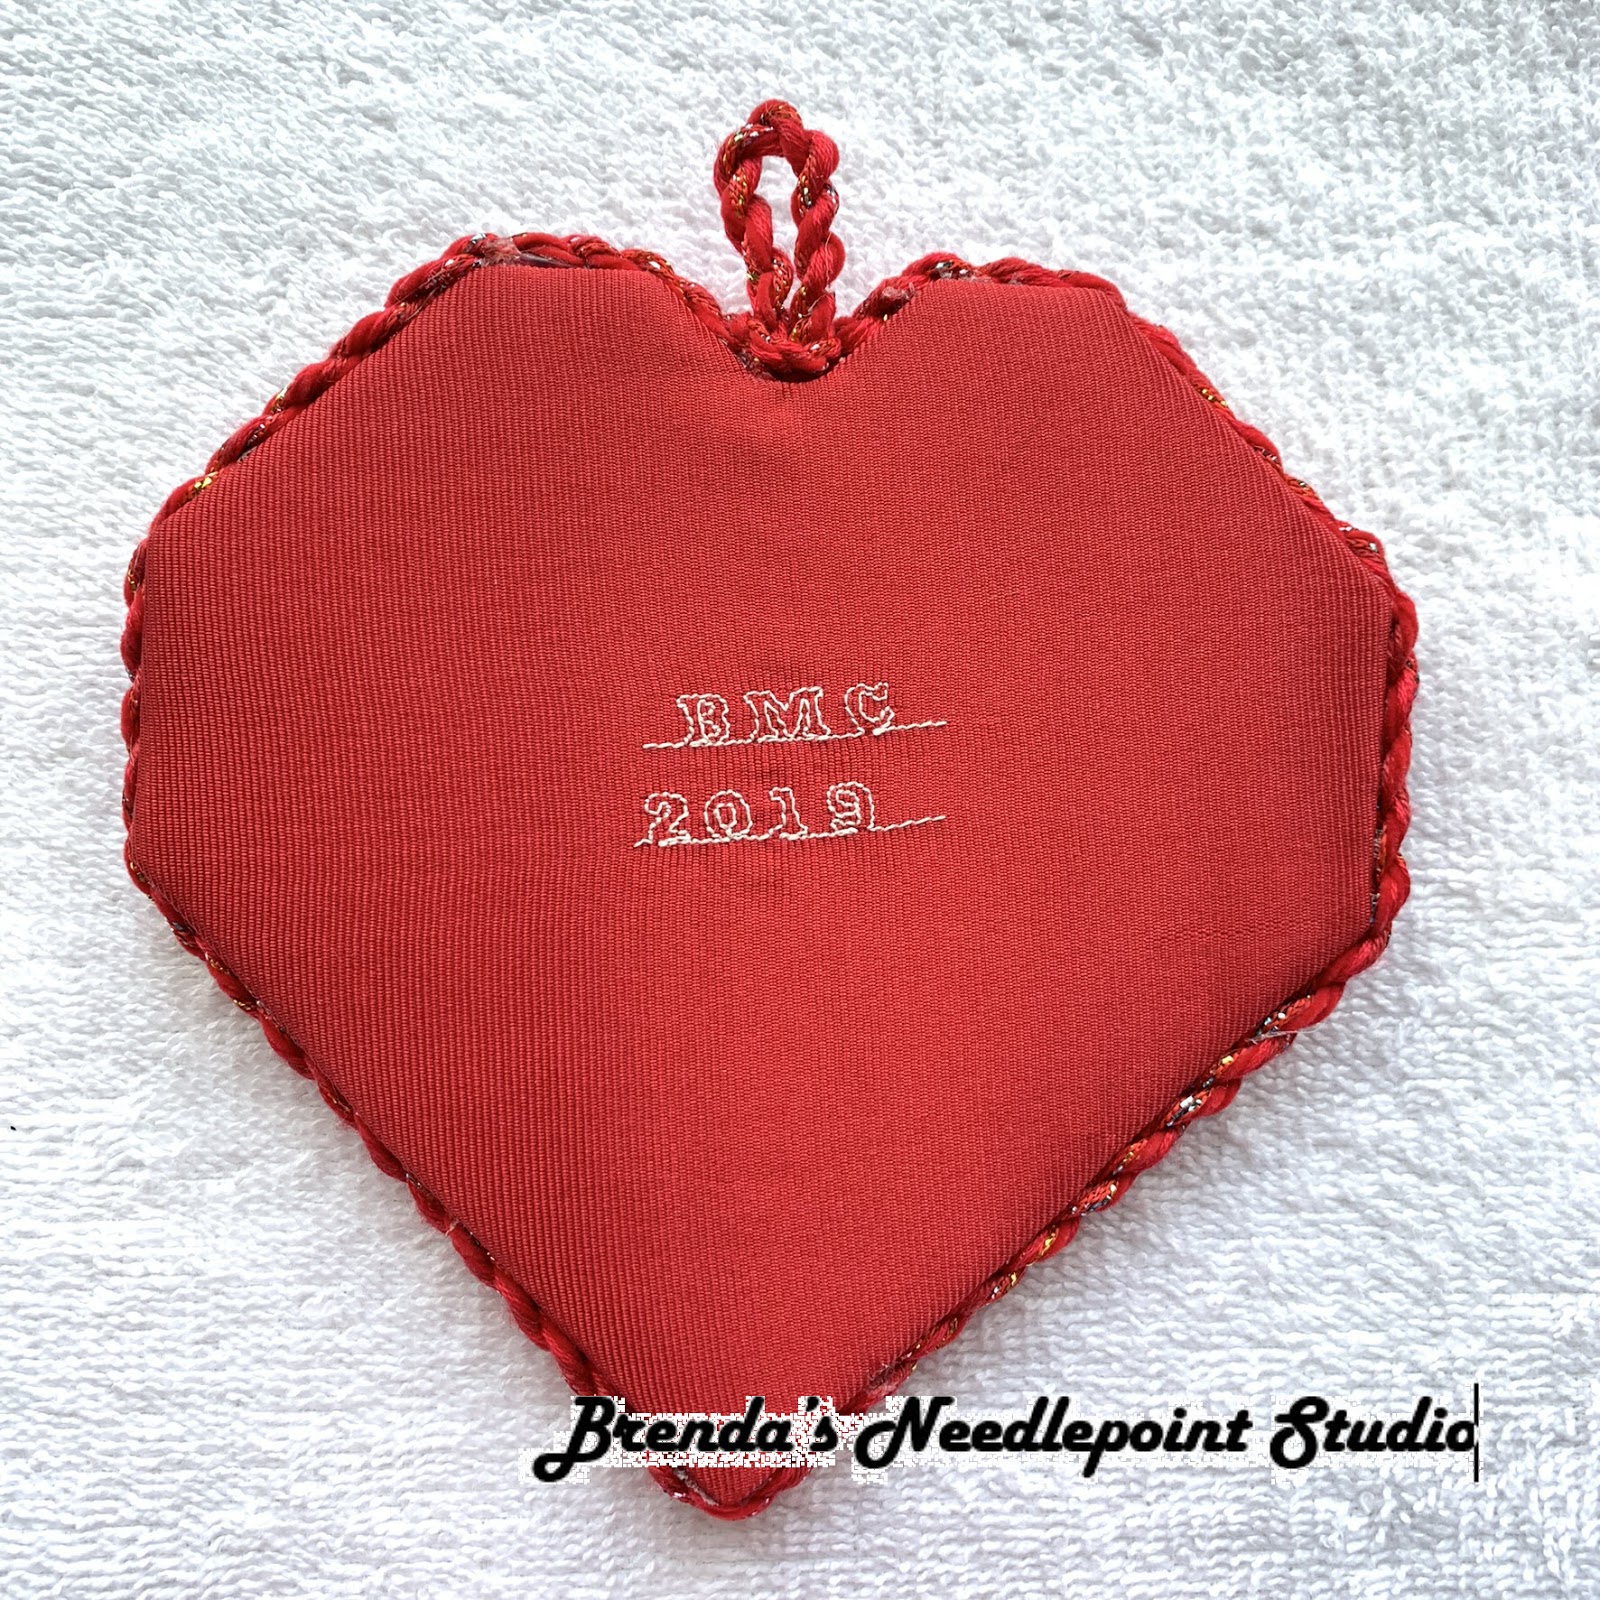
July 28, 2019--Finished this heart into an ornament today.  Like the results, but ask you overlook the crooked initials and year on the back.   Someday I'll remember to draw an erasable line on the fabric before doing the sewing.

The cord used for the bow is thinner than the one going around the heart.  When I first made it, I realized the heart needed a more substantial cord going around it, so saved the thinner one for a different use--like the bow,

Without further fanfare, here it is:
Heart Valentine Finished

Heart Valentine Finished Back


July 9, 2019--Completed the stitching on this cute heart.  It was a lot of fun and the 50 blocks worked up fast.  Will make the cording and find backing fabric from my stash today.  Looking forward to hanging this in my dressing closet where I have most of my other non-holiday ornaments.

Valentine Heart Completed


July 4, 2019--Happy Independence Day.  My stitching, not having anything to do with the holiday, does at least have the color red in it.

My ANG chapter, Delaware's Seashore Chapter, had a class called Valentine Heart led by one of our members, Roseanne J.  The project, published in the January, 2017 issue of ANG NeedlePointers Magazine, is from Wiehenberg Designs and has 50 blocks of different stitch combinations.  A challenge for even the most experienced needlepointer especially since the diagrams are not numbered as to how to execute the stitch.

So far I've completed 19 blocks using 5 different threads.   Not only did I chose different, but similar colors, I chose different textures as well.  It's interesting, to say the least (IMHO).  Here's a photo of my progress to date.

Valentine Heart through Block 19


Friday, June 22, 2018

Ornament Sapphires and Sparkles - Updated 6/22/18

June 22, 2018--Done!  Here are the two finished Sapphires and Sparkle ornament--one for me to keep and the other to give away.  Love how they turned out.

PS  Can you see something different about them?

Ornament Sapphires and Sparkles Finished


June 21, 2018--All the beads, except for the bottom tassel, are done.  Boy, does this ornament shine!!!   I took a side view picture of the ornament, but the crystal beads and bicones aren't showing up well.  Will try again after the Kumihimo braid has been added around the edge.

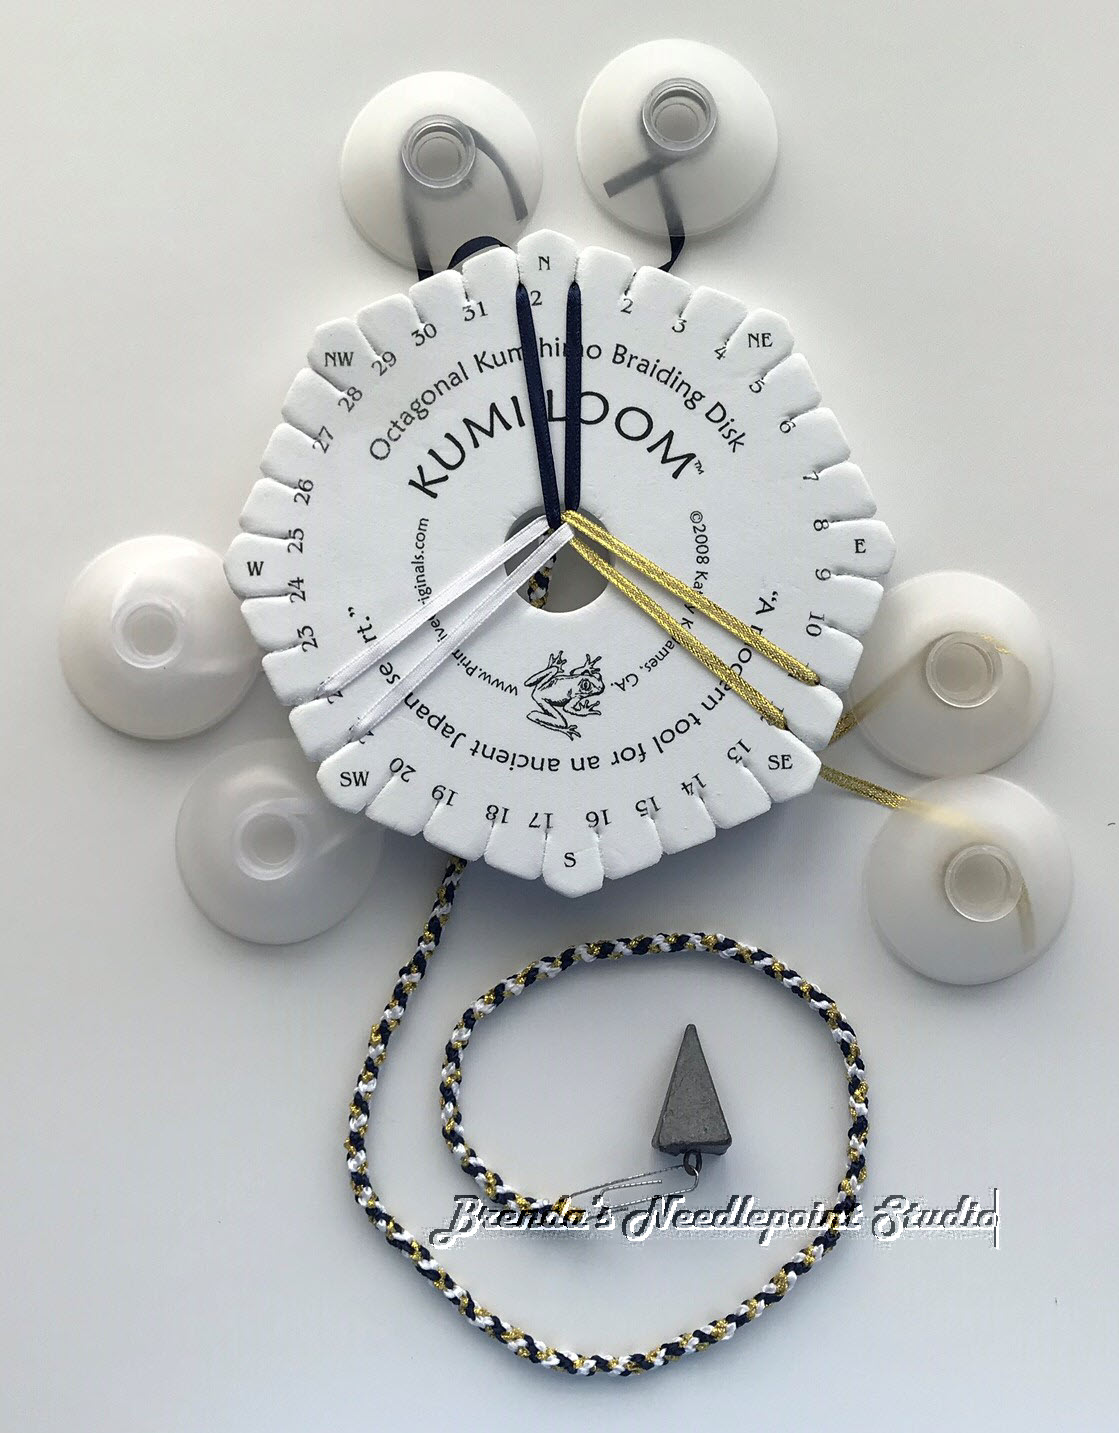
Speaking of braiding--I love how this one is turning out.  It's different than the 8 strand braids which form a spiral.  When using only 6 strands of 1/8" ribbon, as I am here to keep the bulk down, the look is more checkered (or something like that).  However, it looks great against the ornament.

Next step--putting it all together.

Ornament Sapphires and Sparkle Stitching Completed
Ornament Sapphires and Sparkle Stitching Completed Side View
Ornament Sapphires and Sparkle Kumihimo Braiding


June 15, 2018--The stitching for the ornament is now done and I'm ready to start beading.   As I've done in the past, I'm doing two of these ornaments--one for my needlepoint chapter ornament exchange and one to keep.  Both are done up to this point.  Now to find my beading needle.

Ornament Sapphires and Sparkles Before Beading


June 10, 2018--Pat Mazu designed a beautiful ornament called Sapphires and Sparkles to commemorate ANG's 45th anniversary.  The instructions to work up this ornament were printed in the November, 2017 NeedlePointers Magazine and I knew I just had to stitch it for my ANG chapter's holiday ornament exchange in December of this year.  I placed an online order with a bead company for all the types required for this project and am looking forward to placing them onto the ornament.  Having never done this type of beading, especially making a beaded tassle, etc.,  I relish the challenge.

Here's my progress to date.  


Ornament Sapphires and Sparkles at 6/9/18