Statcounter

Showing posts with label Hardanger. Show all posts

Tuesday, June 28, 2022

Hardanger Pick A Flower - Stepped Petals - Updated 6/28/22

June 28, 2022--Picked this up again after nearly two years and stitched up the center medallion, put in some eyelets, basted the area where four "petals" are stitched on the sides, and began working on one of those petals.  It's slow going and have no idea how many more years it'll be before it gets finished, but it will get done--someday.  

Hardanger Pick a Flower - Stepped Petals Through 2022-06-28


August 3, 2020--Continuing to work on this delightful project.  So far I've finished stitching all the Klosters, including the blanket stitch edging.  Putting this away for awhile, but when it comes out again, will work on the decorative petals and pulled stitches before cutting in preparation for the wrap stitches.  Still lots to do.


Hardanger Pick a Flower - Stepped Petals as of August 2, 2020


June 3, 2020--Just returned from a fishing trip with my husband (he fished, I stitched) in Cape Charles, VA.  Stayed in a beautiful B&B and enjoyed working on a project from the February, 2019  Hardanger University  class taught by Donna Olson.  She gave us instructions and enough cloth to work on four "petal" projects.  I'm starting out with "Stepped Petals" which seems to be the easiest of them all.  Below is a photo showing where I left off after class and another of where I left off today.   I find hardanger very enjoyable to stitch since I'm comfortable working "in hand", not needing to cart around a stand, etc. 

Hardanger Pick a Flower - Stepped Petals at 2020-06-03

Hardanger Pick a Flower - Stepped Petals at Class End
To see a photo of the project as designed, click on "In Process Projects" on the right under the Pages heading.

Wednesday, March 9, 2022

Christmas in the Heartland - Updated 3/9/22

March 9, 2022--Won 3rd Place Ribbon in the Whitework category at Woodlawn's 59th Annual Needlework Exhibition in Alexandria, VA.  So pleased.

July 3, 2020--Picked up this project from Michaels Arts & Crafts frame shop today.  Love how it came out--simple yet elegant.  Even though it's a Christmas piece, I'm going to have it hanging in my guest room all year round.

Christmas in the Heartland Framed


May 28, 2020--Fini!  As much of a challenge as this piece was for me, I enjoyed every step of the way.  The very last section contained a hardanger stitch called Greek Cross adjoining Divided Wrapped Bars.  Cindy Valentine's instructions were very clear, but I took a peak at some YouTube videos on how this stitch is executed just for clarification.  Easy peasy!  Lastly, I found one more error and have noted it below in my Notes to the Instructions.

Christmas in the Heartland Completed

Note:  At first I thought the small bird on the lower right side was a chicken.  Heartland = Chicken.
Nope, while stitching it, I realized it's supposed to be a quail because of the piece on top of its head.  Can you see it?


May 26, 2020--Back in 2012, I enrolled in an ANG Workshop by Mail project called Christmas in the Heartland designed by Cindy Valentine.   Because this project has many hardanger type stitches, I put off working on this piece until I was able to take a hardanger class of some sort which I did at Hardanger University in February, 2019.  Glad I did wait--was able to cut the fabric for the first section in full confidence.  Cindy's instructions for doing the hardanger stitches are wonderful and I especially liked her chart giving the path for stitching the needlewoven bars and dove's eyes.  Perfect.

I do wish, however, that I copied the class emails and notes back in 2012, especially those that may have discussed errors in the instructions.  I found a few errors myself and have noted them below in case anyone else has this project in their "to be stitched" stash.  I also made an error in what type of silver Kreinik to use.  The instructions called for "HL", High Lustre silver #4 Kreinik and I'm using regular silver from my stash.  I now can see that the HL Kreinik would have made a much greater impact.  This project is stitched on 25 count Laguna linen and has been a challenge to work on.  Lots of froggin' going on.  The most difficult stitch for me to get right was the Queen's Stitch.  I must have restarted that stitch 4 times.  Aaarrrgh!

All in all, though, I am very much enjoying this project.  There's another band of hardanger cutwork coming up and I'm sure I'll get through that easily enough.   Below is a photo of my progress to date.  I took 2 photos, one with white fabric underneath the linen, another with a silvery color.  I like the silver fabric best--you don't see the threads on the back of the linen carried from one section to another.

Christmas in the Heartland Through Band O

Notes to the Instructions:

  • A Kloster stitch is missing on Band B in the lower right section.  The missing stitch is shown  on Page A Master Chart, Page B Detail of Master Chart Top and on Page 5 Detail of Band B.
  • The Queen Stitches Detail on Page 19 show the angles of the center stitches going in a different direction than those on the Master Chart Page A and on the Detail of Master Chart Center Page C.  I used the Master Chart to determine the angles.
  • The color Kreinik for the Ray stitches on Diagram O Page 21 for the blue colorway should be silver, not gold as printed.
  • Band R on page 22 refers to placing beads in this section.  The instructions made no reference to where those beads were to go.


Monday, August 3, 2020

Hardanger Pick A Flower - Stepped Petals - Updated 8/3/2020

August 3, 2020--Continuing to work on this delightful project.  So far I've finished stitching all the Klosters, including the blanket stitch edging.  Putting this away for awhile, but when it comes out again, will work on the decorative petals and pulled stitches before cutting in preparation for the wrap stitches.  Still lots to do.

Hardanger Pick a Flower - Stepped Petals as of August 2, 2020


June 3, 2020--Just returned from a fishing trip with my husband (he fished, I stitched) in Cape Charles, VA.  Stayed in a beautiful B&B and enjoyed working on a project from the February, 2019  Hardanger University  class taught by Donna Olson.  She gave us instructions and enough cloth to work on four "petal" projects.  I'm starting out with "Stepped Petals" which seems to be the easiest of them all.  Below is a photo showing where I left off after class and another of where I left off today.   I find hardanger very enjoyable to stitch since I'm comfortable working "in hand", not needing to cart around a stand, etc. 

Hardanger Pick a Flower - Stepped Petals at 2020-06-03

Hardanger Pick a Flower - Stepped Petals at Class End
To see a photo of the project as designed, click on "In Process Projects" on the right under the Pages heading.

Tuesday, February 18, 2020

Hardanger Stitch A Card Kit - Updated 2/18/2020

February 18, 2020--A few days ago, while looking for blank canvas bits and pieces, I came across this half completed hardanger project started 6-1/2 years ago and totally forgotten about.  I remember I put this away because I felt my hardanger skills weren't up to par to complete the last 2 blocks.  Since then, I've been to Hardanger University and could now finish this with ease.  Which I did.  So here are the final 2 blocks and a photo of them turned into greeting cards.   I would stitch these again, or design my own little squares.  Lots of possibilities.


Blocks 3 and 4 Completed


All 4 Blocks Completed

Blocks Attached to Greeting Card Stock


August 13, 2013--Purchased this little kit to "practice" hardanger stitches learned last year at a chapter led class to make a hardanger doily.

There are four blocks to stitch, each progressively more difficult.  Have completed the first two and know for certain that I really do need to practice before I take on a more ambitious project.    It's very important to properly lay the satin stitches called "klosters" before cutting the threads, otherwise it's too easy to cut the stitching along with the linen threads (been there and done that).   Also purchased a booklet by Janice Love called HARDANGER BASICS AND BEYOND, 2006.   Great diagrams, pictures, detailed instructions and lots of small projects to work on.


Block 1 of 4

Block 2 of 4


Wednesday, January 8, 2020

Hardanger Ornament Crystal Daisy - Updated 1/8/2020

January 8, 2020--The additional project to stitch given us by Terri Bay in the hardanger crystal daisy class (see 7/20/19 blog post below) is now finished into a little doily.   It has some depth and shine due to the beads and Kreinik thread.  Cutting away the fabric wasn't difficult at all--just had to keep a steady hand and carefully cut into the inside corners with the sharpest little scissors I have.


Hardanger Crystal Daisy Doily Finished

My Tiny, Inexpensive, Sharpest Scissors


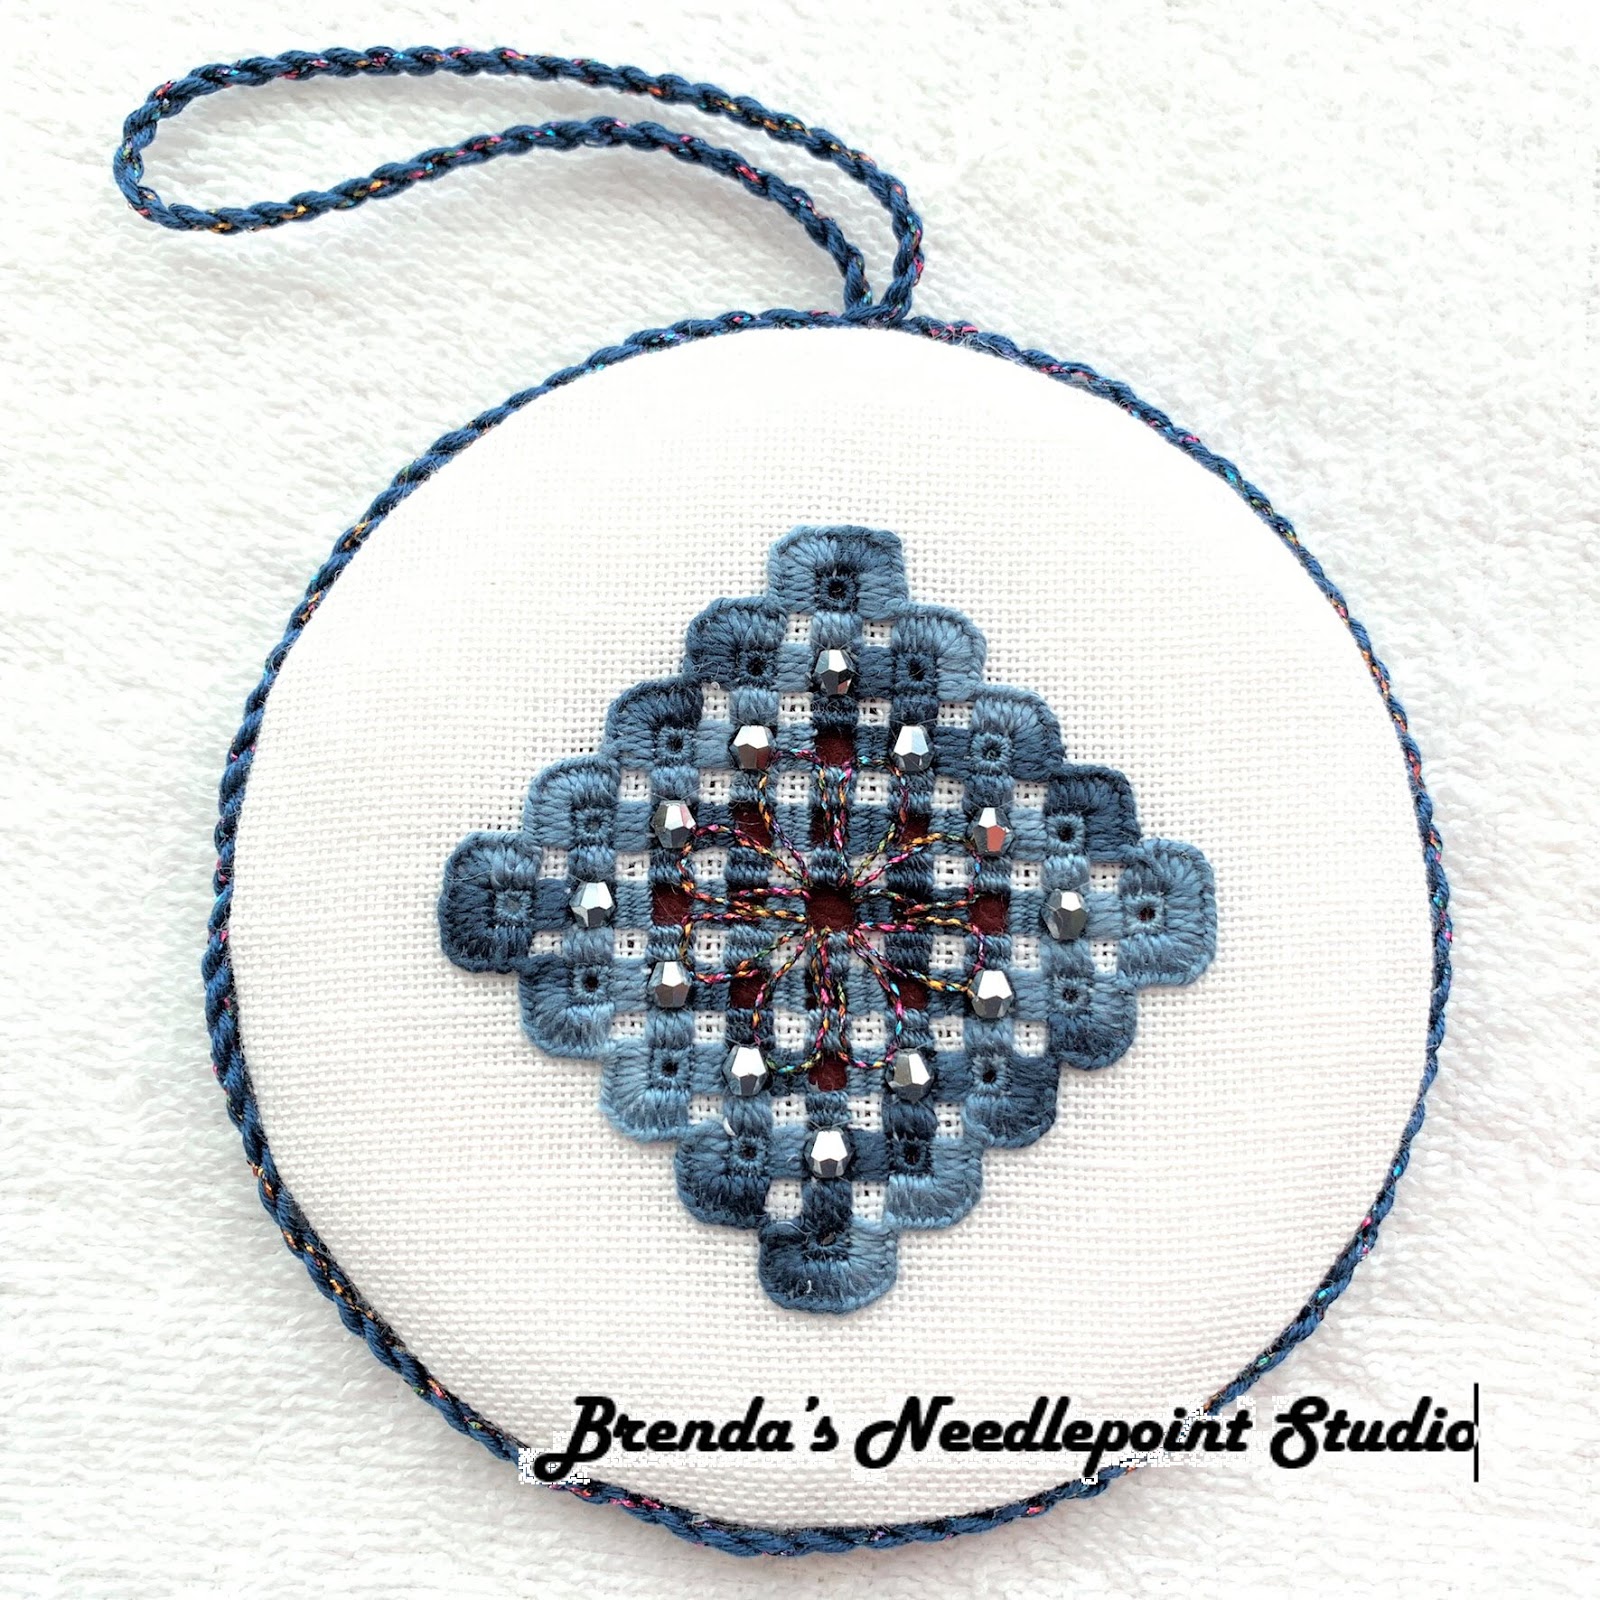
July 20, 2019--Finished the Hardanger Crystal Daisy piece into an ornament.  

This is the first time I've made an ornament stitched on linen fabric--all others have a canvas (usually 18 count) base.  The linen had a tendency to move off grain, so it needed serious pinning around the edge of the mounting board to stay even.  It was also difficult to keep the measurements even all around from the edge of the stitching to the edge of the ornament--I had to repin the fabric onto the mounting board three times before I got it right.


Hardanger Ornament Crystal Daisy Finished Front

For a needlepoint ornament stitched on canvas, I usually cut the ornament front a little smaller (about 5%) than the back so the cording "sits" a bit forward.  This is because the canvas is so thick with stitching all the way to the edge (usually).  With the linen ornament, the fabric is so much thinner than canvas and there's no stitching to the edge, so the front mounting board should only have been reduced in size by 3% or so.  So this linen ornament has a front that is too small and the cording doesn't show at all from the back.

And speaking of cording, mine
is too small for this size ornament.  It would look much better if it were twice the thickness.  

Every time I finish my own ornaments, I learn something new, but am learning the hard way.  Would love to "intern" with a professional finisher so I could learn all the tricks of the trade at one time.

Anyone want an intern?  I'm willing to travel in the mid-Atlantic area.

PS  I have no desire to use what I would learn to finish ornaments for others as a business--this would be for my own purposes only.  Thank you.


Hardanger Ornament Crystal Daisy Finished Back


July 14, 2019--In February, I attended Hardanger University (click here for information about the classes) and have been wanting to finish stitching the pieces I started.

The first class was an ornament sized project called Crystal Daisy from Terri Bay Needlework Designs.  Recently I decided to complete the stitching and learned a lot in the process.  I really like stitching "in hand" and have no problems with my tension pulling and or warping the linen  Below is a picture of the ornament which I just completed.

Hardanger Ornament Crystal Daisy Completed
Below is a photo of where I left off at class end.

Hardanger Ornament Crystal Daisy at Class End
I had an issue with the very thin beading thread included with the kit.  A small amount was coiled inside of a plastic bag and when I tried to take it out--it knotted up like crazy.  So I used my 6 lb. Berkley Fireline Crystal Braid to stitch the bicone beads in place.  This works great on canvas, but hated the results on the linen which can be seen in the photo below--was way too heavy.    Fortunately I remembered having some "invisible" thread in my sewing stash.  So I cut out the Berkley line and restitched the beads in place using my invisible thread.  Worked perfectly as you can see from the first photo above.

Hardanger Ornament Crystal Daisy with Berkley Fireline to Stitch Beads (too visible)

Am now working on the larger, oval ornament which was included in the class materials.  I plan on turning the project into a small doily instead of an ornament and placing it on the edge of my huge soaking tub for something a little decorative.


Thursday, February 28, 2019

Hardanger University - 2/28/19

February 28, 2019--I spent last weekend in Myrtle Beach, SC attending Hardanger University, a Spirit of Stitching Event.  I understand this type of seminar has been going on for many, many years, but for only about 5 years under the new name of Hardanger U.


There were three different classes taught by three different instructors held on Friday, Saturday and Sunday.  We were housed at the Embassy Suites Hotel, part of the Kingston Resort, and our classrooms were a shuttle ride away.  I was fortunate to be in a group that consisted of only 5 other students and we were together the whole time.  We did learn a lot about each other and I look forward to continuing friendships made over the weekend.  Here are my classmates:

Kathi B, Meredith M, Karen C, Donna G and Elizabth H.

My first class on Friday was taught by Terri Bay of Terri Bay Needlework Designs.

Terri Bay
She began by having us work on a small ornament sized project, but gave us enough fabric and threads to complete the larger design shown below, Crystal Daisies.
Terri Bay's Teaching Piece

Instructions for Full Size Terri Bay Project 
She also introduced us to an Australian perle thread by Cottage Garden Threads (CGT).  They are dyed so that the color changes are consistent from one skein to another.  Beautiful colors too. 


Here is the status of my ornament at the end of class.....


The second class on Saturday was taught by Marion Scoular, a long time instructor and author of the booklet given to us as part of the kit.  Can you see her beautifully stitched collar?    If you ever have the pleasure to dine with Marion, be prepared for lots of laughter at her stories--enough said.  LOL.
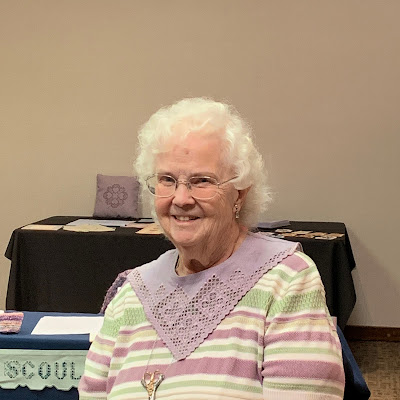
Marion Scoular

Hardanger Booklet by Marion Scoular

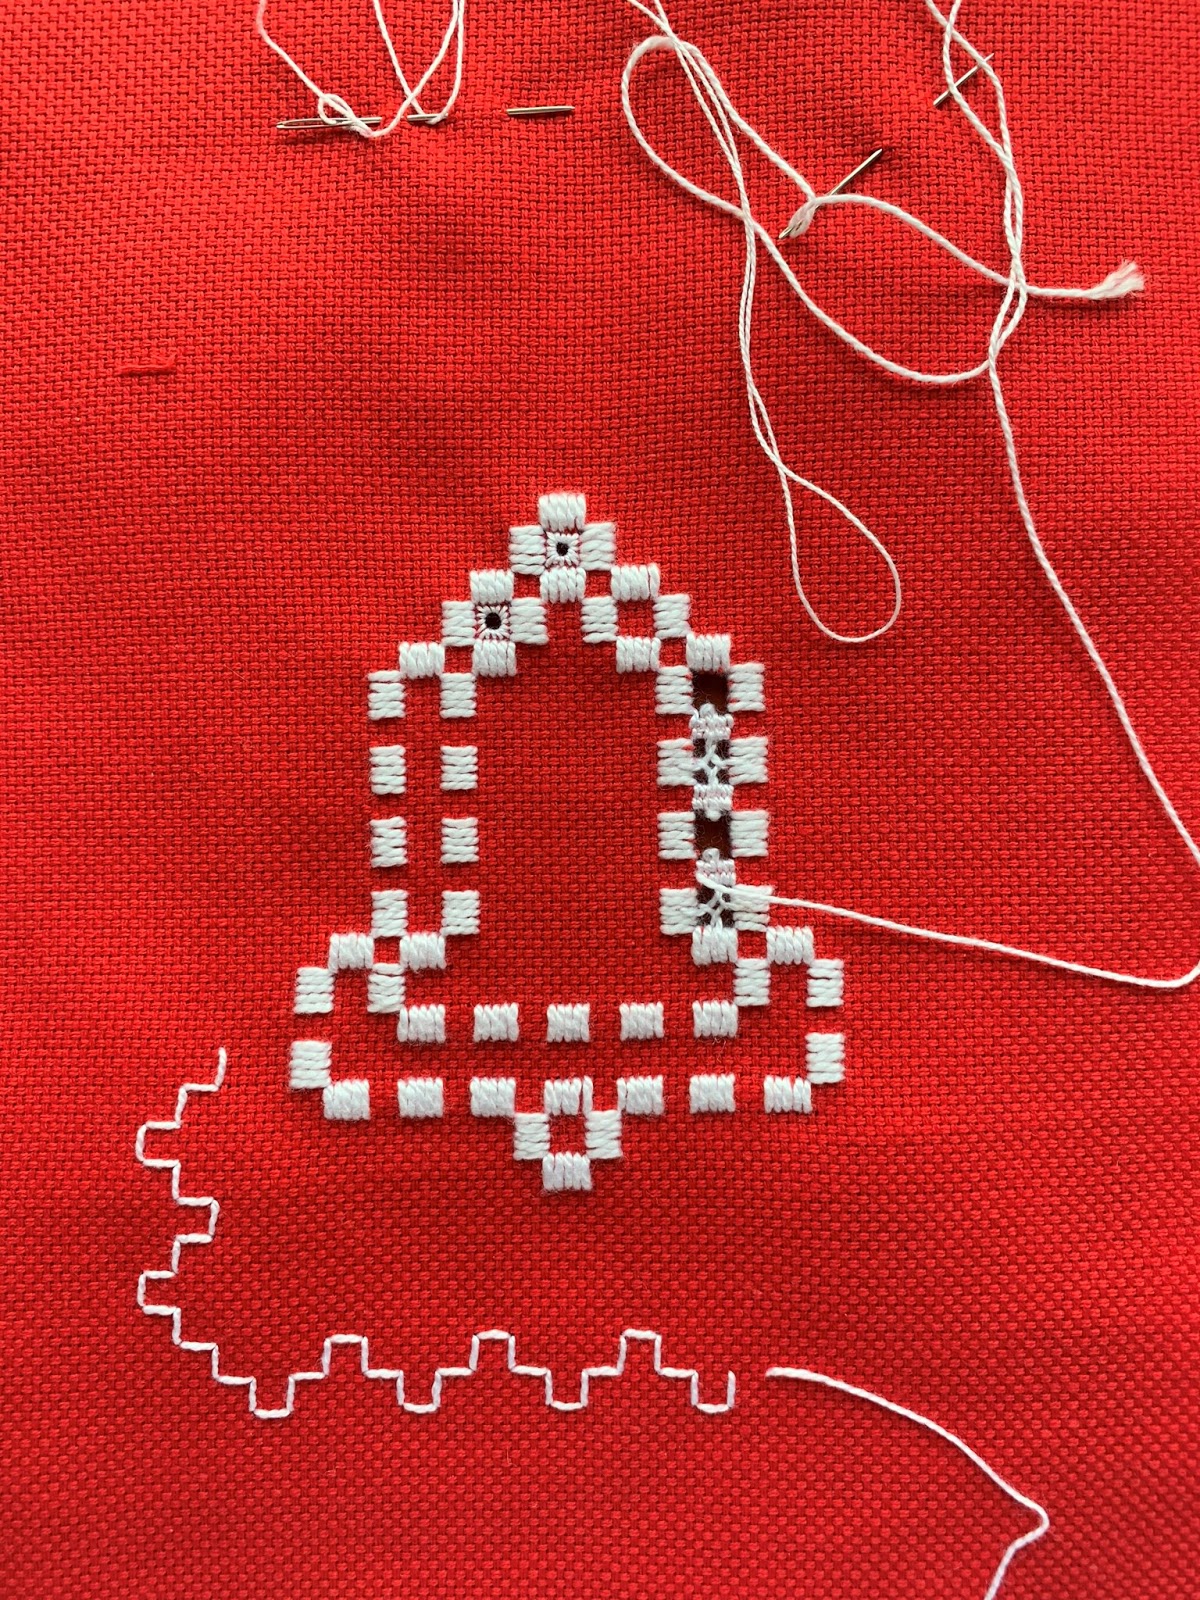
Her project, an adorable bell which can be mounted on one of four blank cards included in the kit, can be stitched 2 ways as shown in the examples below.    The fabric used for this project is called "hardanger" and consists of 2 threads woven tightly together, both vertically and horizontally, and stitched as if they were one.

Marion Scoular Project Bell Version 1

Marion Scoular Project Bell Version 2
 Here is where I left off at the end of the day.  Learned how to do picots and dove's eyes.  Whew.


Blank cards included in kit for mounting hardangr bell

My third class on Sunday was taught by Donna Olson.

Donna Olson
She gave us plenty of thread and Laguna fabric to complete four large projects pictured below called Satin Stitches Hardangersom.  


This is the project I chose to work on.


 Here's where I left off at the end of the day.  Much of the practice was done on a "doodle" cloth.


Both Marion and Donna stressed the importance of basting over and under 4 threads and, after making a few counting errors, can appreciate why.


All in all, I was very impressed with the high caliber of the three instructors.  Each approached hardanger from a different perspective offering up alternatives to the common and more difficult stitches in the genre.  I was also very happy with the lodging and class room facilities--can't go wrong staying at the resort (my room had an ocean view).   Will I go again next year?  Don't know.  I would like to complete the three projects begun last weekend and explore the hardanger world on You Tube.  Would I recommend this seminar to anyone else?  Yes, yes, yes!

Pictures of my fellow classmates and teachers are posted with their permission.


Thursday, March 8, 2018

Hardanger Bookmark Simple - Update 3/8/18

March 8, 2018--Done, and it didn't take long at all.  For the most part, am pleased with how it turned out.  I see some areas where my stitching (especially the buttonhole stitch) needs improvement, but the next one I do will look better.  Even though it's supposed to be reversible, I think it looks a bit messy on the back.    All in all, a fun project and great practice for my planned project called Christmas in the Heartlands by Cindy Valentine (click here to see a photo).


Hardanger Simple Finished Front

Hardanger Simple Finished Back


March 7, 2018--I haven't done much hardanger, but love its simplicity and beauty (actually, it's not so simple).  So when a member of  Delaware's Seashore Chapter of ANG, Lucille C., volunteered to teach a class on how to stitch a simple bookmark, I immediately signed up.  She designed this beautiful piece, wrote the stitch guide and gave us wonderful tips and tricks during the class.  Below is my progress to date.  BTW, this is supposed to be reversible when done.

Hardanger Bookmark Simple at 03/07/2018


Monday, June 17, 2013

Hardanger Doily

January, 2012--Our local ANG chapter brought in an instructor to teach us some basic hardanger stitches on linen which would result in a small square doily.  The first step was to run basting stitches from corner to corner on our fabric.  Here was our first problem--we as a group of needlepointers didn't have a clue of what was required of the basting stitches in the center of the fabric.  We spent hours just getting this right.  Too funny.  But once we settled down, the stitches were easy with beautiful results.  I also loved the fact that I could do this type of stitching "in hand" without stretcher bars or hoops.   This proves that once again you can teach an old dog new tricks.  I now look longingly at some beautiful hardanger projects out there.