Statcounter

Friday, July 7, 2017

Holiday Light Copper Ornament - 7/7/17

July 7, 2017--The third in Susan Portra's Holiday Ornament Series called Holiday Light Copper is stitched.  Learn more about them by clicking here.   I love how the padded hearts give a slight 3-D or stumpwork effect.

Holiday Light Copper Ornament


Holiday Light Copper Ornament Side View

Saturday, June 24, 2017

Organizing Ribbons for use in Ornament Finishing - 6/24/17

June 24, 2017--I was perusing the internet a few days ago looking for ribbon storage ideas.  There are lots of plastic boxes for sale, but nothing that "rang my bells".  Found lots of pictures of how people stored their ribbons and came across one where a pant hanger was used (cannot credit source--nothing was available).  What a great idea--I had one of those hanger types (very, very old) and it's perfect for my needs.

Ribbon Organizer Using Pant Hanger


Friday, June 23, 2017

Holiday Bell Ornament - 6/23/17

June 23, 2017--Completed stitching the second in the Holiday Ornament series by Susan Portra (click here for more details).  This one is called Holiday Bell Antique Brass and will have a 9 mm gold jingle bell attached to the bottom area to look like a clapper.  Next in the series to stitch will be the copper light bulb.

Holiday Bell Antique Brass Ornament

Friday, May 26, 2017

Secret Stitching - 5/26/17

May 26, 2017--Doing plenty of stitching, but unable to say for whom, what or why, at least not yet.  But I can say it involves lots of Perle 8 weight threads.  Here's a picture of some when I went stash diving--Caron Wildflowers, RG Elegance, DMC Perle 8, RG Panache, etc.  Lots and lots of beads too.  Best of all, many of my chapter mates at ANG Delaware's Seashore Chapter, are also working on this project.

Perle 8 Weight Threads


Tuesday, April 25, 2017

Holiday Gift Copper Ornament - 4/25/17

April 25, 2017--I've wanted to stitch Susan Portra's Holiday Ornaments ever since they began being published in Needlepoint Now Magazine in 2013, and at last, I've completed the first one--the Holiday Copper Gift.  All that's missing is the beautiful ribbon bow which gets applied after it's finished into a hanging ornament.  The photo doesn't do it justice--it has a lot of shine and glimmer to it.  For more information about the series, click here.

Holiday Gift Copper Ornament


Sunday, April 2, 2017

Nutcracker Santa - Updated 4/2/17

April 2, 2017--Lesson 4 and the nutcracker is done.  He's a cutie.  The instructions said to leave the space between the red shoulder epulets and hair blank, but I couldn't do that, so filled it in with an ecru colored thread T stitch--a very faint shading of color.

Nutcracker Santa Completed
February 25, 2017--Here's the Nutcracker Santa through Lesson 3.  Love all the shine.  Due to the working threads rubbing against his nose, I'll have to stitch over some of the worn areas.  Will do that at the very end.

Nucracker Santa Through Lesson 3

Nutcracker Through Lesson 3 Side View
February 21, 2017--Last Fall I signed up to take another Janet Zickler Casey online class through the Shining Needle Society (SNS) called Nutcracker Santa.  This is my fourth santa class taken through SNS and I love how clear and easy Janet's instructions are.  Below is a picture of my progress through Lesson 2 (out of 4 lessons).  You've got to love the nose.  It's satin stitches over a shortened cotton swab (like a Q-Tip).

Nutcracker Santa through Lesson 2

Thursday, March 23, 2017

Still Traveling--No Stitching - 3/23/17

March 23, 2017--Having a lot of fun this month, but haven't been able to do any stitching.   In the meantime, enjoy this mini video of the Blue Angels practicing in Pensacola, FL.  Was fortunate to see them while cruising the bay.


Sunday, March 12, 2017

Knitting--Exercise for Needlepoint Fingers - 3/12/17

March 12, 2017--Have been traveling for the last 2 weeks and find it difficult to needlepoint in the car--too many little tools and bits to get lost under the seat, etc.  So thought I would knit some dish clothes--they are fast and easy.  However, I wanted a challenge and what better way to do that than to learn a new technique--continental or left handed knitting.   The beginning was a bit tedious--kept dropping stitches, couldn't figure out yarn tension around my left hand, had to continuously look at You Tube videos to check my technique, etc.   But the results are below and am very confident that everything I knit going forward will be done using this style.  Of course, my needlepoint will be resumed shortly, but doing something different with my fingers is great exercise.

Dish Clothes Knitted Using Continental Technique

Wednesday, February 22, 2017

Rehoboth Beach Museum's 7th Annual Needlework Exhibit - 2/22/17

February 22, 2017--It's time again for Rehoboth Beach Museum's Annual Needlework Exhibit.  This is the 7th year that the Delaware museum has put on a needlework exhibit and it's a big hit for those who reside in the state as well as for visitors to the beach.  It runs from March 18 through May 21, 2017 and all are invited to submit entries using the form which can be found here,   Hope to see you there.


Thursday, February 2, 2017

American Beauty Rose - Updated 2/2/17

February 2, 2017--Made this beautiful rose into a piped knife-edge pillow.  I like the way it looks more like a rose now that the padding rounds out the center.   And the fabric color adds a nice "frame".  All in all, very happy with the results.  My Bernina sewing machine has programming for simple numbers and letters, so I added the following to the back since it's a gift for my mother.

Happy 90th Birthday Mom

Marie-Rose Irene Cote

With Love From

Yours Truly

February 15, 2017

I added her name so the staff at the nursing home where she resides will know it's hers if it happens to "walk".


American Beauty Rose Finished Front

American Beauty Rose Finished Bac

January 8, 2017--Done, and in plenty of time to make this rose into a pillow to give my mother on her 90th birthday next month.  It's an unusual piece--you need to stand far back to actually see a rose.  Once it is piped with a dark purple fabric, the rose should be easier to view.

American Beauty Rose Competed on Stretcher Bars

American Beauty Rose Completed
December 15, 2016--Wow, it's been over 2 years since I last worked on this project.  And work on it I must now do!  This is going to be a gift for my mother's 90th birthday in February and I have a lot yet to stitch.  I have a small suspicion that it won't get done in time.  If that happens, I'll show her the project and explain it'll be a beautiful pillow when done--and promise she'll get it ASAP.   In the meantime, however, I'll stitch on it furiously and see if I can make the finish happen in time.

American Beauty Rose as of 12/14/16
November 30, 2014--Status to date.  Thought I would do as Liz Morrow has done with her rose (she's stitching hers in neutral tones) and complete a full quadrant.  Still am unable to see the rose yet.  Will now go back to working on one color/stitch at a time.


American Beauty Rose Upper Left Quadrant
American Beauty Rose Upper Left Quadrant Completed
10/13/14--This project has 8 different stitches done in 8 different colors.  The picture below shows the first color and stitch done, and a little of the 2nd one started (the canvas color is Lavendula/Lilac).

Not doing a lot of stitching these days--have been traveling and more trips are planned.

Stitch and Color One
8/11/14--While at the 2012 ANG Seminar in San Antonio, TX, I purchased instructions for DebBee's Designs American Beauty Rose with the intent of stitching this project for my mother's 90th birthday, using her favorite colors in the violet/lilac range.  Well, she'll be 90 in a little over 2 years and I figure I better get this started sooner, rather than later.

Since I'm not really good at making color substitutions--in this case from reds (listed in the directions) to violets, I wrote Debbie Rowley of DebBee's Designs for help.  Wow, she really was very helpful.  Debbie went to her LNS, The Stitcher's Garden in Conway, AR and worked with Lynda Bass Gaiser, first gathering the red colorway, then finding the perfect violet/lilac threads.  Debbie sent me the first picture below and asked if the colors they chose would work.  I immediately responded with YES! and ordered her suggestions from Lynda.  The second picture is a closeup of the violet threads that came in the mail yesterday.   Cannot wait to begin stitching.  Soon.......
Thread Comparisons--Reds to Violets

Violet Colorway


DebBee's Designs American Beauty Project Photo

Thursday, December 29, 2016

2016 Year In Review - 12/29/16

December 29, 2016--Happy New Year!!  I am so looking forward to 2017 because this year, 2016, has been wonderful and the next promises to be even better.  It begins with a resort vacation in Pensacola for a month, then a two-week cruise, rountrip, to Alaska, then the ANG seminar in Anaheim and then a week in Napa, CA with family and lots and lots of wine.  And I know there'll be much more.

This is also the time I like to look back on what I've accomplished in the past year.  Surprisingly, even with all the traveling we've done, I managed to accomplish some serious stitching.  Here's the roundup (click on the caption title to access more information):

Let It Snow

Christmas Tree Santa

Summer Solstice Sampler

Orange Grove


Chapter Name Tag


Downton Abbey

Christmas Diamond Ornaments


Sisters


Frankie

Thursday, December 1, 2016

Christmas Diamond Ornaments - 12/4/16

December 4, 2016--The threesome of diamond ornaments is now finished and ready to hang.  I loved how easy it was to just glue (using my trusty tape gun) each layer onto another, measure, cut, then done.

Christmas Diamond Ornaments Threesome Finished

December 1, 2016--Here's the last of the trio designed by Kurdy Biggs.  I have so much enjoyed stitching up these beautiful ornaments on perforated paper, and they worked up quickly.  I just returned from Michael's Arts & Crafts with some very pretty paper to place on the back.  Pictures of the finished ornaments will be posted soon.


Ornament Christmas Diamonds No. 1, 2 and 3 Completed

Ornament Christmas Diamond No. 3 Completed

November 12, 2016--And now there are two.  These designs are so pretty, and they work up quickly (being small in size helps).  One more to go.

Christmas Diamond Ornaments One and Two
Christmas Diamonds Ornament Two Completed

October 25, 2016--Finished stitching the first of three ornaments.  Love how easy it is to stitch on perforated paper.  Here's a picture and now to stitch the next two designs.

Christmas Diamonds Ornament One Completed

September 20, 2016--I found the instructions for these Christmas Diamond ornaments by Kurdy Biggs of Threedles in the November/December 2015 issue of Needlepoint Now Magazine and knew I would have to stitch them.  There are five examples using three different patterns, two of which were stitched on perforated paper.  Never having worked with perforated paper, I thought this would be a perfect opportunity to give it a try.   I found some off-white 14 count paper and decided dark blue thread would look good, so below is my progress to date on ornament number one.  Still have additional beads to stitch (ran out and had to order more) but am very pleased with the look so far.

The instructions in the magazine lacks details about the threads used for all three of the different patterns and Kurdy Biggs was very helpful in getting me the information I needed.  The problem was one of space--there wasn't enough room for the instructions and the full thread list when the article was published.   If you decide to stitch these ornaments, Kurdy is very helpful in supplying any additional information you may need.


Christmas Diamonds Ornament One


Tuesday, November 8, 2016

Downton Abbey Framed - Updated 9/15/2018

September 15, 2018--Just learned this piece won a 3rd place ribbon in the 8th Annual Rehoboth Beach Museum Needlework Exhibit in the Canvas/Needlepoint category.  Cool.

November 8, 2016--At last, here's the Downton Abbey threesome framed along with the cards made specifically for each design.   You can read about each of the the three pieces by clicking on the names of Countess of Grantham,  Lady Edith and Lady Mary.  I think the frame is perfect.

Downton Abbey Framed

Saturday, October 22, 2016

Thread Organization Updated 10-22-16

October 22, 2016--Well, that didn't work.  Six months ago I organized my stash of threads by brand rather than by color.  A lot of work--3 days in fact.  No go for me.

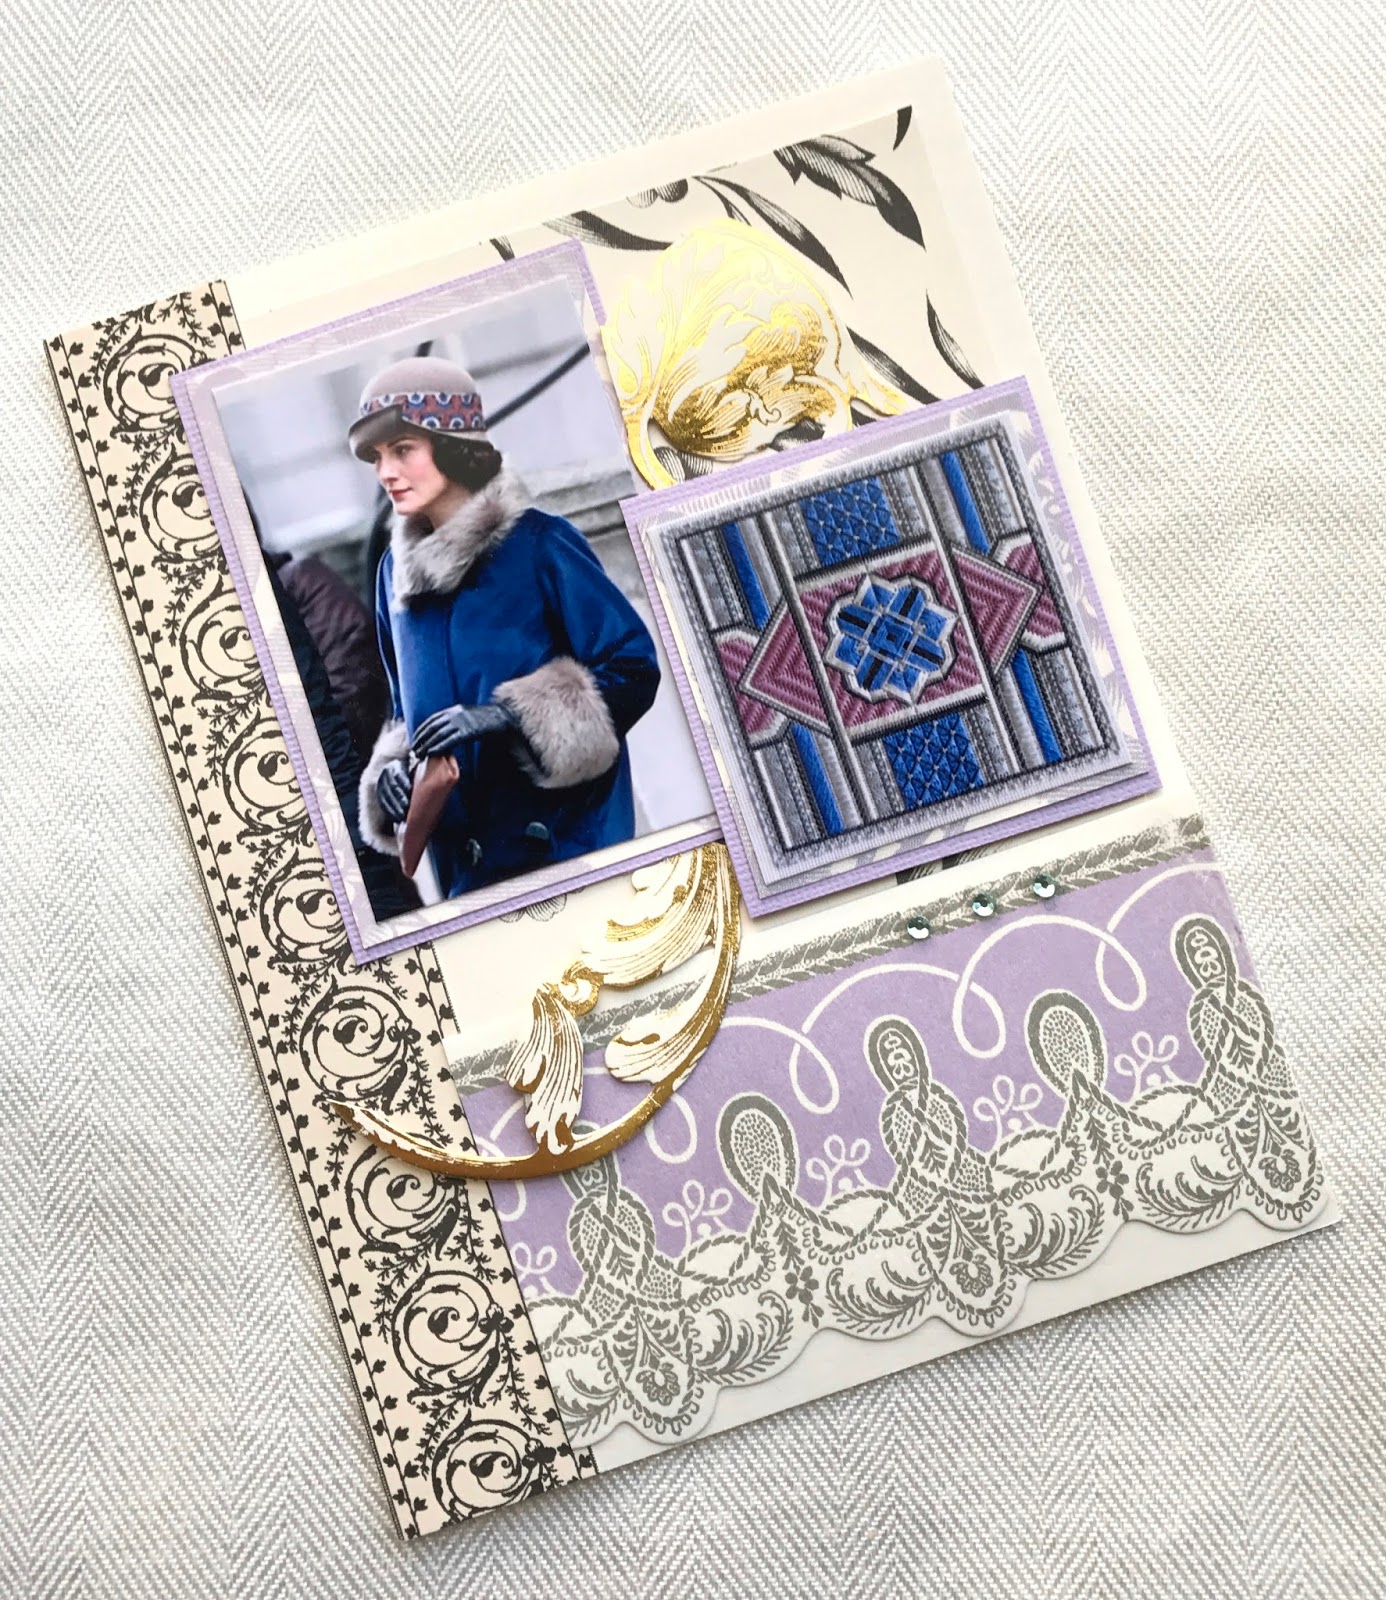
Recently I agreed to participate in a pilot stitch program that requires the use of your own threads.  So now I wanted to stash dive to see what color I might use and found myself tearing my hair out trying to locate all threads of one color.  Aaarrrgggg!  Soooo, the only thing to do was to reorganize the threads by color and do it better than before.   After a day of threads all over the floor of my craft room, I now have bags of thread sorted by color using the Joen Wolfrom system.  For my new project, I was able to find the threads that, to me, would be perfect.  And it only took five minutes.

Another reason to keep threads by color rather than brand--it's so much easier to put them away after a project is completed.  To keep brands together, I had to search for where that brand was located.  It wasn't bad for brands with lots of threads, e.g., Splendor, DMC Perle 5, etc., but the lesser used brands with fewer threads in my stash were impossible to immediately get my hands on.  And I have a lot of those various brands with just a few threads.  When looking for colors, those lesser brands were overlooked.  Not anymore.  Yay!

And as for knowing what threads I have for what brands--I can still get that information by using my HanDBase Thread Inventory database.   All is well now.


April 9, 2016--For quite a few years I've lived with my thread stash organized by color.  For example, all the red threads were in a clear plastic bag together, all the blues in another, no matter what the brand.   I had about 10 or so bags of different colors.  Not a bad way to organize threads, but a royal pain when looking for a particular brand name.

So, after reading on various blogs how many have organized their threads by brand name, I decided to do the same.  However, I did not purchase the beautiful plastic bins and organizers that have been proudly displayed in photos.  Instead, I've placed all threads of one brand on a "ring" in color order (not number, at least not yet).  So all my RG/Splendor threads are now together on one ring, my DMC Perle 5's are on another, etc. I'm using inexpensive rings instead of plastic organizer boxes because I don't know if I'm going to like this new setup.

I'll give it a year.   If it works, great.  If not, all the threads will go back to my color "filing" system which is certainly easier to use when putting threads away after a project is completed.

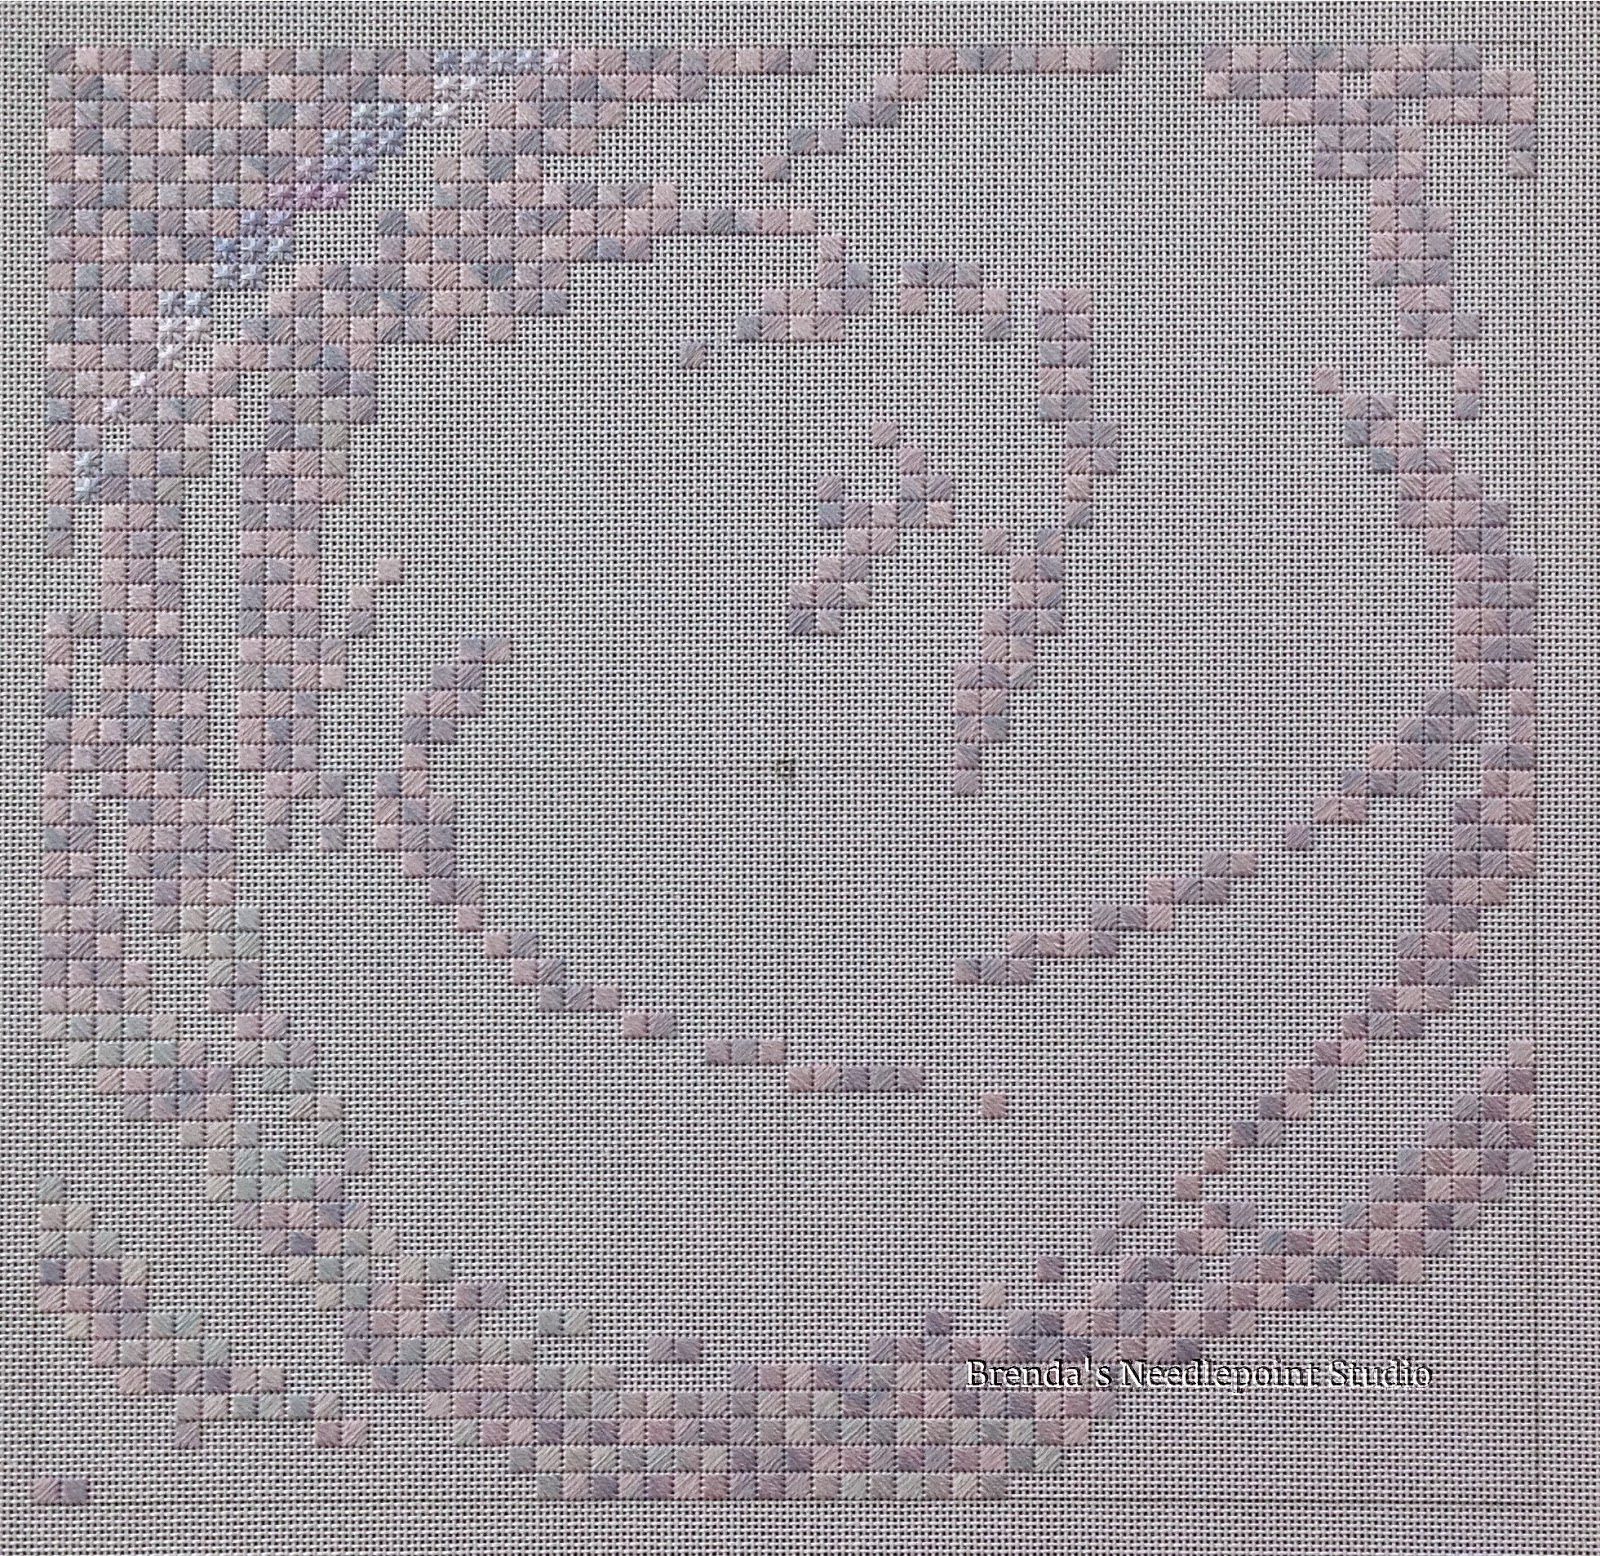
The picture below is a white plastic rolling 3 drawer system I've been using to house my threads. Now the top drawer has all cottons, the middle drawer contains silks, silk blends and wool, the bottom drawer has novelty threads.  (Kreiniks are in another location, along with DMC floss.)

Whew, what a job.  It took 3 days to organize about 1500 different threads.  I suspect I'll tweek this system over the next year by placing the large brands in numerical order rather than by color, and place all the miscellaneous little brands by color only because at this time I haven't a clue how I'll find them again, never mind add to them.

Drawers containing, from top to bottom:  Cottons, Silks, Novelties

Miscellaneous Cotton Threads on "Rings"  

Monday, October 17, 2016

Downton Abbey Lady Mary Geometric - 10/17/2016

October 17, 2016--The Lady Mary geometric, third of the Downton Abbey designs by Gay Ann Rogers, is now complete.  I've also attached a photo of a card designed by Annette Navarro and sold through Gay Ann Rogers on her website.    Now off to the framer.

Downton Abbey Lady Mary Geometric Completed

Lady Mary Card
October 4, 2016--I am now stitching the last of the three Downton Abbey Geometric designs by Gay Ann Rogers.  More information can be found here.  This one is called Lady Mary and the colors are sumptuous.  The other two , Countess of Grantham and Lady Edith, are done and can be seen by clicking on their project names.  So far, most of the outlining is finished and the upcoming filling stitches will add depth and dimension.  Next posting will be of completed piece.  A view of the project photo can be found by clicking on the In Process Projects under the Page heading on the right.

Downton Abbey Lady Mary as of 10-05-2016